Now, I will paint my basic terrains from part 2 and 3, and add vegetation.


A bit more complex this time: a small ruin terrain using styrofoam to simulate simple architecture.

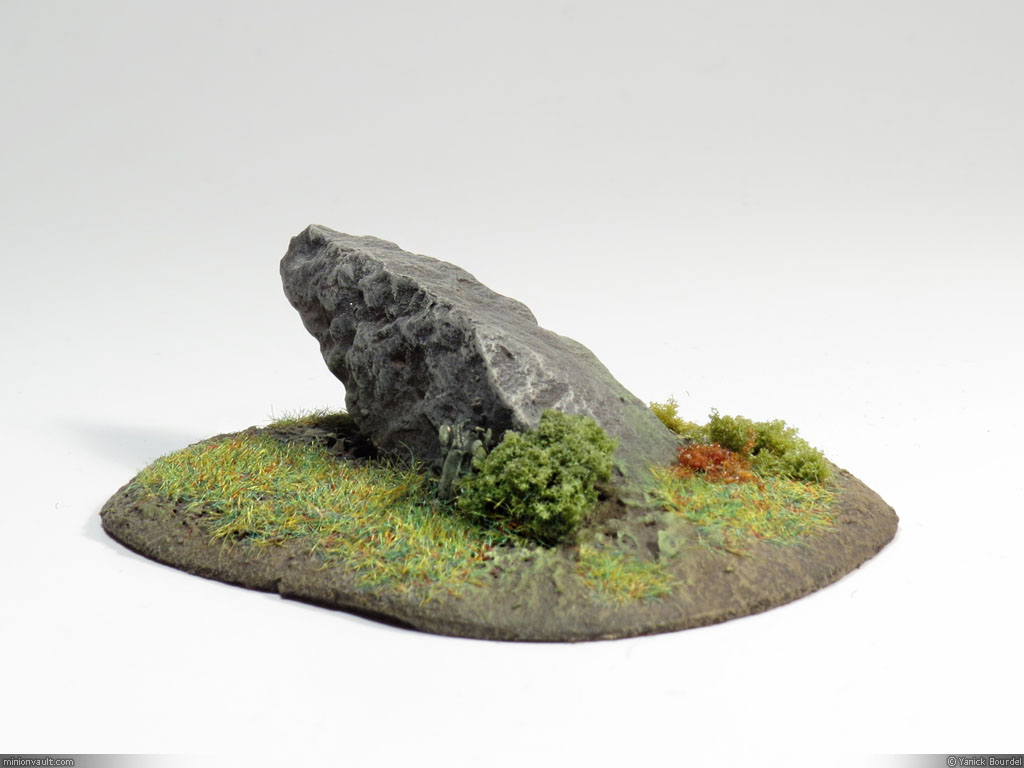
For this first terrain piece, I’ll make a boulder.

Unpainted boulder terrain. Looks good already! Wait to see it painted!
Not really exciting, I know, but effective and useful on the gaming table.
Plus, it is extremely inexpensive and easy to build.
Something new on the blog: step by step project posts. It’s not really tutorials, and not really w.i.p. too, but rather a documented making of a project with explanations and tips.
In this first part, I write about materials that will be used for part 2 and 3, where I will build 2 simple terrain pieces for the gaming table. Step by step 1, 2 and 3 are well suited for beginners, but they will be interesting to read (I hope) for veteran terrain crafters.
For paints, I will wait until part 4, where I will paint both terrain pieces.
Ok. Here we go.
This time, simple props for tabletop gaming I did. Mostly made with styrofoam – and small rocks, sand, static grass, white glue… you get the picture 🙂
These are very good beginner projects. But even for old gamers like myself, they’re quite pleasing to build and easy to paint (painting is mostly dry brushing). You can make tons of them in a single weekend! And they look great on the gaming table!
Some pics of very simple ones:
Simple game prop. About 1 inch tall.
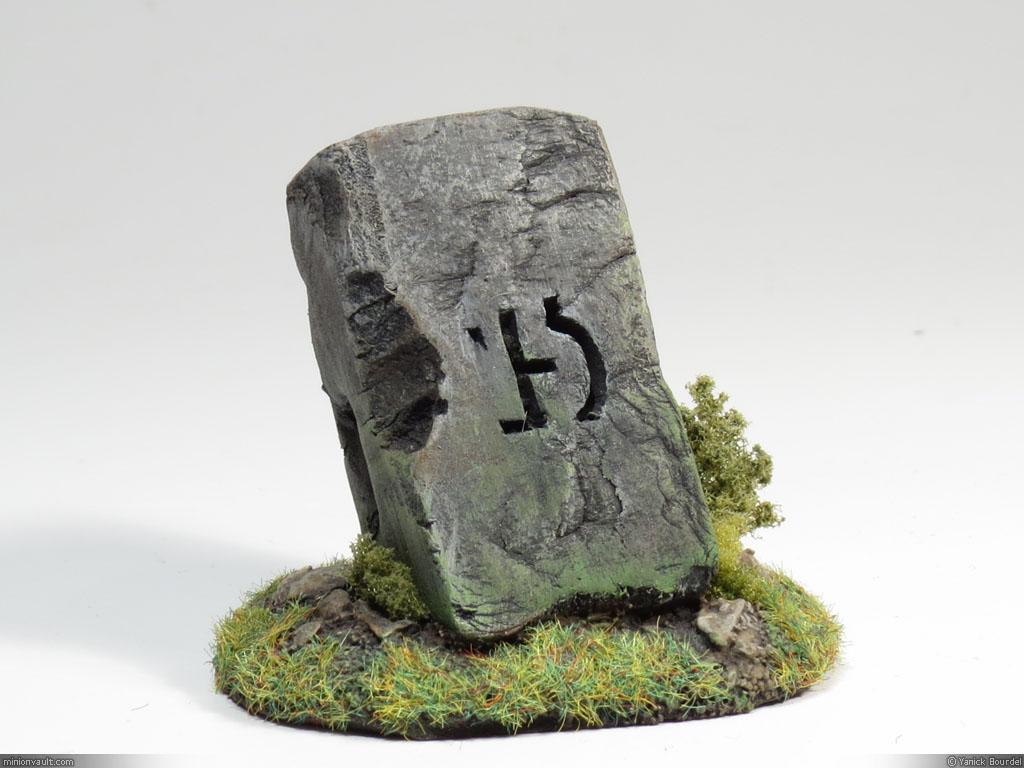
Simple game prop. About 2 inches tall.
A friend of mine asked if I could post some photos of some projects I did in the past. Here are 3 ‘mini’ sculpts I created a few years ago: An evil tree-man, a huge earth elemental and a giant owl-bear from the D&D universe.
All these were sculpted mainly using Magic Sculpt putty.

See: brushing your teeth IS important…
Just a quick update on my “Giant” dwarf statue: I have done some retouching to forehead and eyebrows, and I also started to sculpt the fabric/leather on his back (the stitches are still missing, but you get the idea.)
I just need to do some retouching to the hairs at the back of the head and define the shoulders (or shoulder pads maybe) and it will be ready for casting (in a 2 part mold this time, and this will be a first for me: I have never done a 2 part mold…)

Enjoy and stay tuned!
I did a conversion on my Barbarian Hero miniature from Reaper.
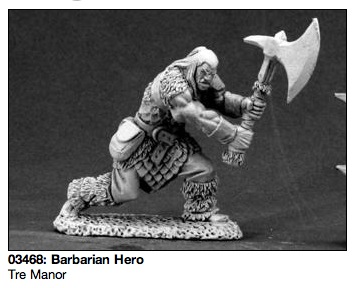
Barbarian Hero, a very nice 28mm mini by Reaper Miniatures.
I wanted a barbarian with a 2 handed sword instead of the axe this big guy is wielding. I also wanted to make a nice, small (1 inch) base for it. The base “provided” with that mini (actually, the mini is molded with a thick wide base) was too wide, so I had to cut it partially to make it shorter, so it could fit on a standard 1 inch square base. I change the “stance” of the barbarian by raising a bit his left foot, so he’s more upright (almost like “climbing”).

Barbarian Hero, with custom base and sword.
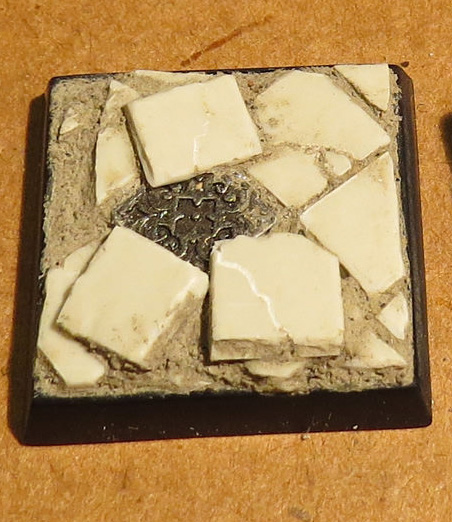
As for the base, nothing special here: standard techniques with small rocks, Magic sculpt, a bit of mortar and toothpicks.
I plan to make a winter theme base for this one, with some snow. That will be a first for me: I never made snow on a mini base.
I’ll post some pictures when this little project will progress.
I just got my Raynox DCR-250 lens and did some tests.
Wow! I knew I would get close to my minis, but I’m still really impressed by sharpness of the details. All photos were taken directly on my work area, with only one desk lamp as a light source, and they are great anyway! Just imagine if I had set up a proper lighting array… Here are some examples:

Elf archer, 28mm. Shot taken with a SX-50 HS camera equipped with a Raynox DCR-250 macro lens.