Quick post: I’ve finished the base for my KV-2. Here are the pics:


Quick post: I’ve finished the base for my KV-2. Here are the pics:
A friend of mine asked if I could post some photos of some projects I did in the past. Here are 3 ‘mini’ sculpts I created a few years ago: An evil tree-man, a huge earth elemental and a giant owl-bear from the D&D universe.
All these were sculpted mainly using Magic Sculpt putty.

See: brushing your teeth IS important…
I did a conversion on my Barbarian Hero miniature from Reaper.
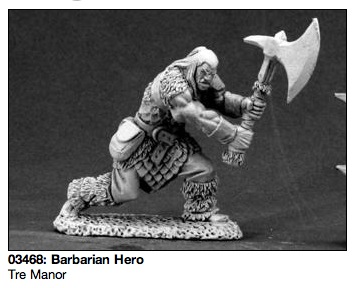
Barbarian Hero, a very nice 28mm mini by Reaper Miniatures.
I wanted a barbarian with a 2 handed sword instead of the axe this big guy is wielding. I also wanted to make a nice, small (1 inch) base for it. The base “provided” with that mini (actually, the mini is molded with a thick wide base) was too wide, so I had to cut it partially to make it shorter, so it could fit on a standard 1 inch square base. I change the “stance” of the barbarian by raising a bit his left foot, so he’s more upright (almost like “climbing”).

Barbarian Hero, with custom base and sword.
As for the base, nothing special here: standard techniques with small rocks, Magic sculpt, a bit of mortar and toothpicks.
I plan to make a winter theme base for this one, with some snow. That will be a first for me: I never made snow on a mini base.
I’ll post some pictures when this little project will progress.
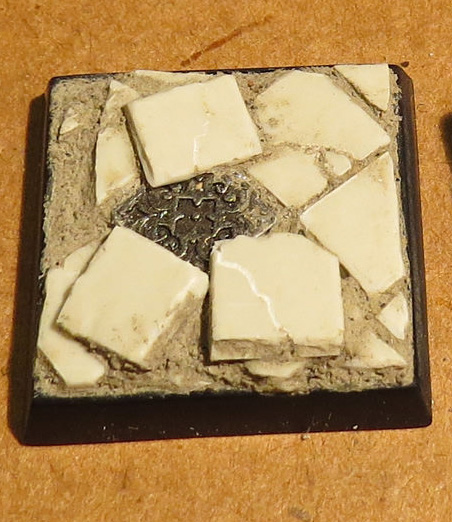
Just a quick test I did for a miniature base.

I had a left over small ball of Magic Sculpt. I made a thin ‘sheet’ out of it and I textured it by pressing a piece of cheap jewelry that had a nice “mosaic” pattern to it. I wanted to see if I could get a ‘ruin’ or ‘mosaic’ effect for basing minis quickly this way.
Continue Reading
I love basing minis and making dioramas. Unfortunately, there is not a lot of room on a 1 inch square base to create much environment and effects.
Things get more interesting on a 2″ X 2″ (like those below) or larger base…
Just for fun, I have put together those 2 bases recently. I have no idea what mini will go on these but anyway, they were fun to build and will certainly be useful eventually.
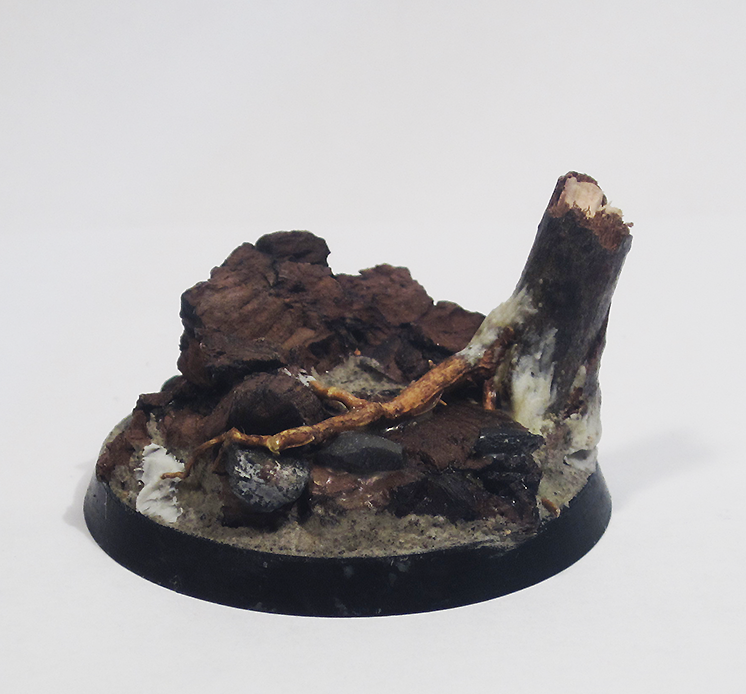
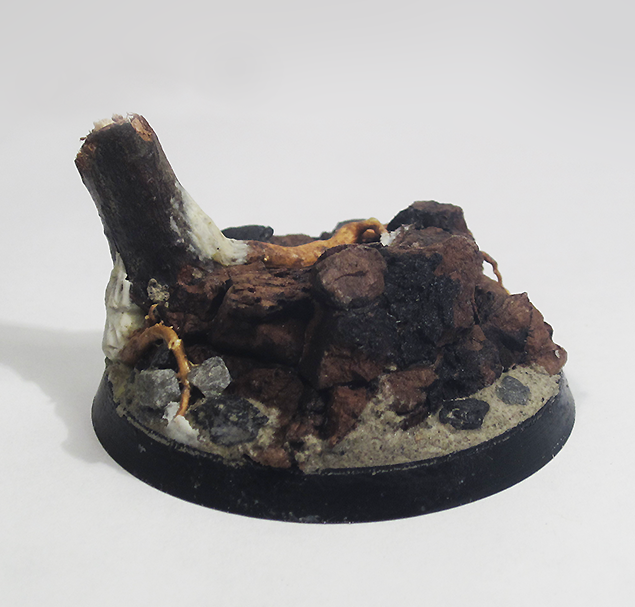
This woodland theme base was made with cork, a small broken branch, some dried roots and rocks all glued with PVA glue. I used a bit of Magic Sculpt putty to soften the transition between the elements and to sculpt bark.
Then, I tried something different with a ruin theme base.

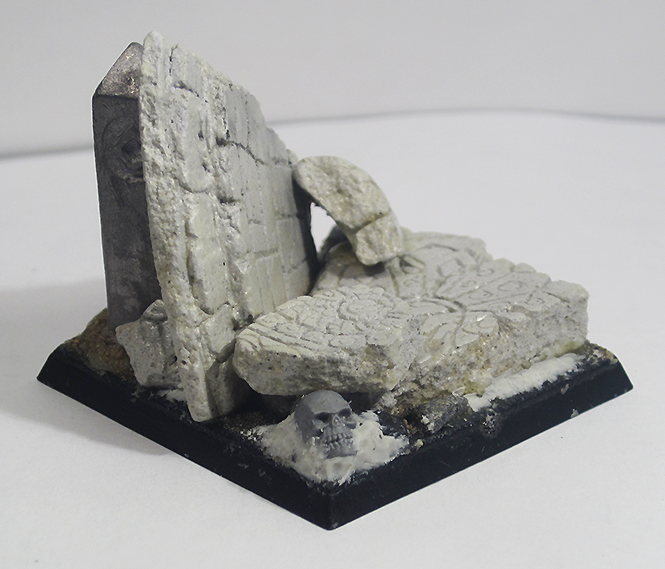
For this one I casted a 5mm thick “plate” of plaster. Once almost dried, I used an x-acto and a pin to scribe brick and mosaic patterns on the plaster. I then waited for it to harden fully. The following day, I broke the “plate” in small fragments of various sizes and made this base by gluing interesting pieces on a plastic base with PVA glue. Again, some rocks, sand and a bit of Magic Sculpt (and a Games Workshop plastic skull) were used to blend in the different elements and give a sense of realism and scale to the whole base.
I still have a lot of plaster ruin pieces left from this experiment, enough to make 2 or 3 more similar bases. Cool!