Whew! It’s been a while since my last post!
I did a TON of stuff since the last one, but I haven’t taken the time to take pictures and post about it all, sorry.
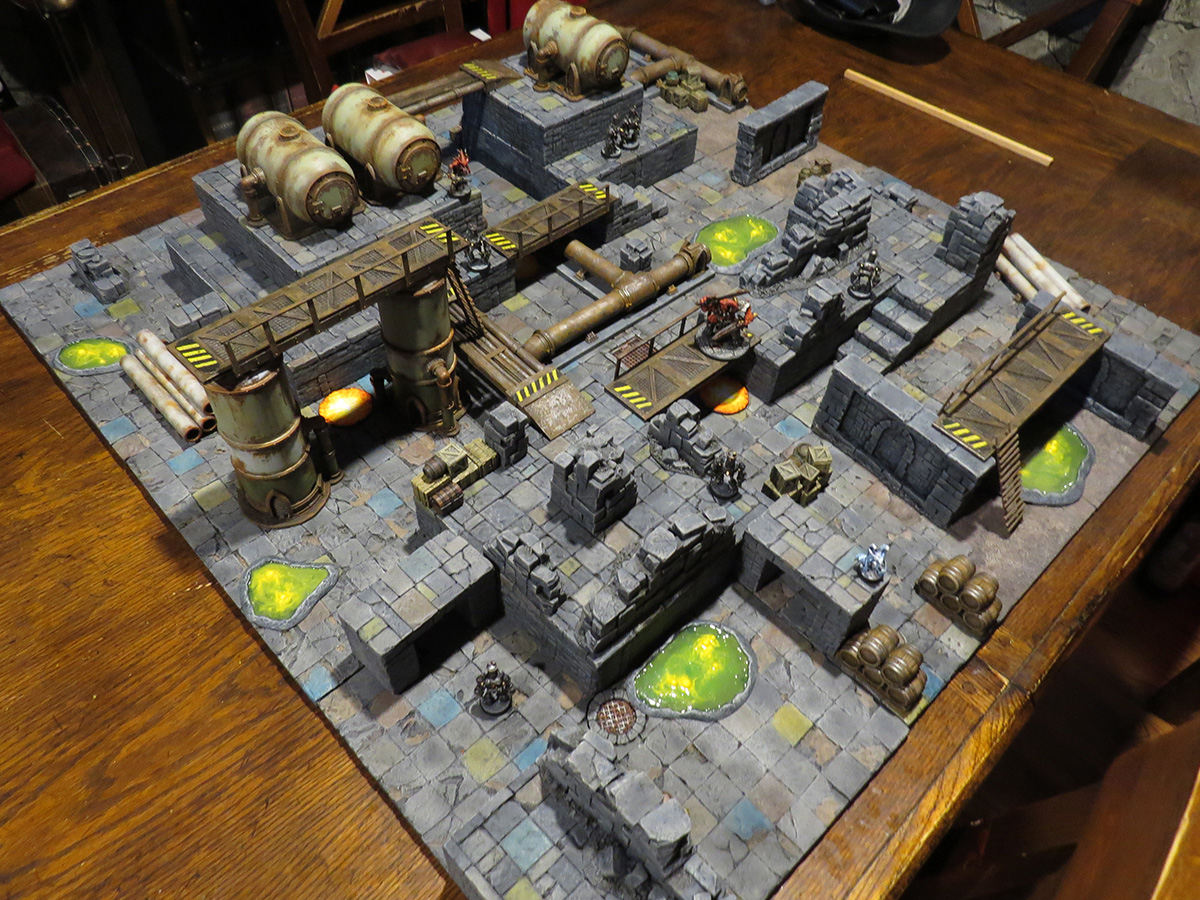
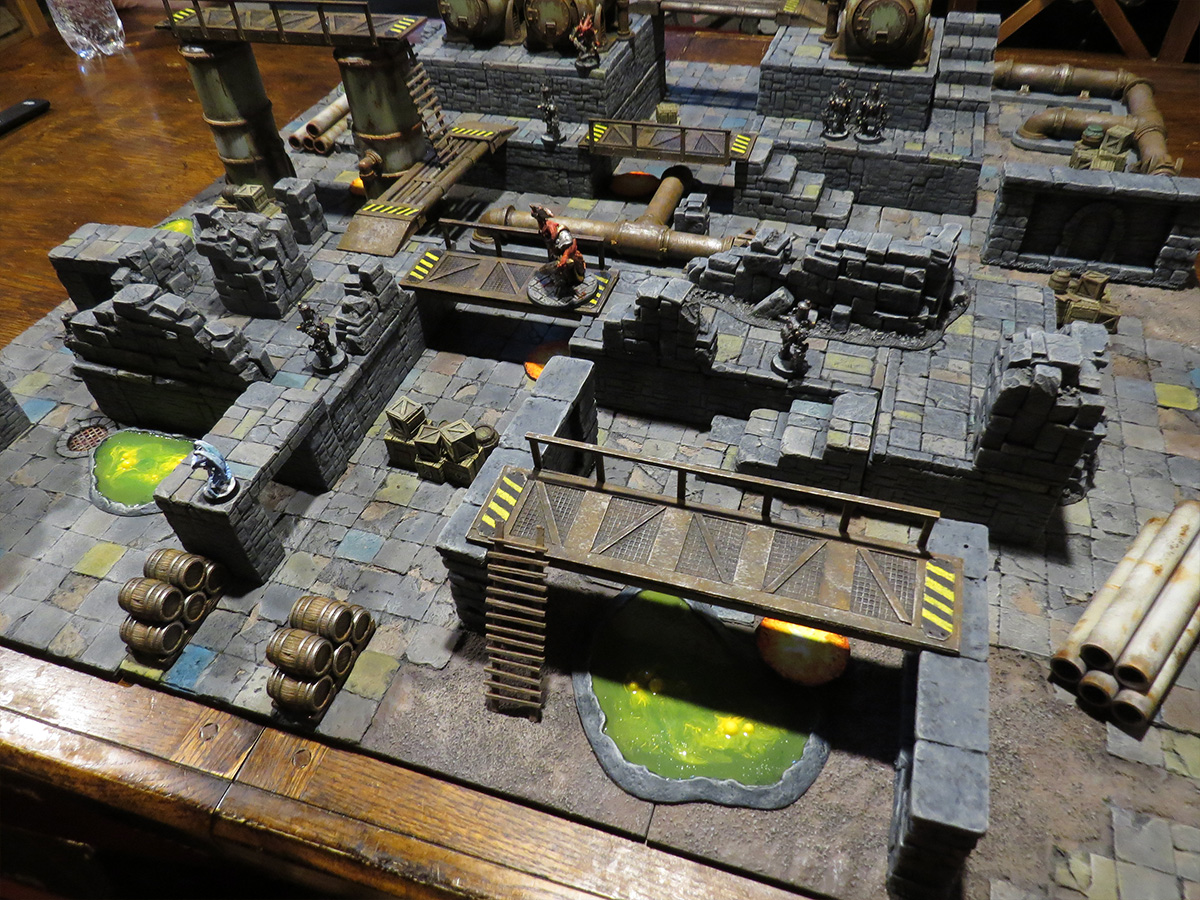
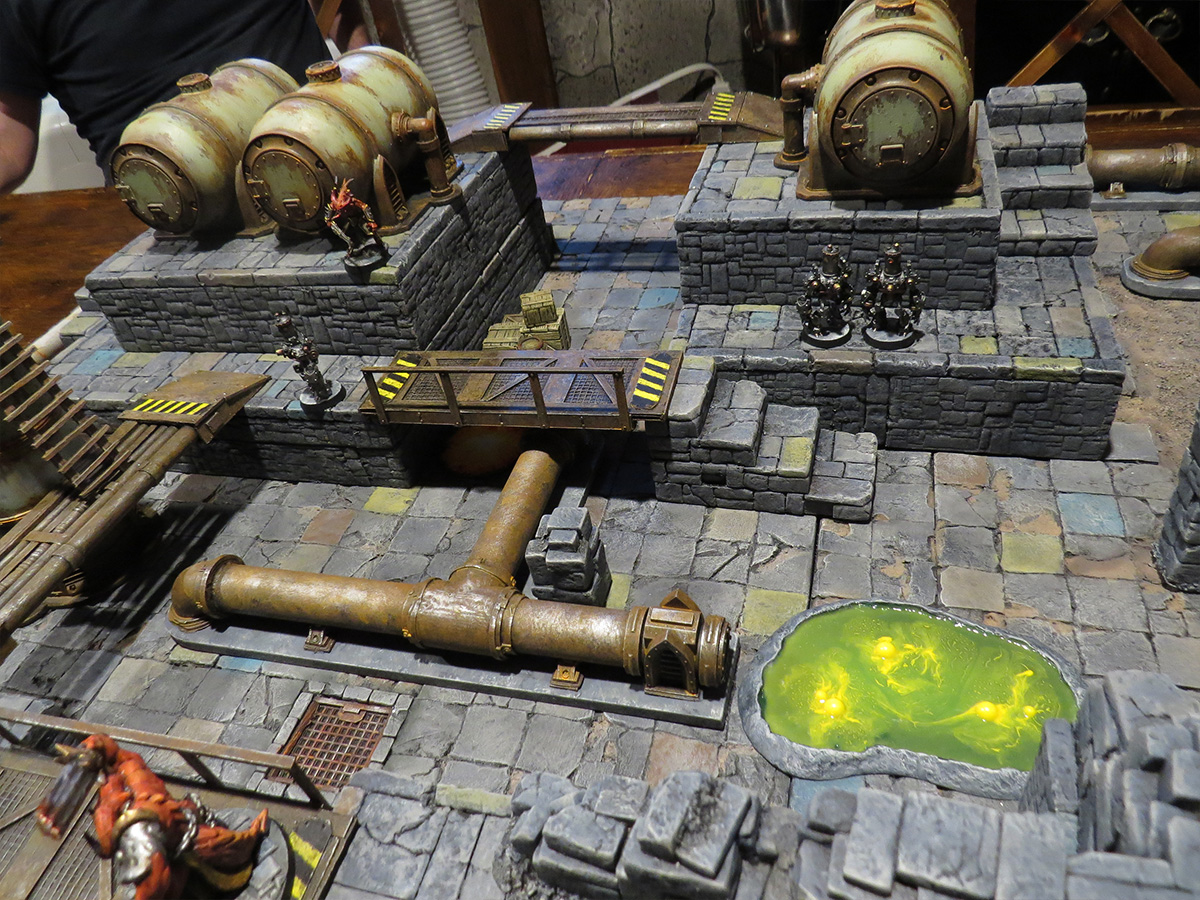
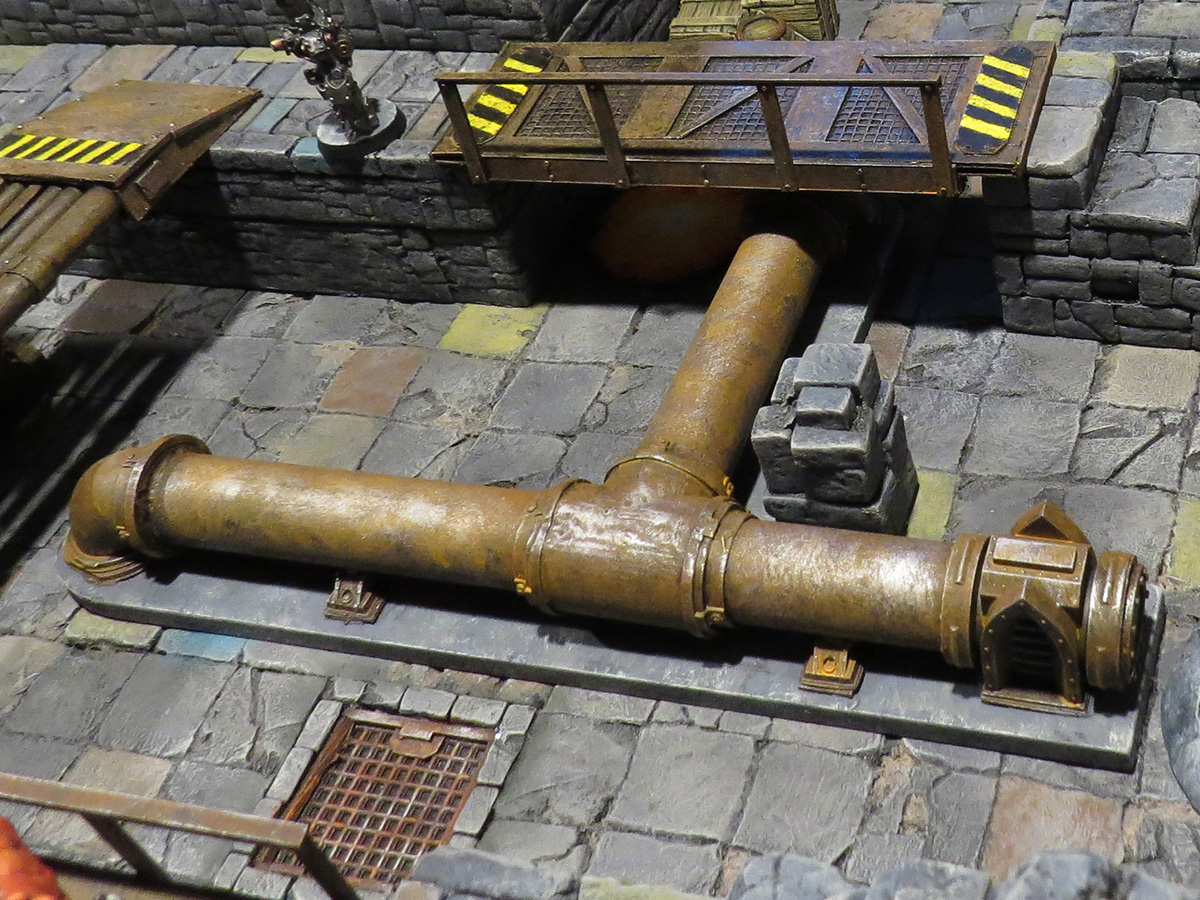
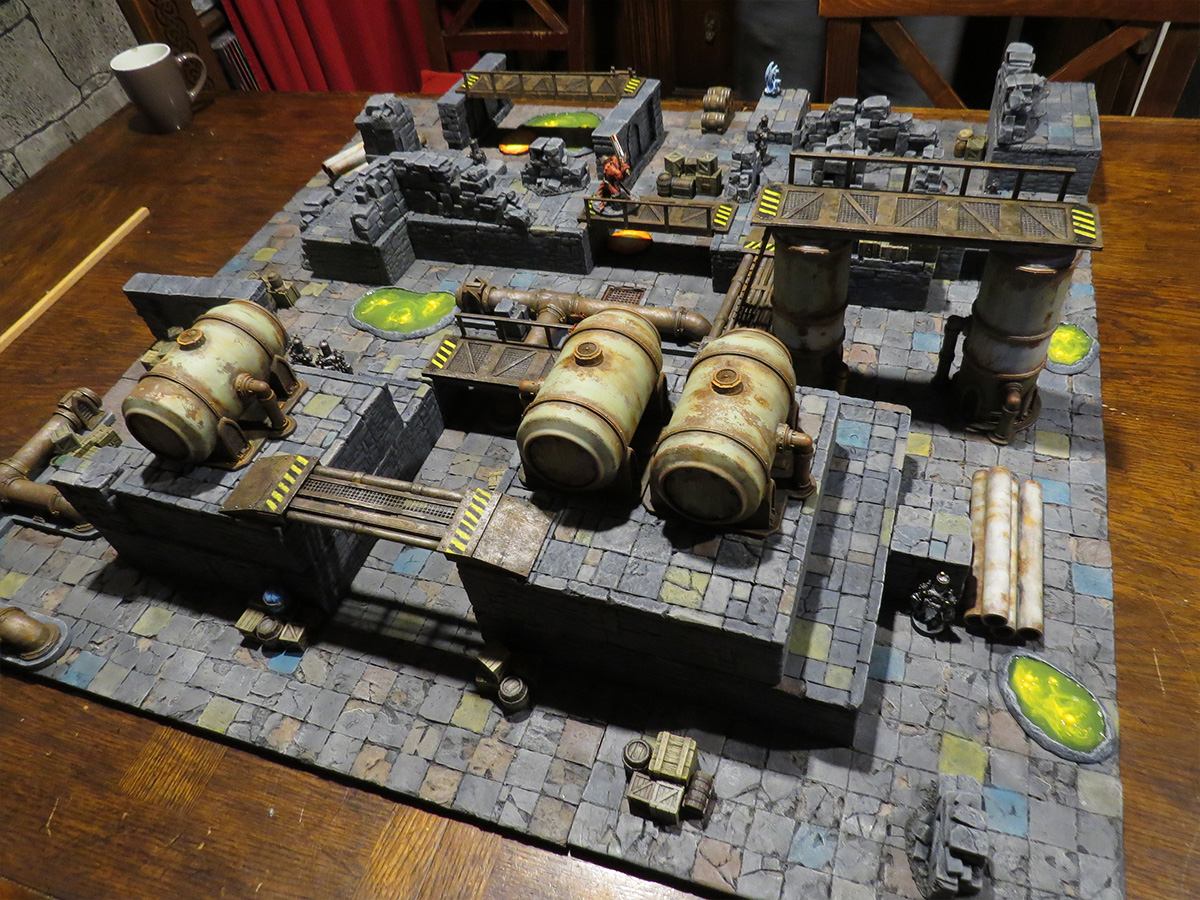
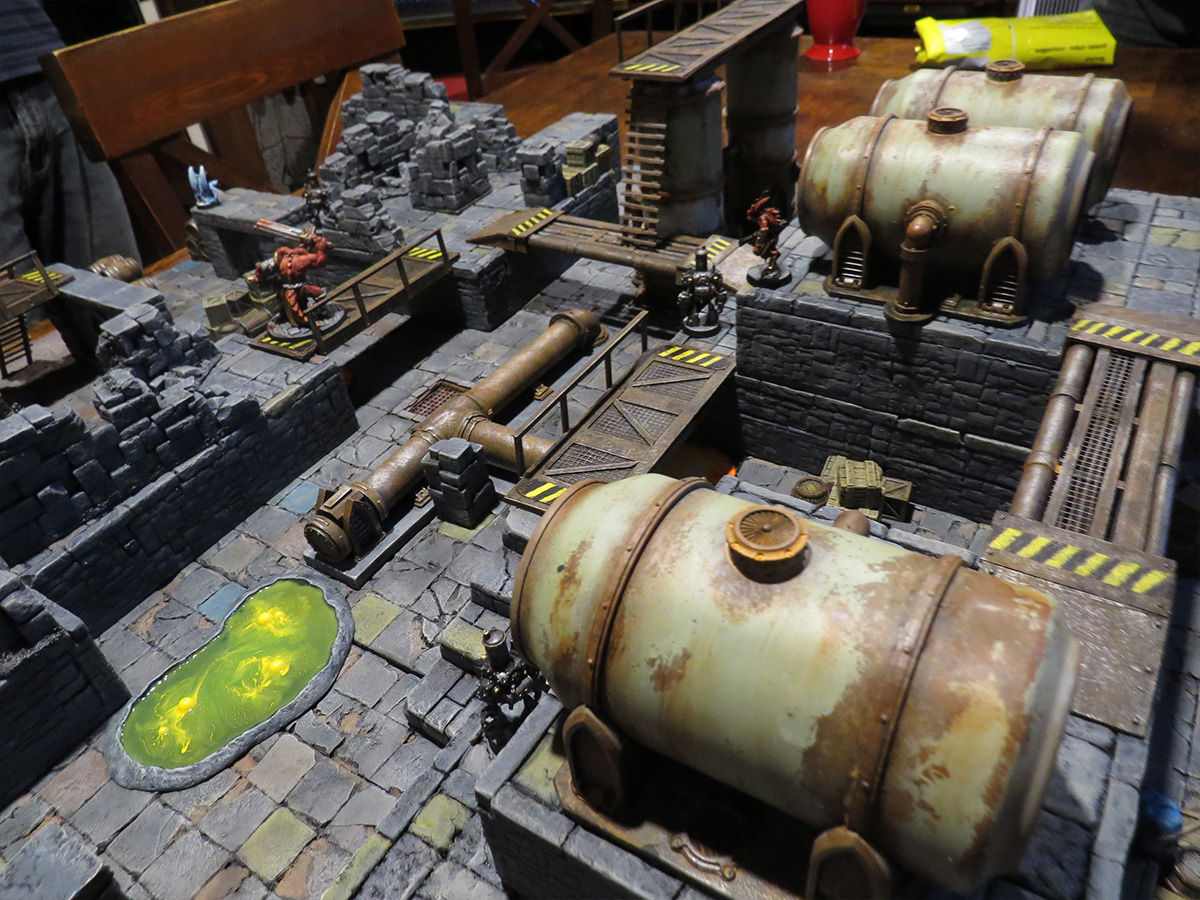
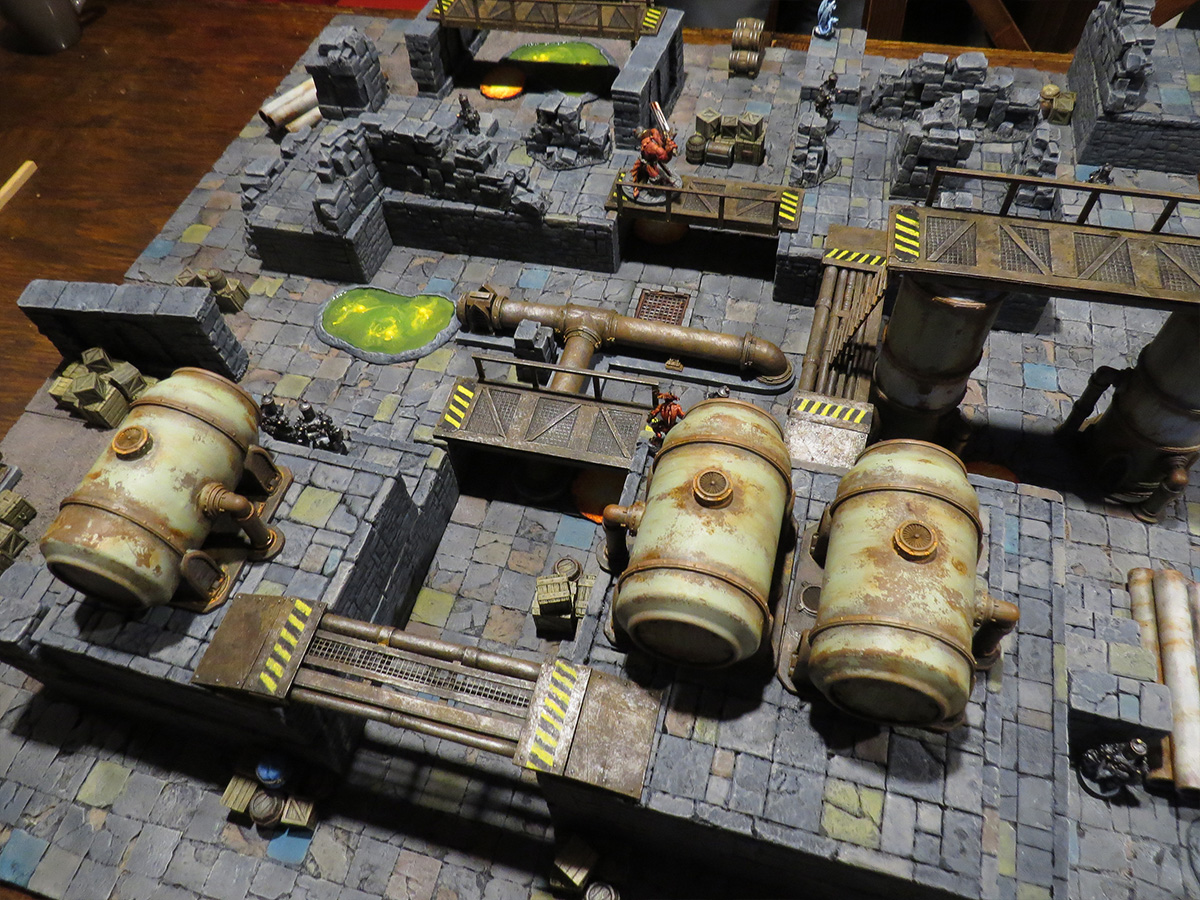
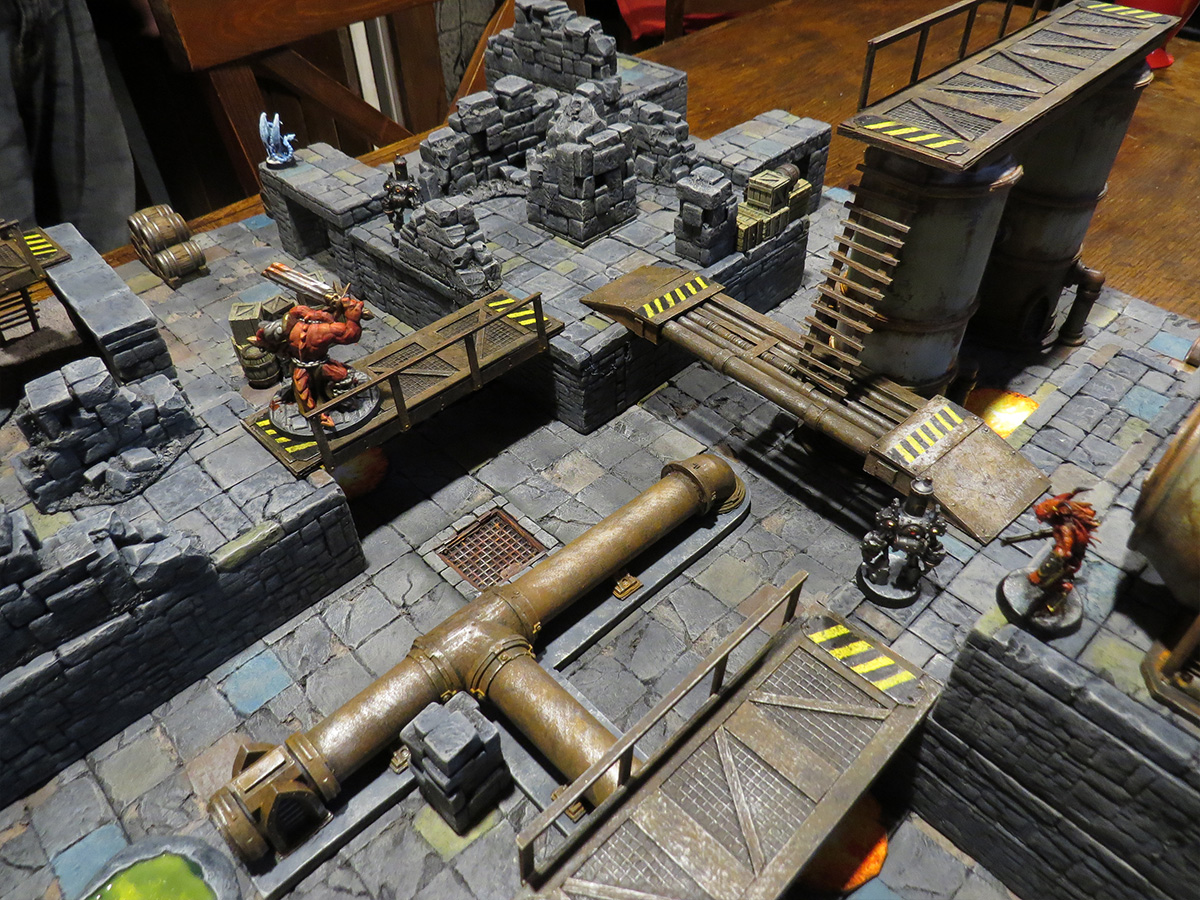
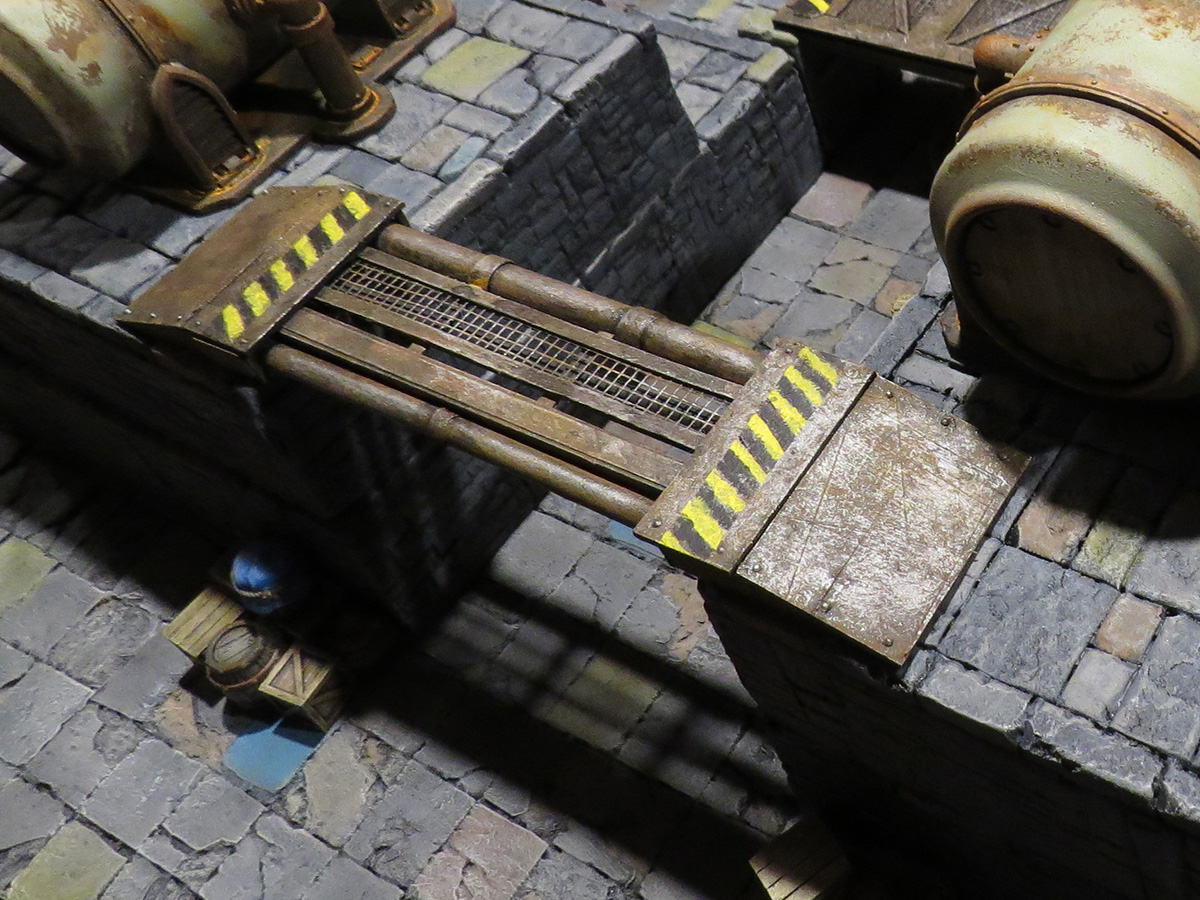
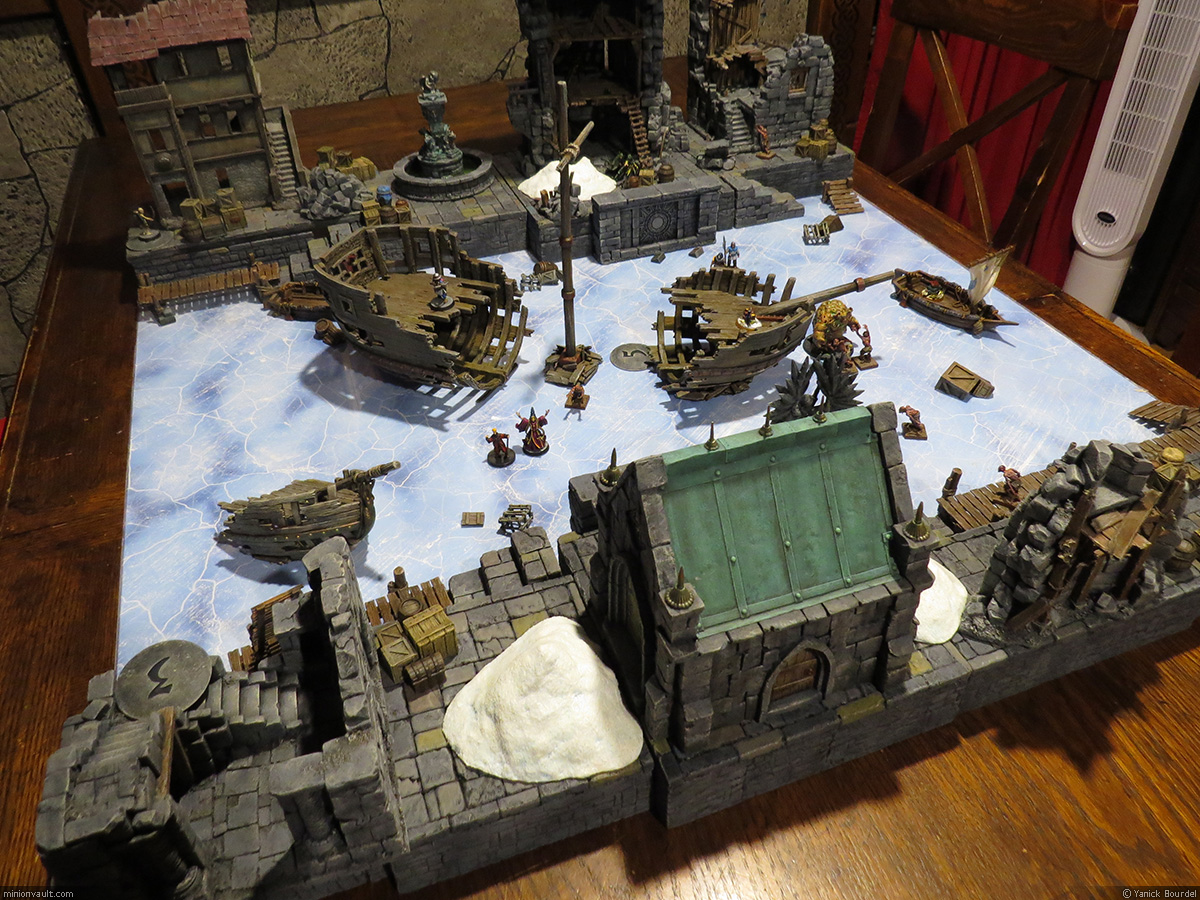
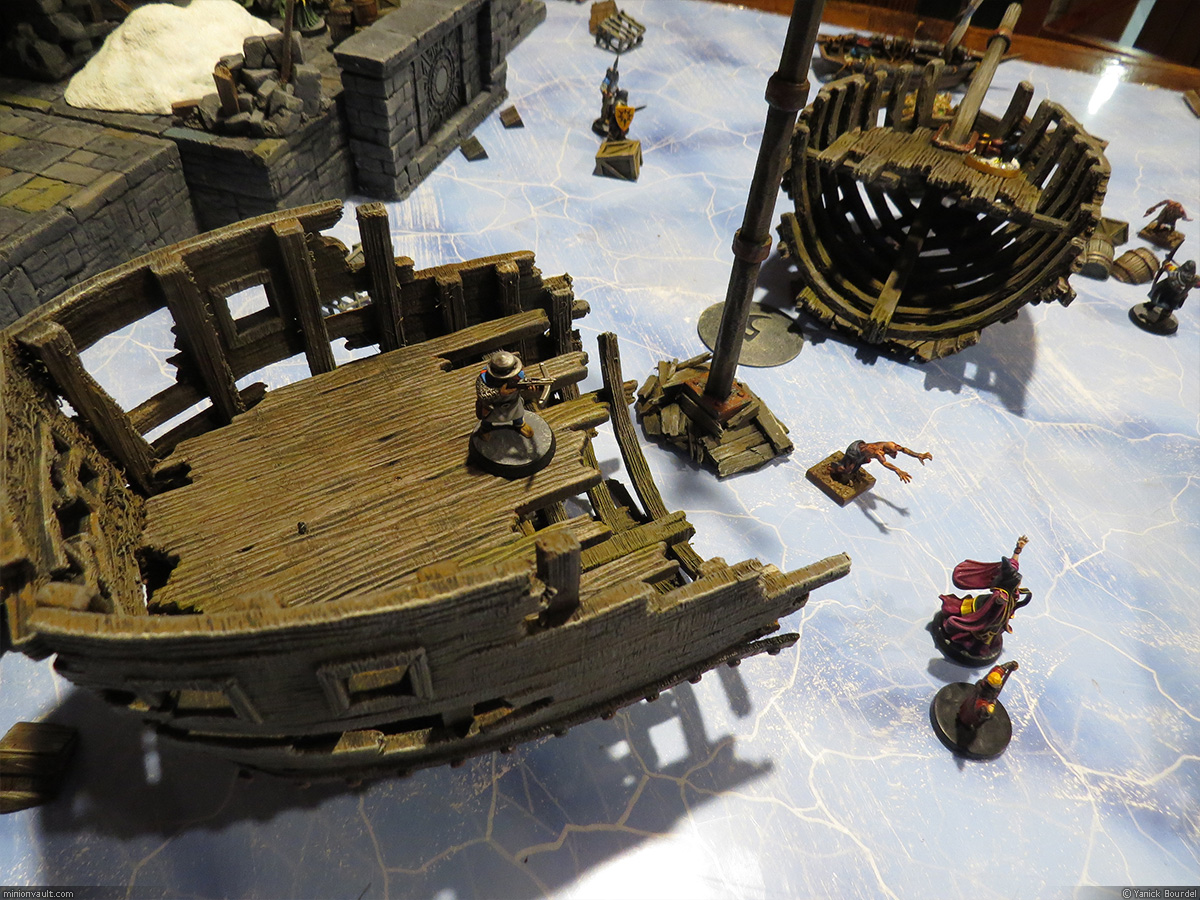
I have been working on buildings and scatter terrain for Frostgrave, but also tabletop elements for modern or sci-fi games such as Stargrave, Cy-Borg or Fallout. I a have many, many cool things to show, and I’ll make an effort to update this blog quicker… Promise.
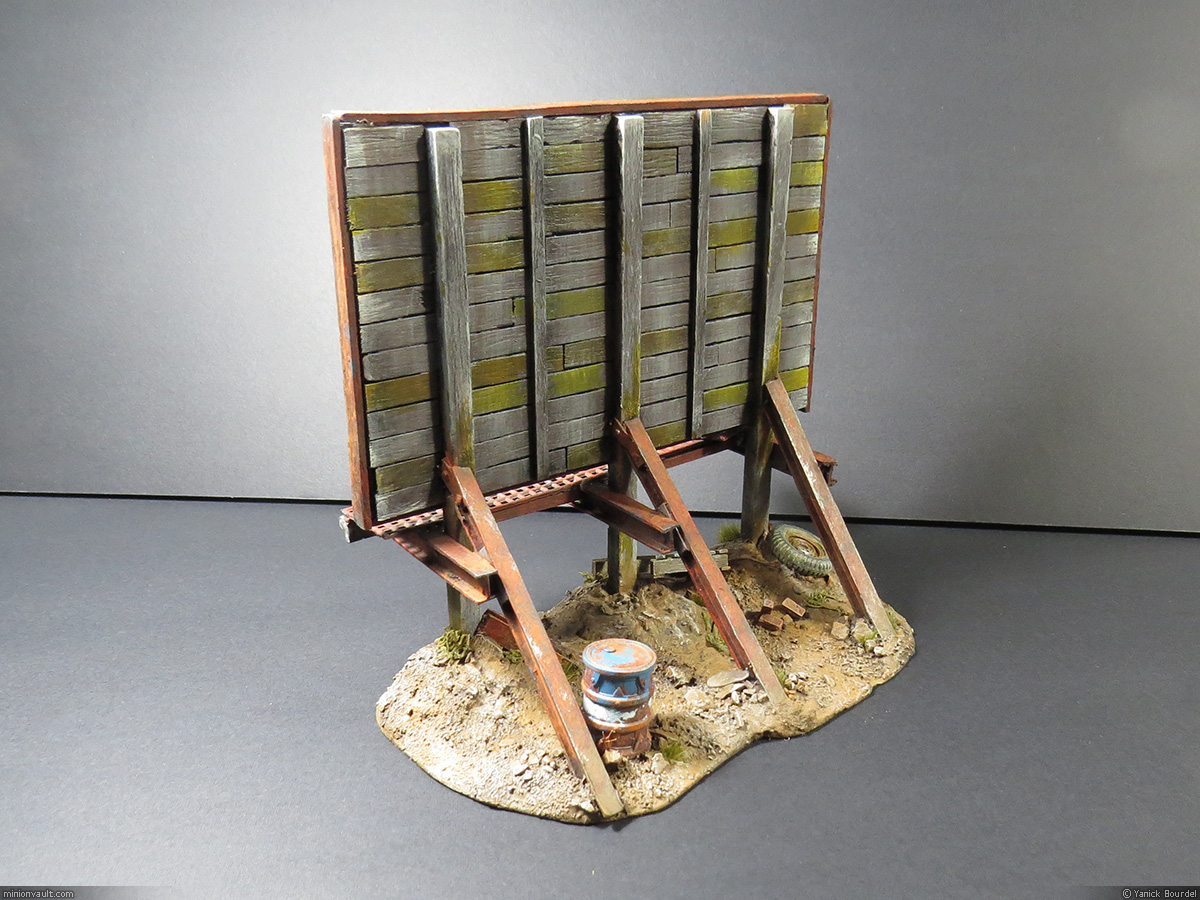
As an appetizer, here are a few pics from my Fallout Nuka-Cola sign, inspired by similar projects I have seen on Youtube.
The piece is made mostly from balsa, popsicle sticks, “Granny grating” and a few 3d printed props, such as an oil barrel and a truck tire (the wood palette was hand made from balsa and coffee stirrers).
I had a lot of fun dabbling in modern / sci-fi building recently (while still crafting medieval fantasy things) and I want to share my results, hoping it will inspire some folks.
Enjoy!