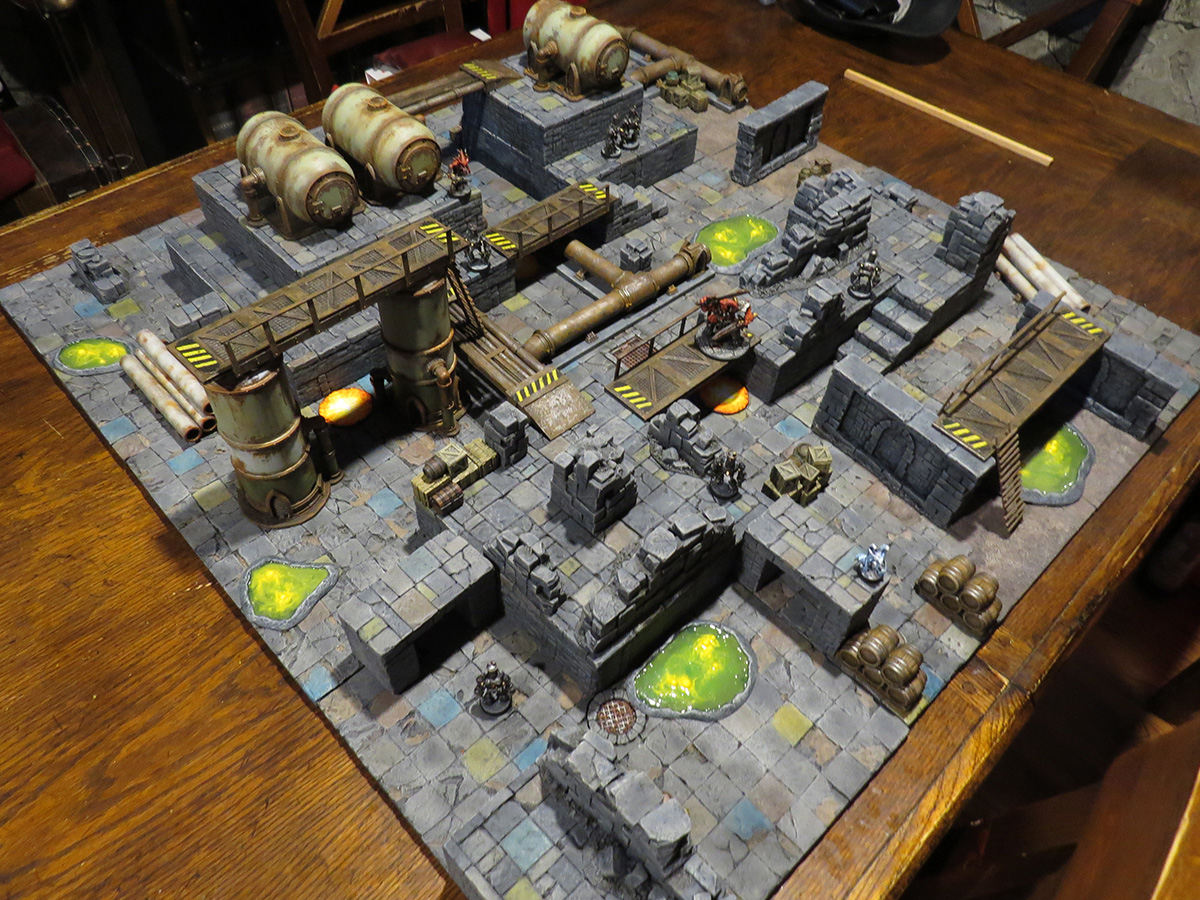
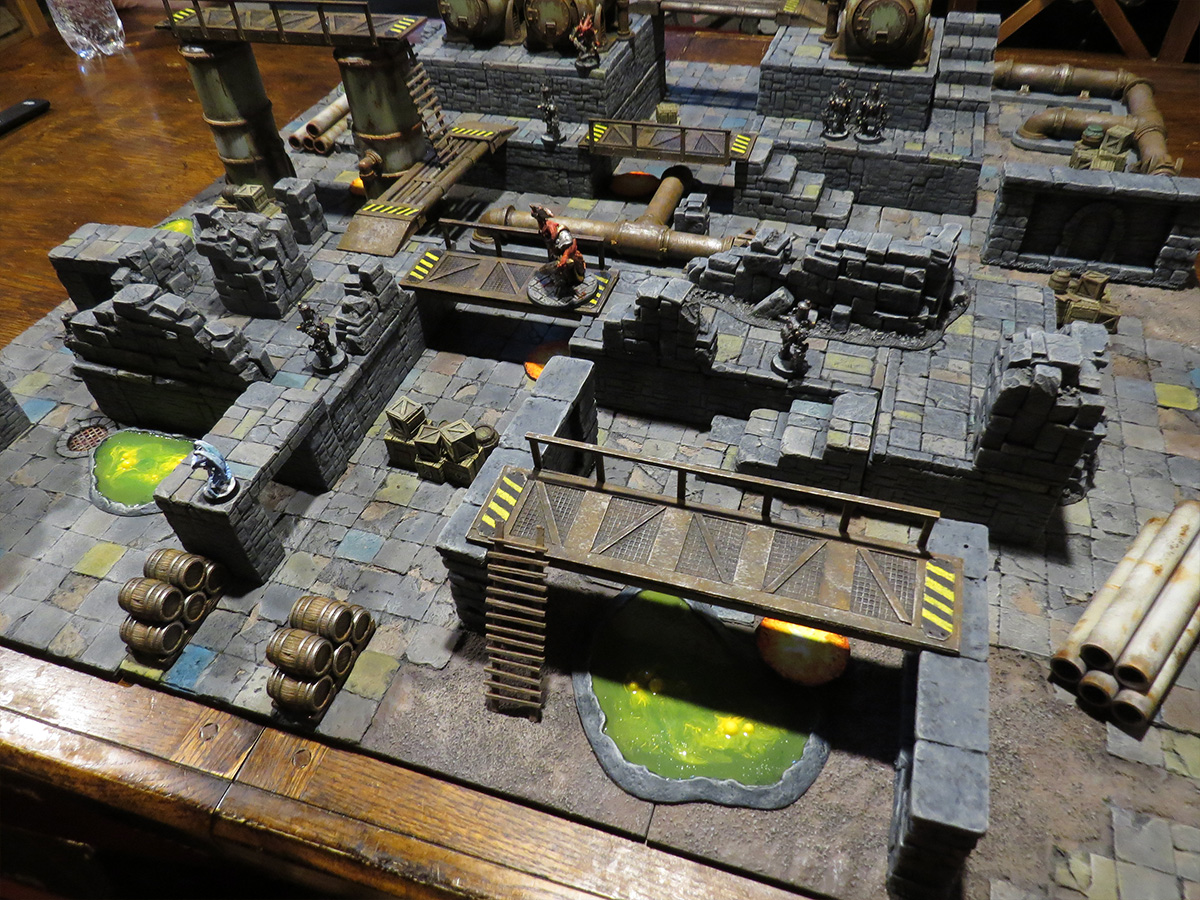
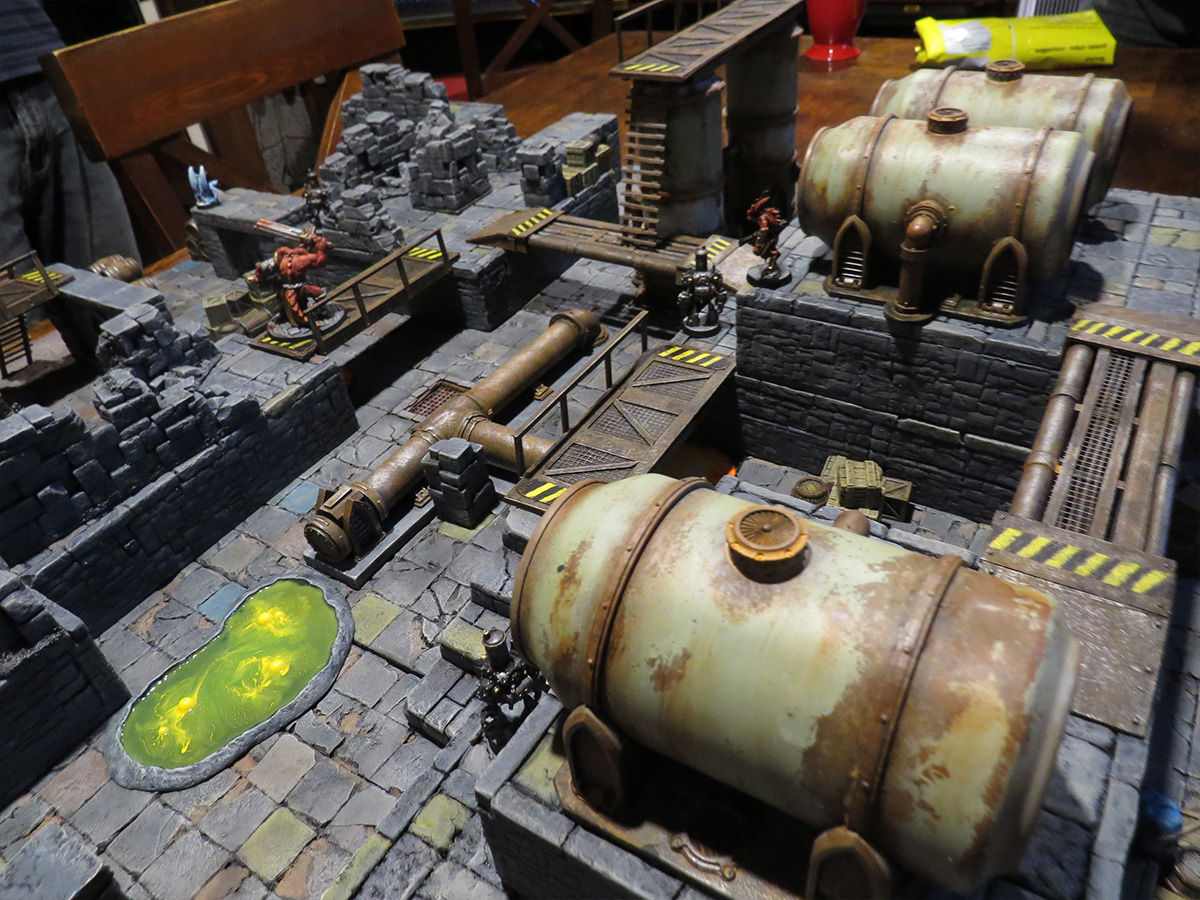
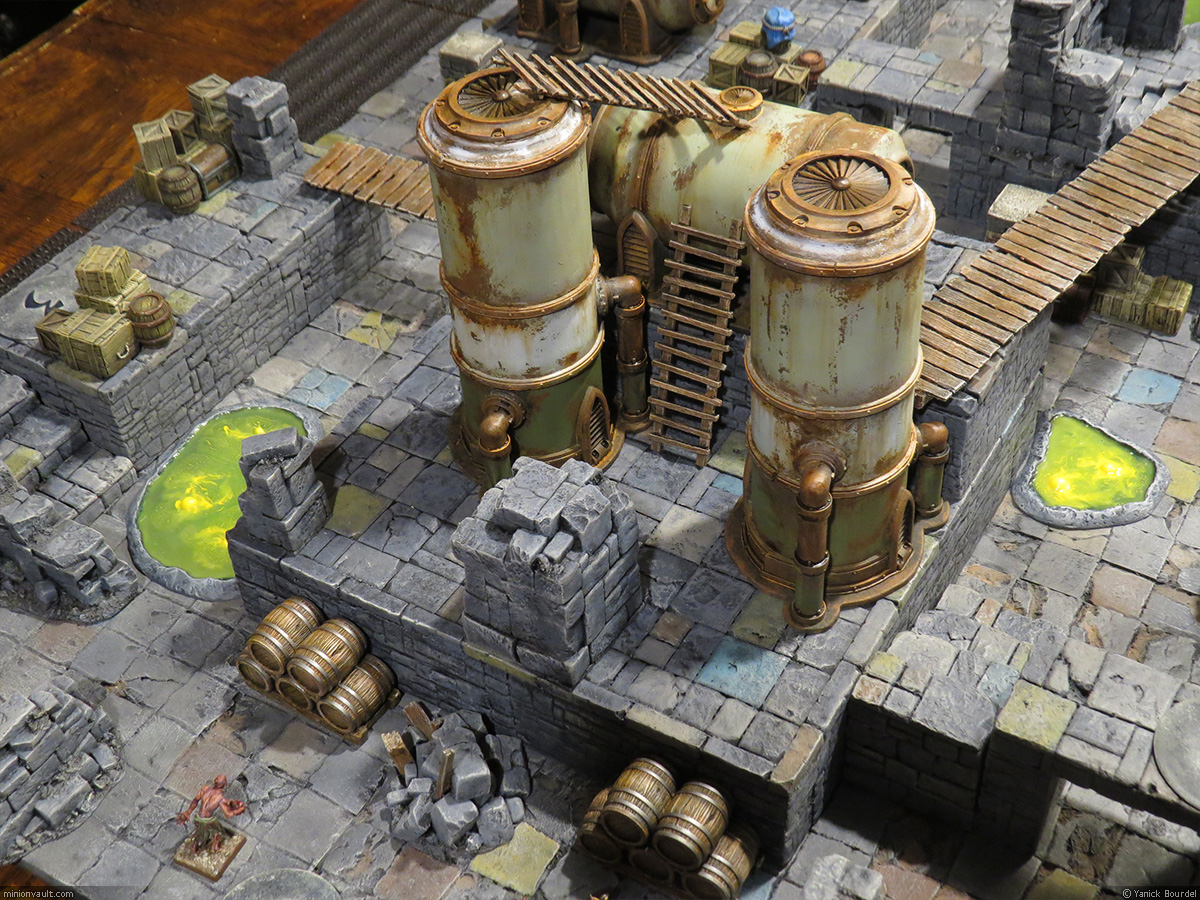
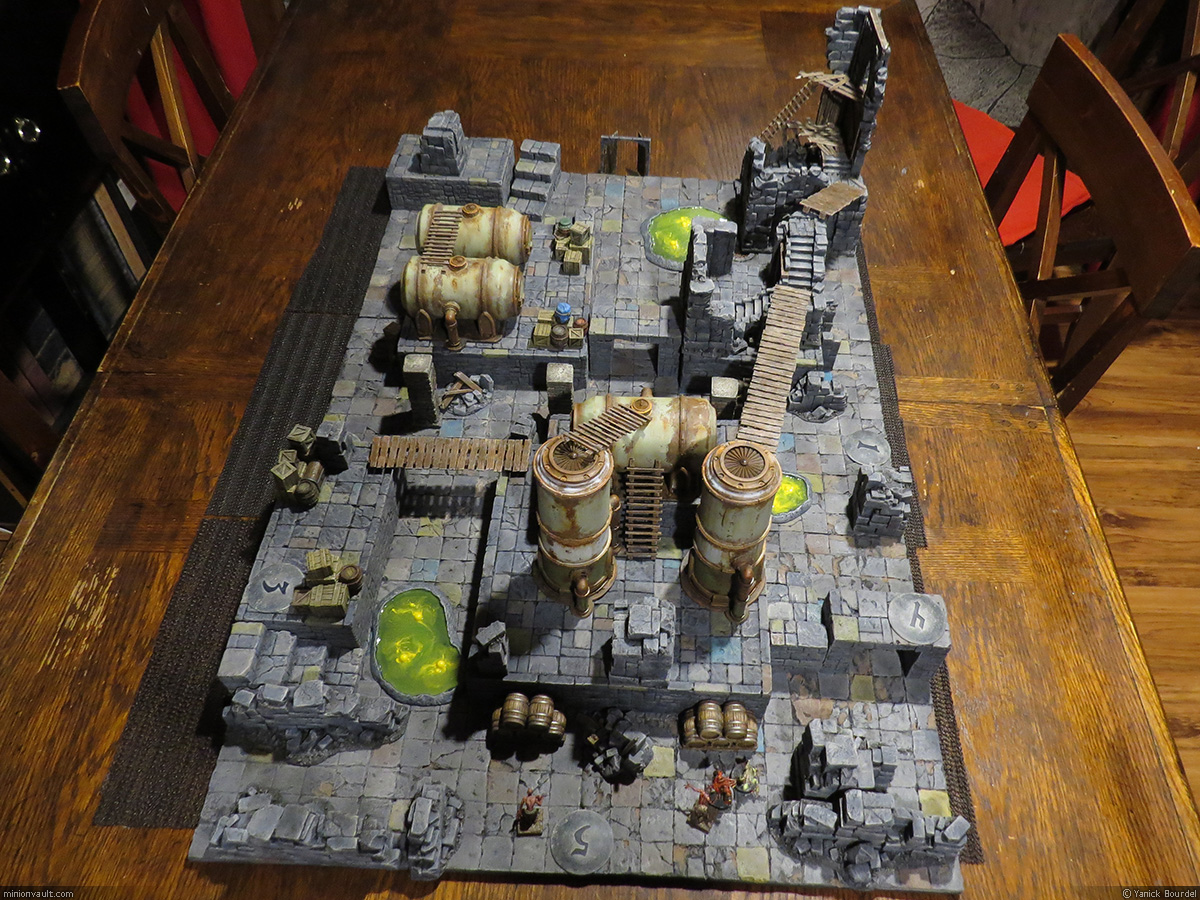
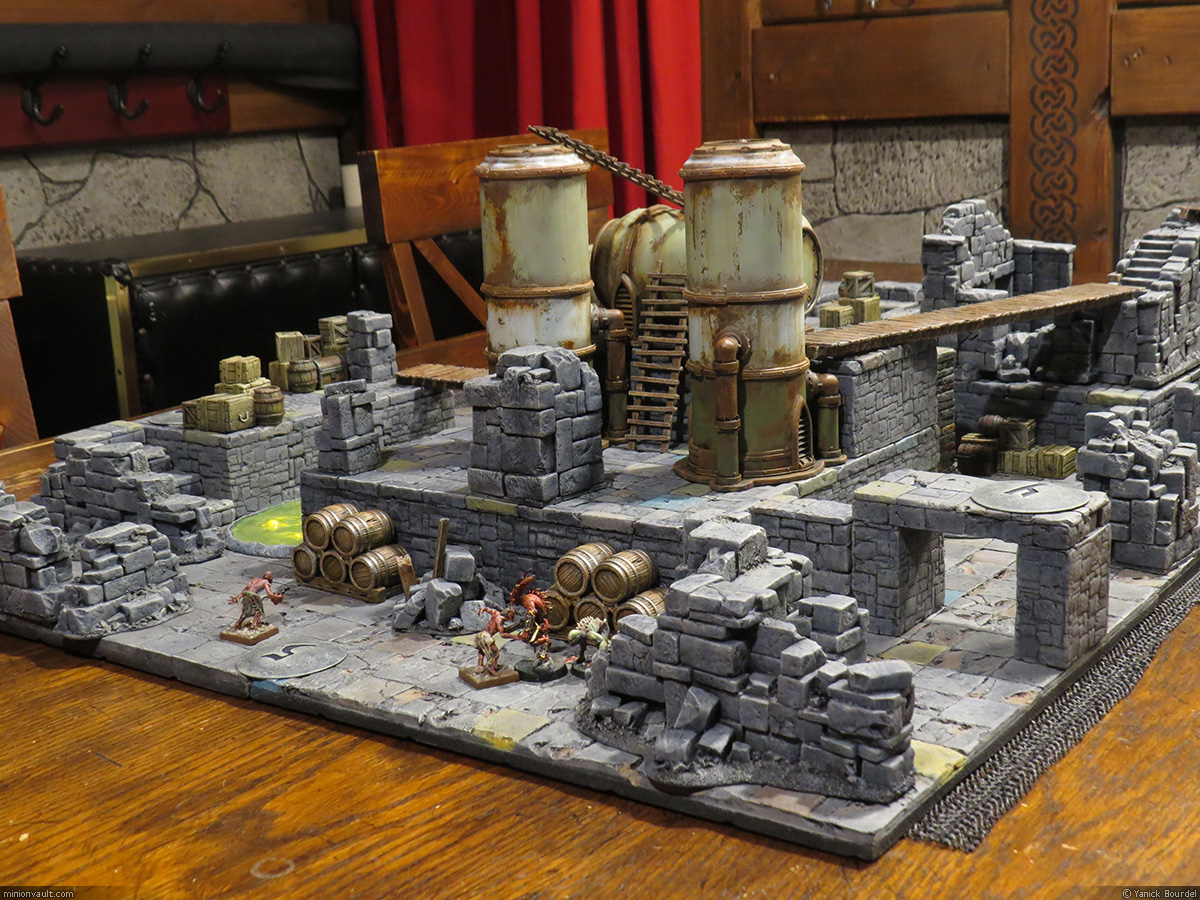
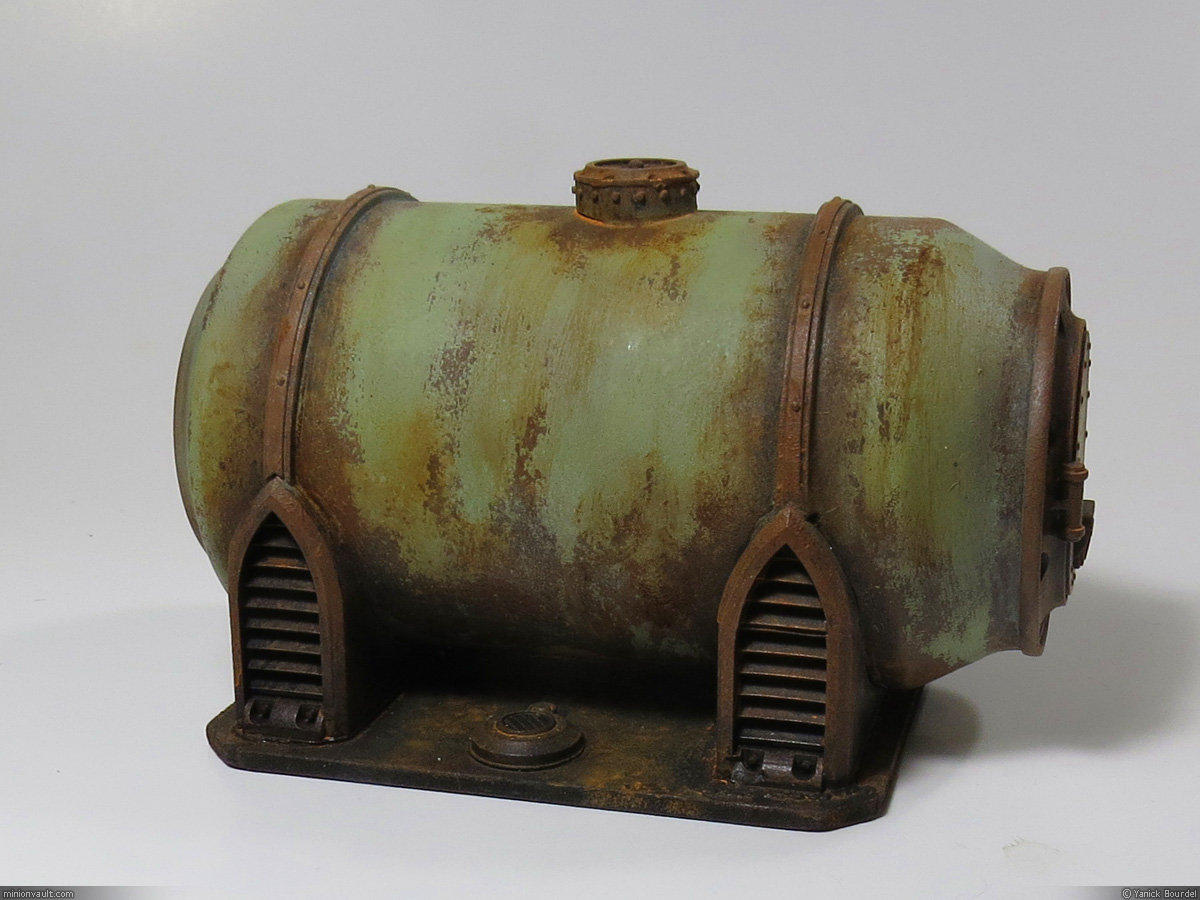
Cool grimdark fuel tanks for modern and sci-fi settings: Perfect for Stargrave or, of course, Warhammer.
I built these quite a while ago, but I recently realized I had never taken any proper close-up photos of them.
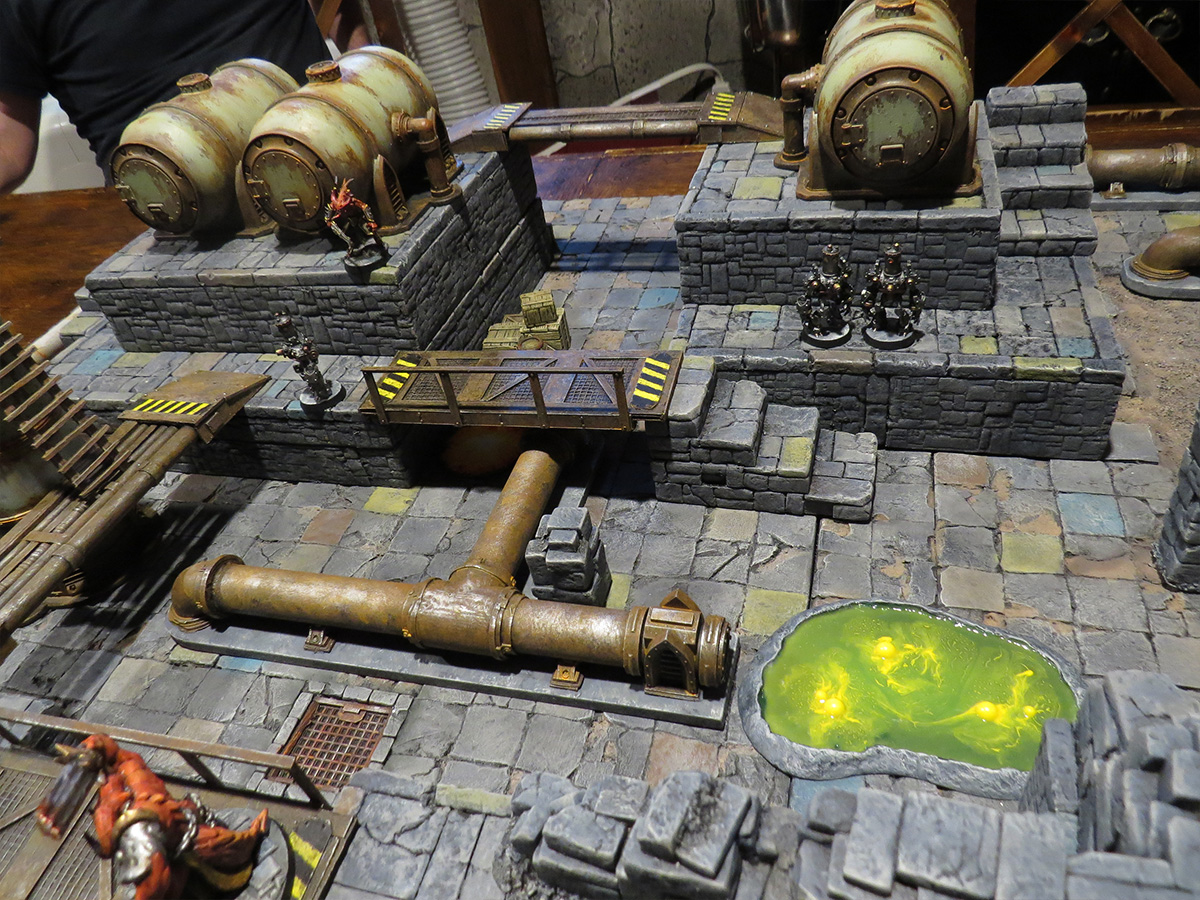
The tanks are made from soda and energy drink cans. I also 3D printed a few decorative details (easy to find on Thingiverse) to give them a more industrial look.
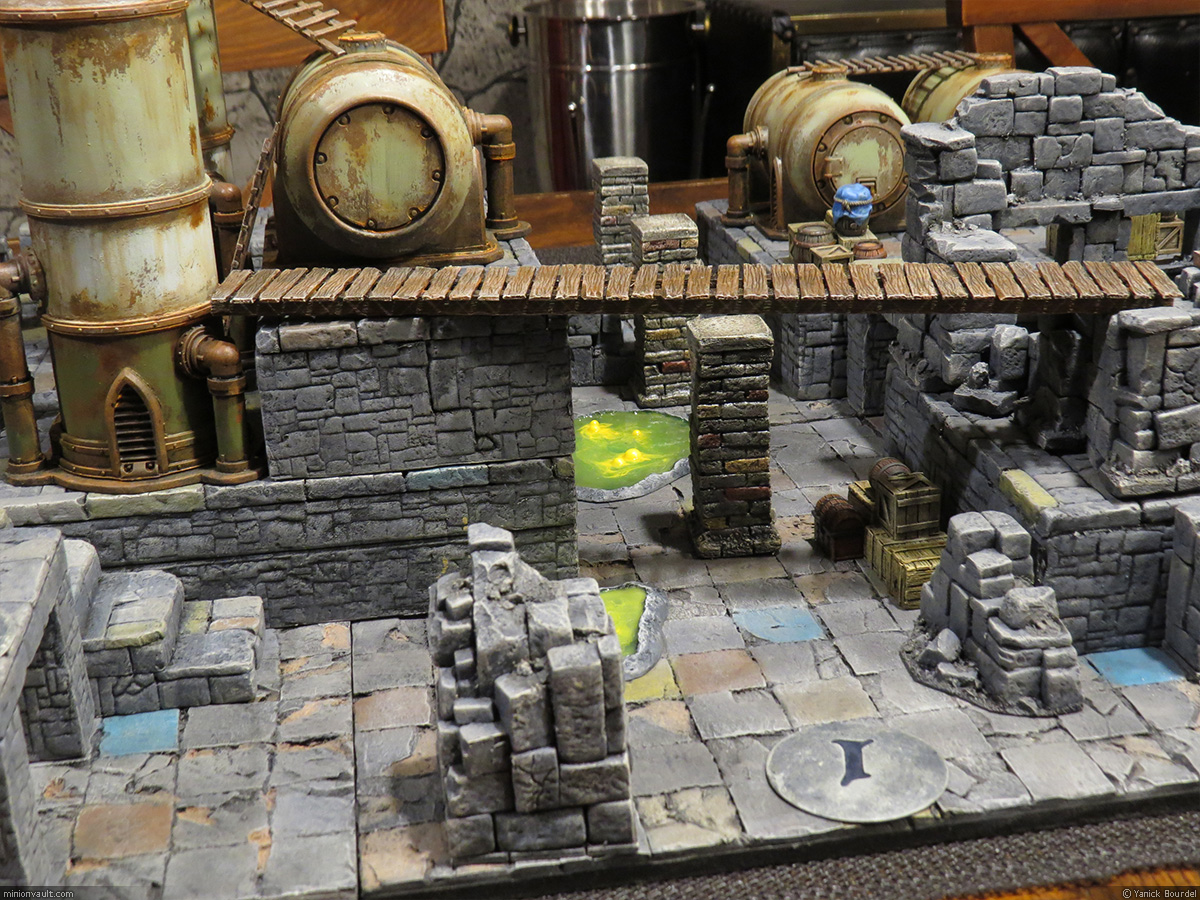
For the paint job, I started with a coat of black primer spray paint, then used a sponge to apply various shades of brown and orange acrylics. Next came a layer of hairspray, followed by several thin coats of pastel colors applied with an airbrush. This hairspray technique allowed me to chip the paint realistically, revealing the “rusted metal” beneath.
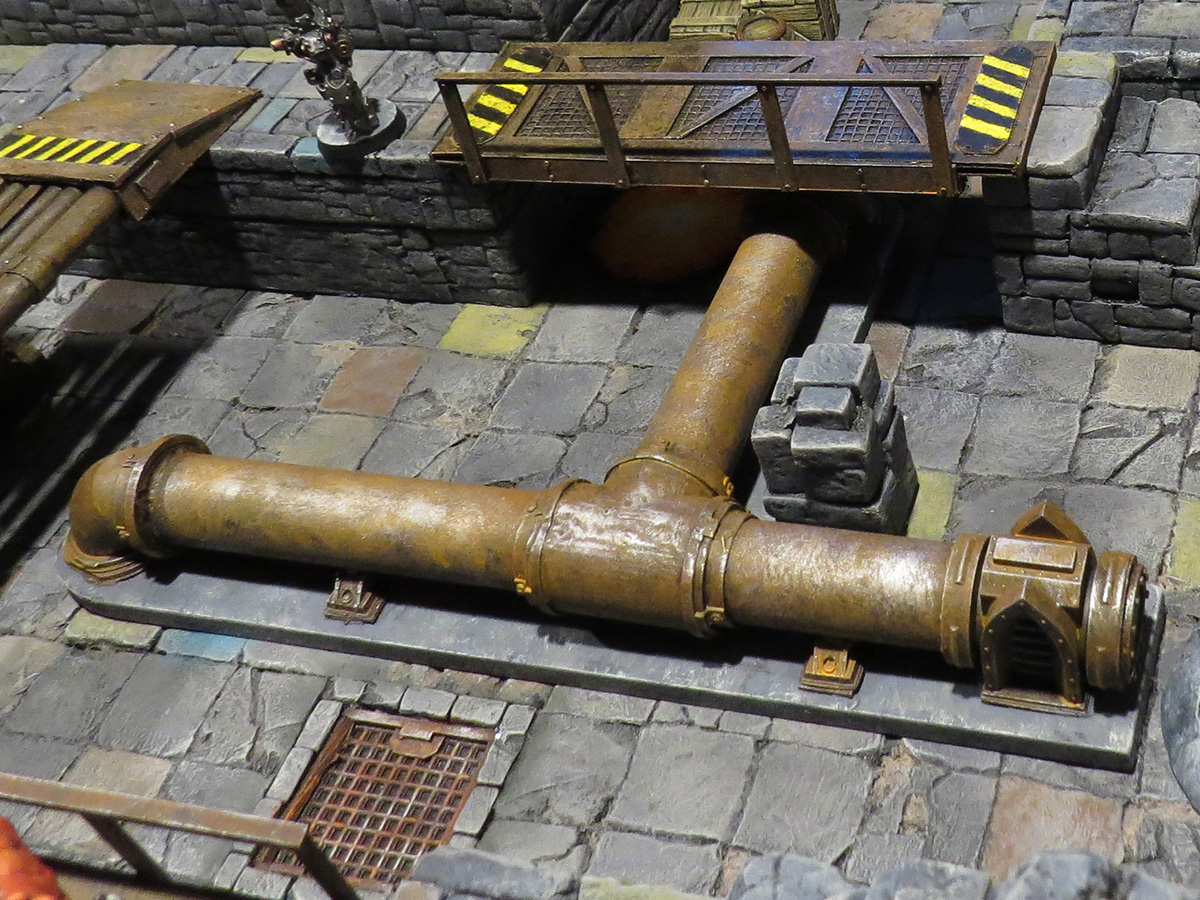
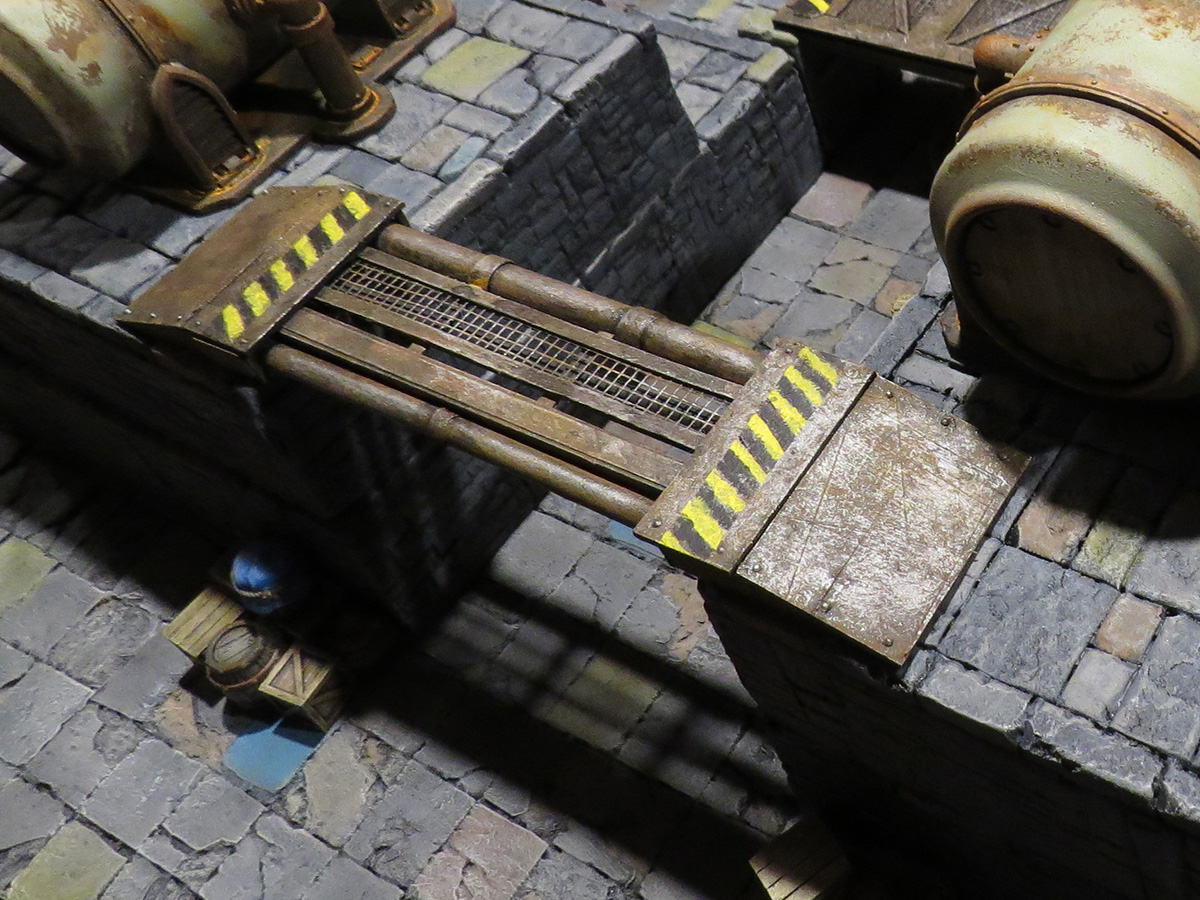
Once everything was dry, I finished the weathering by adding rust streaks with a fine brush.
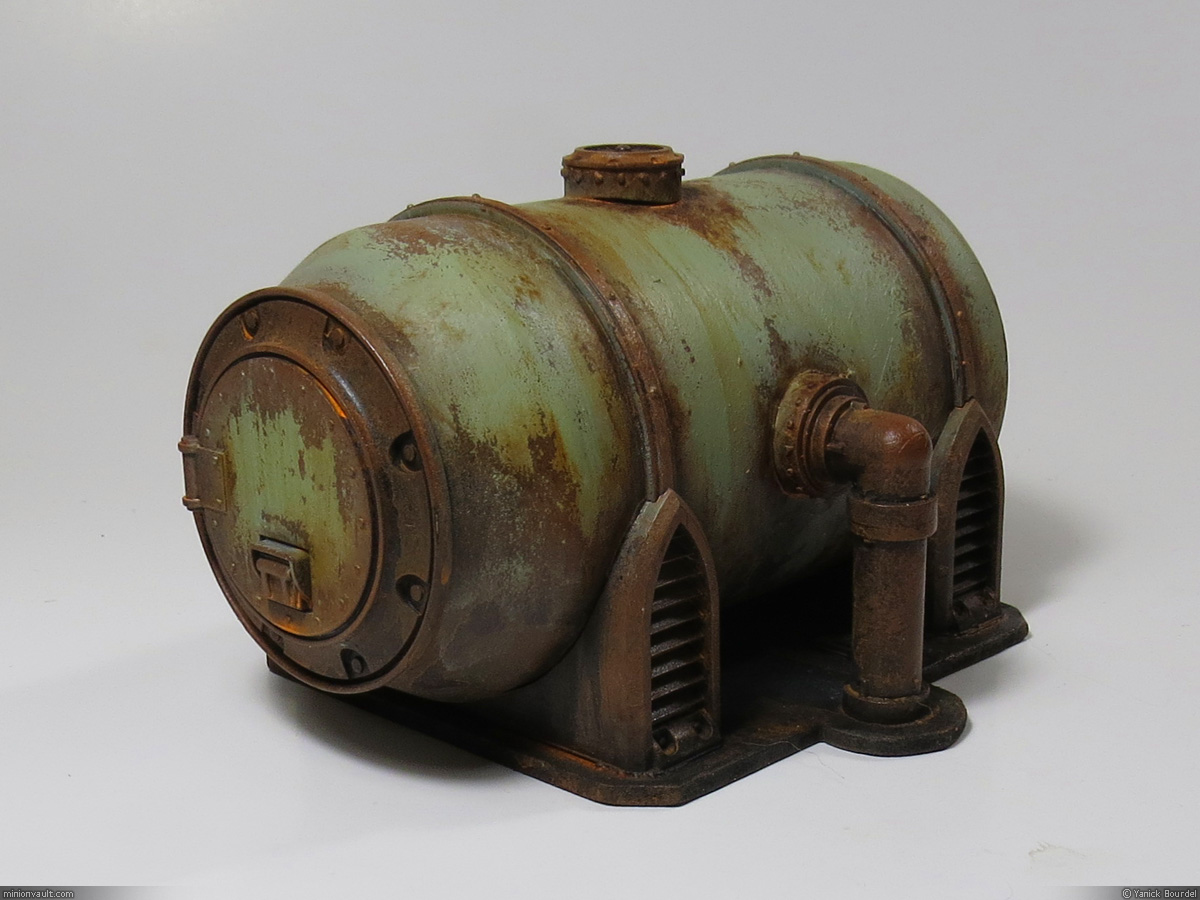
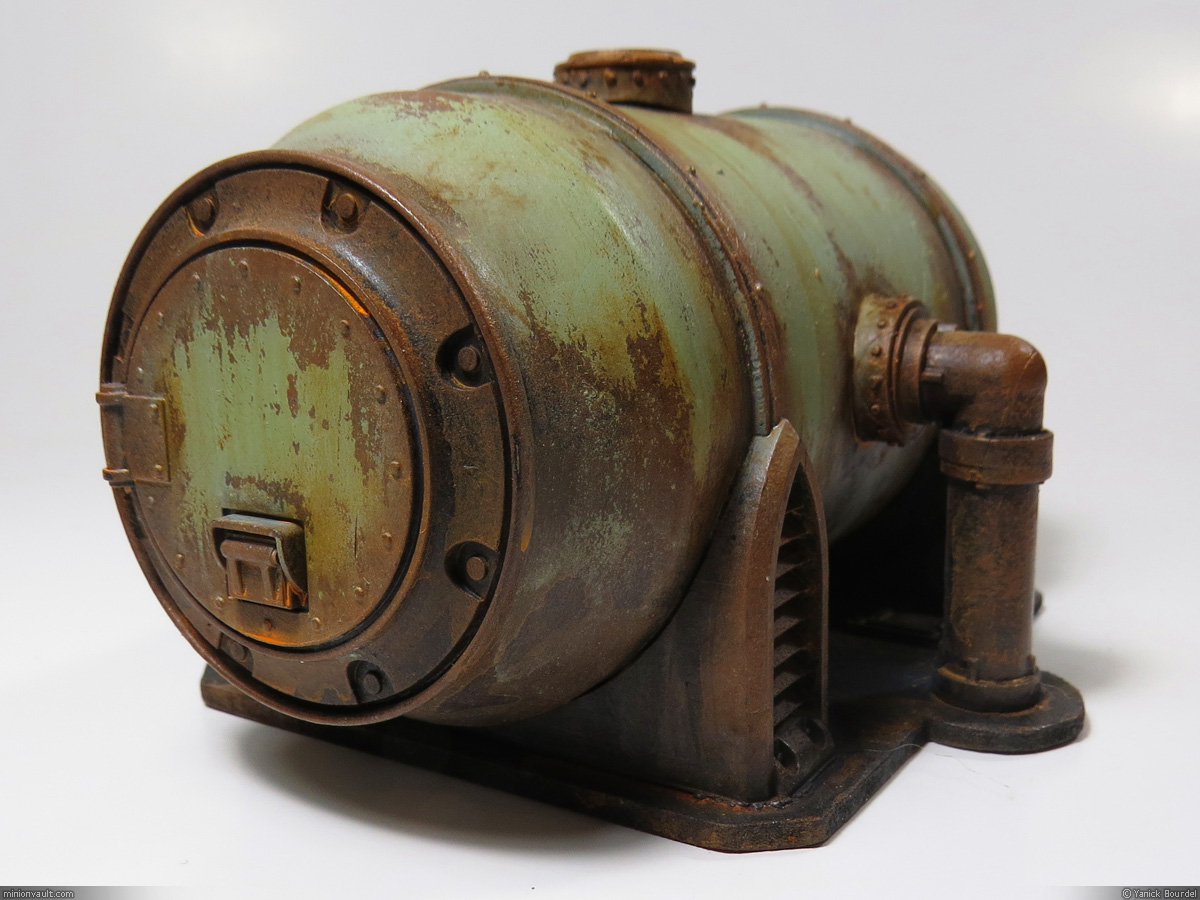
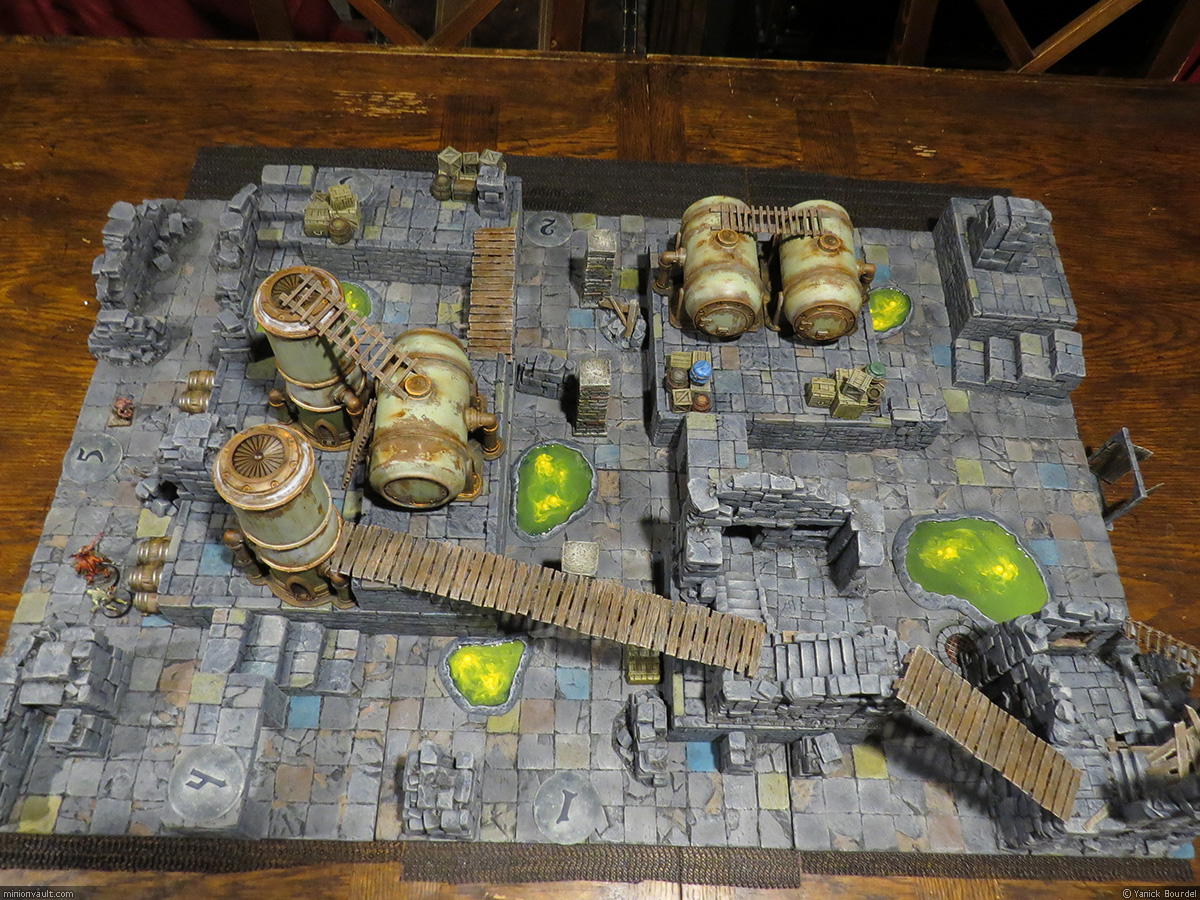
The pieces are mounted on MDF bases, which I painted to resemble worn concrete.
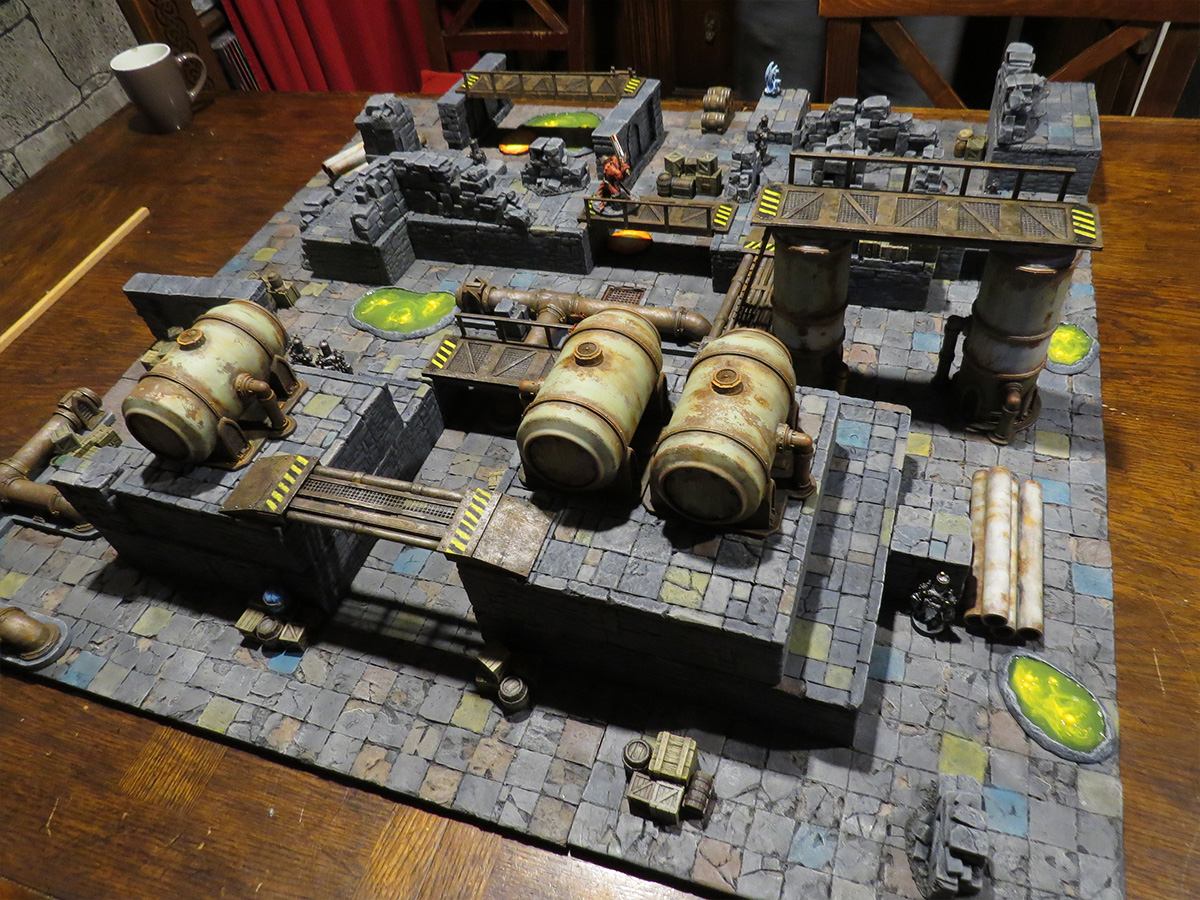
I’m quite pleased with how they turned out!