I just realized that I forgot to post an update for my Panzer II restoration.
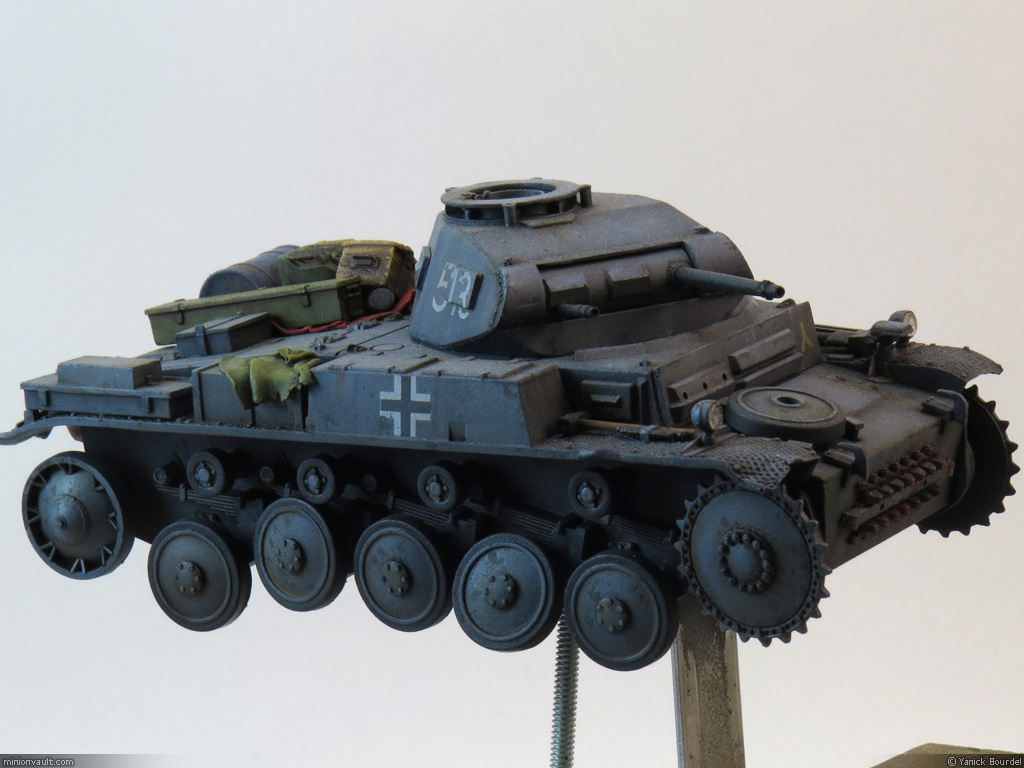
I think it’s quite obvious that the vehicle is in much better shape now (look at its original state in this post).
Back in june 2020, I almost completed the paint on this little tank, took some photos and… forgot to post them.
I quite like the bluish tint of my panzer grey. In fact, I am quite happy with the overall paint job on this one. So much that I’m not quite sure I will proceed with my original plan witch was to half-bury the vehicle in snow and debris…
I have to think about how I am going to use it in a diorama so that it doesn’t steal the show, but at the same time position it so we can appreciate the paint job.
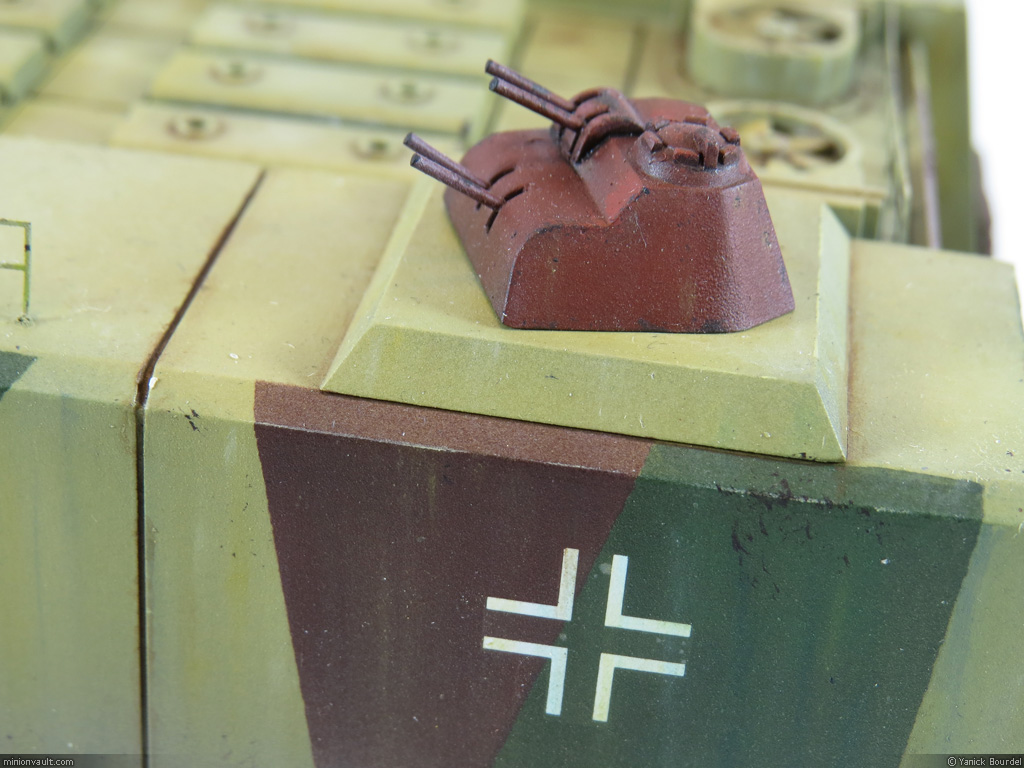
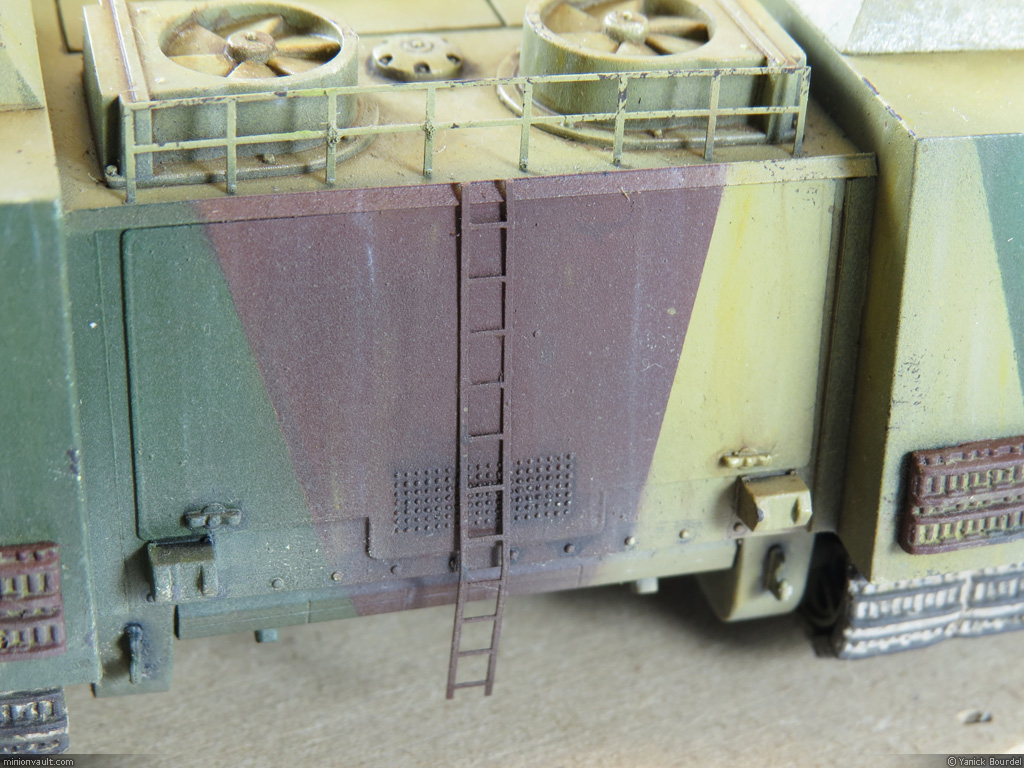
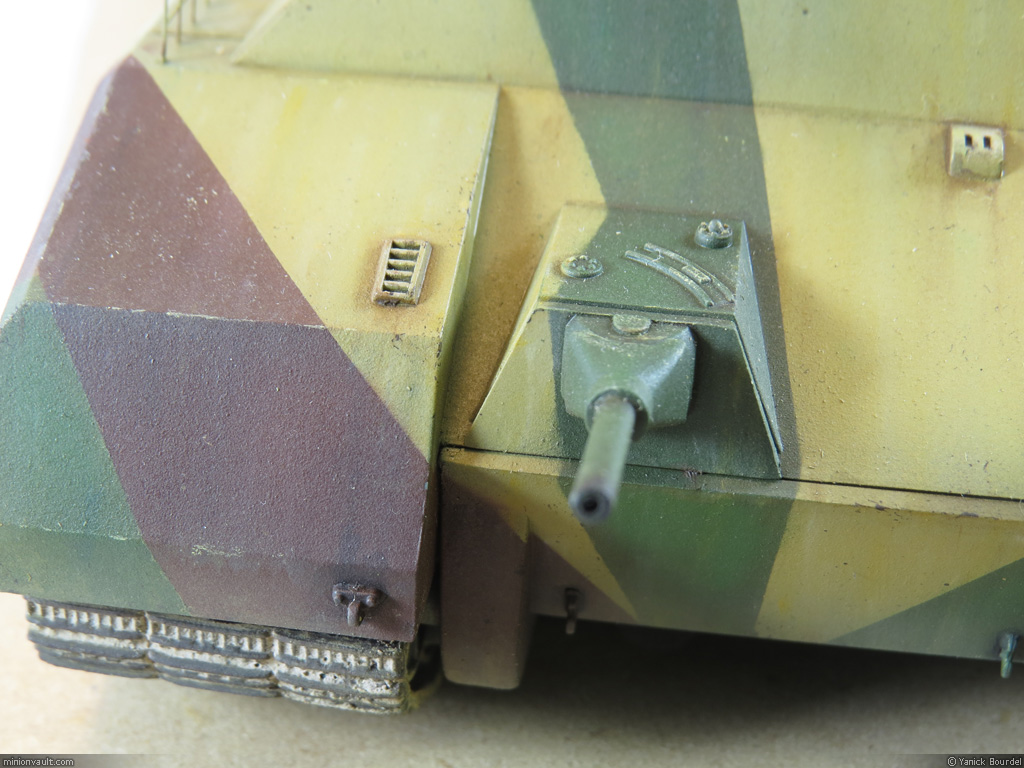
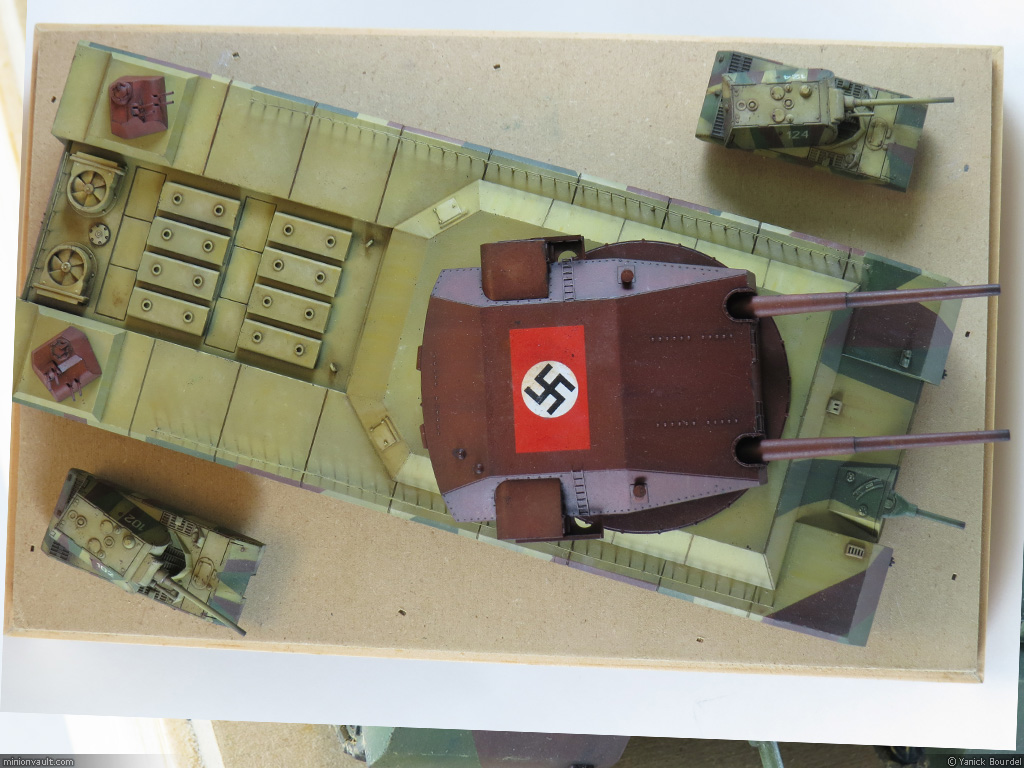
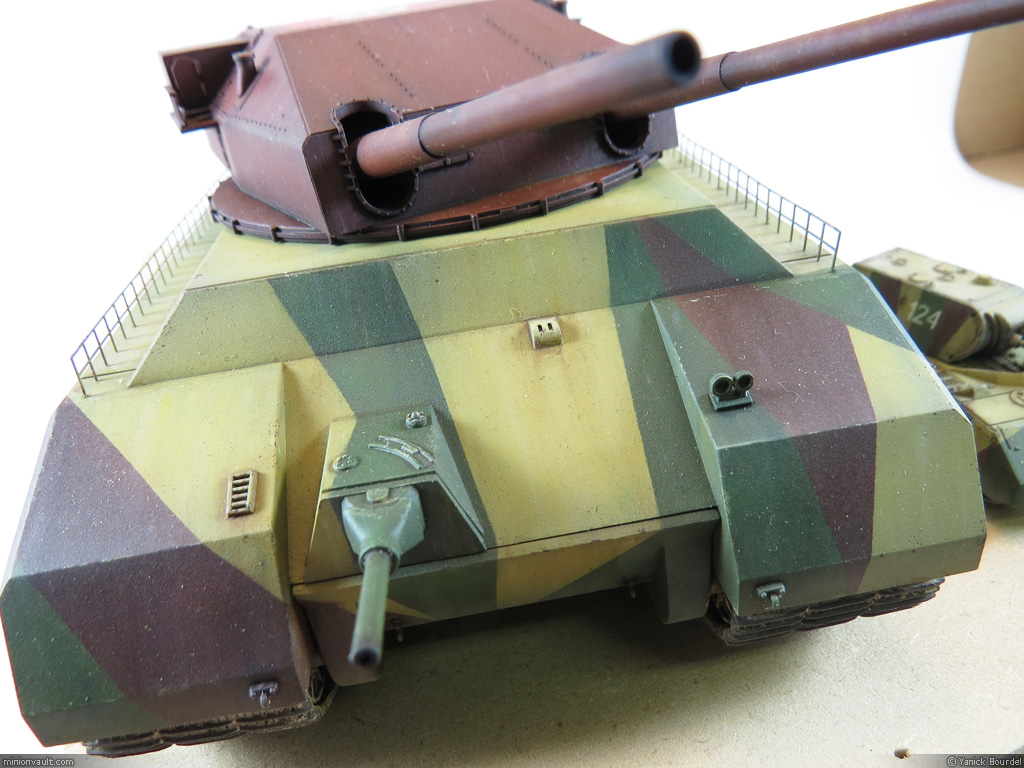
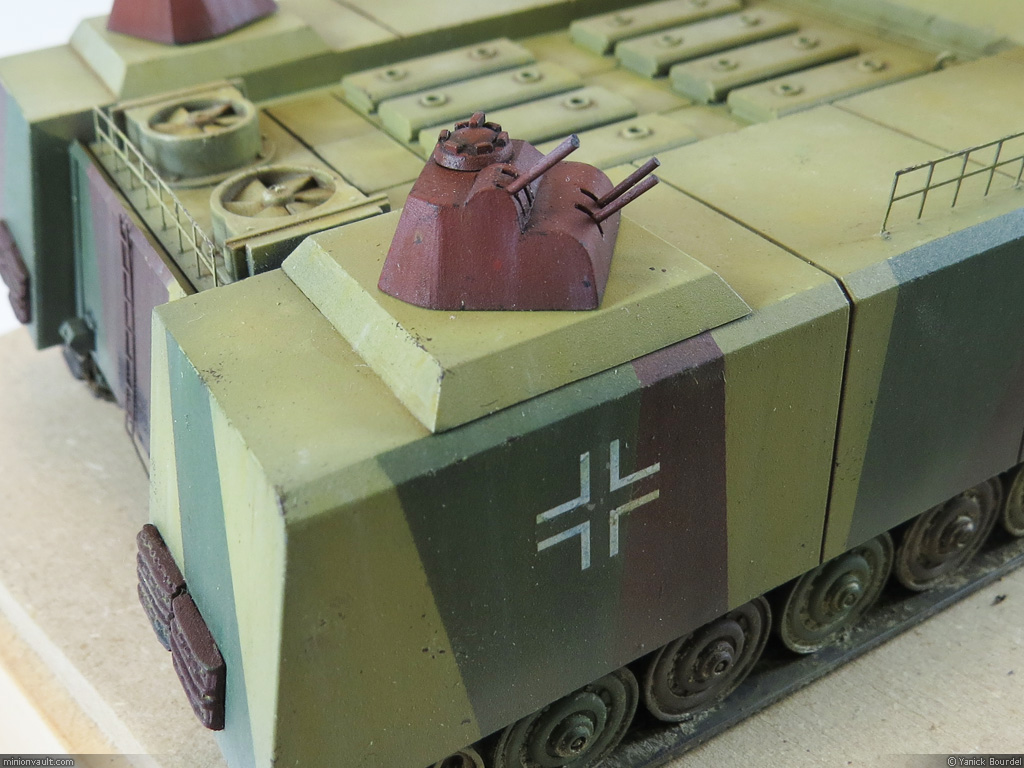
Here are the pictures: