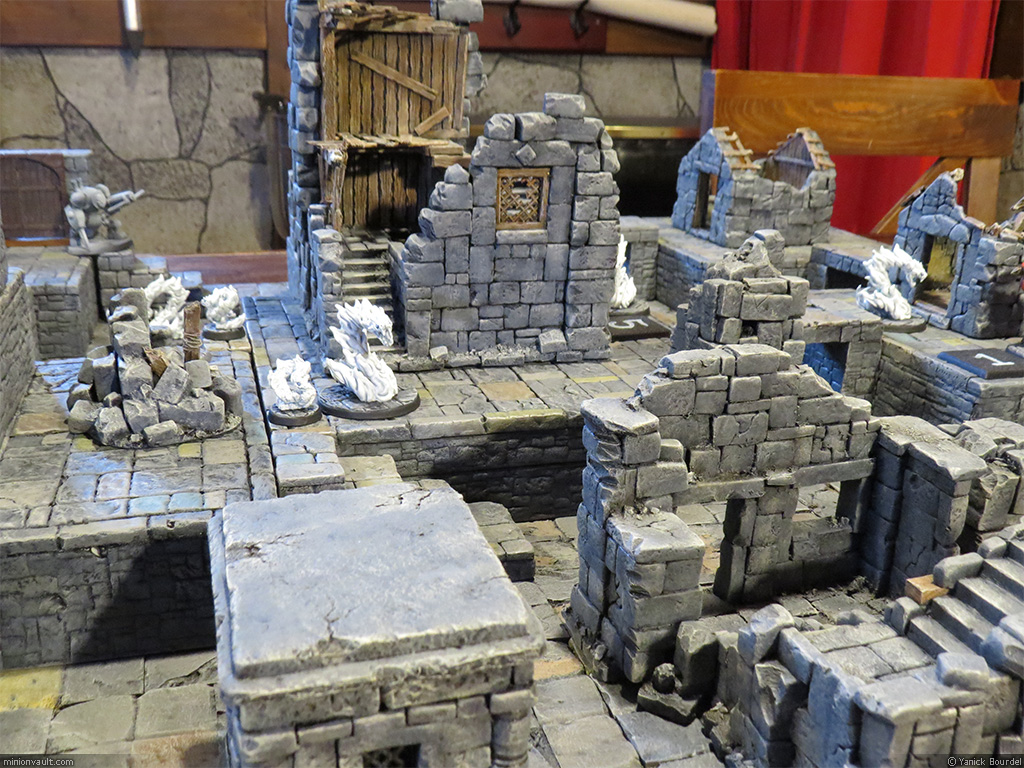
Here is the setup we had for our version of the scenario Skeletal Run from the Dark Alchemy campaign.
No new props in this one, just a different layout and more elevation.
It was a pretty fun game!
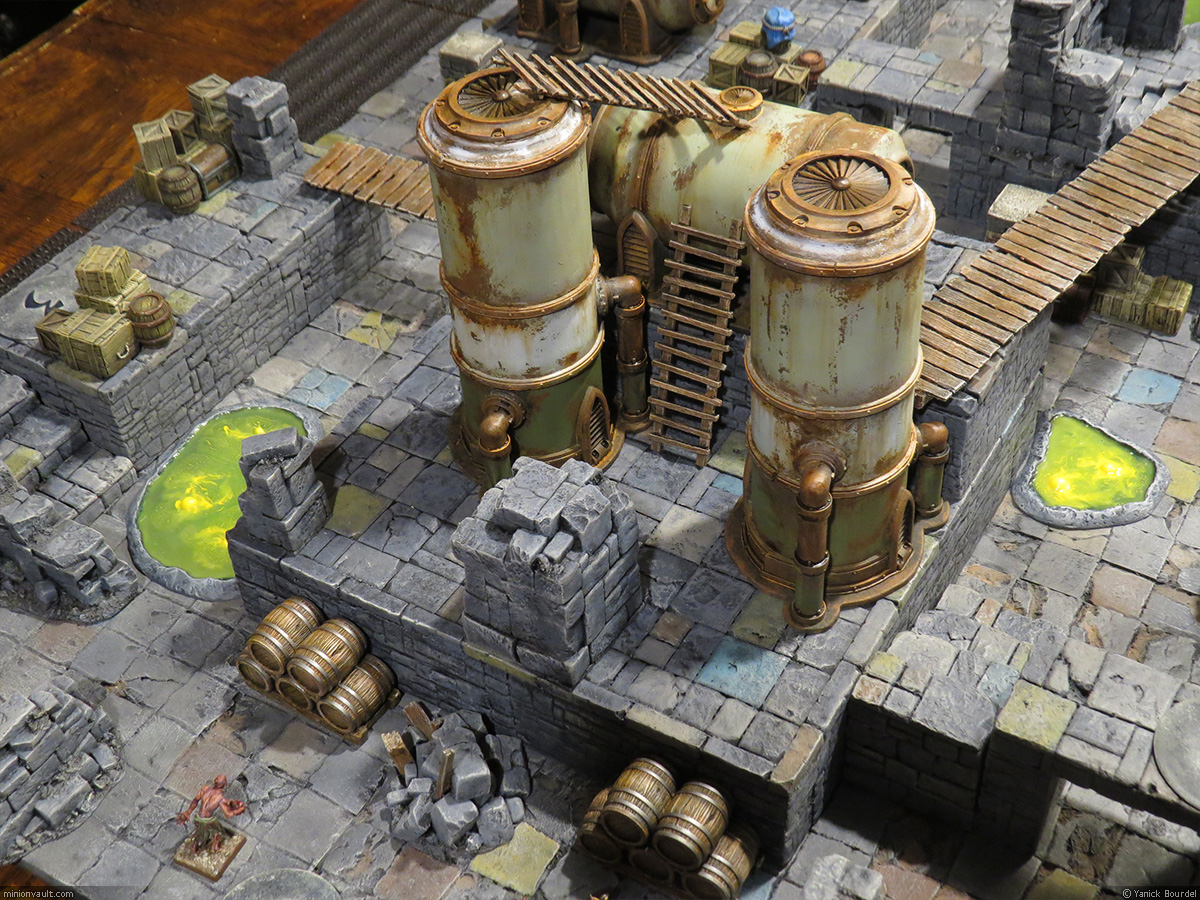
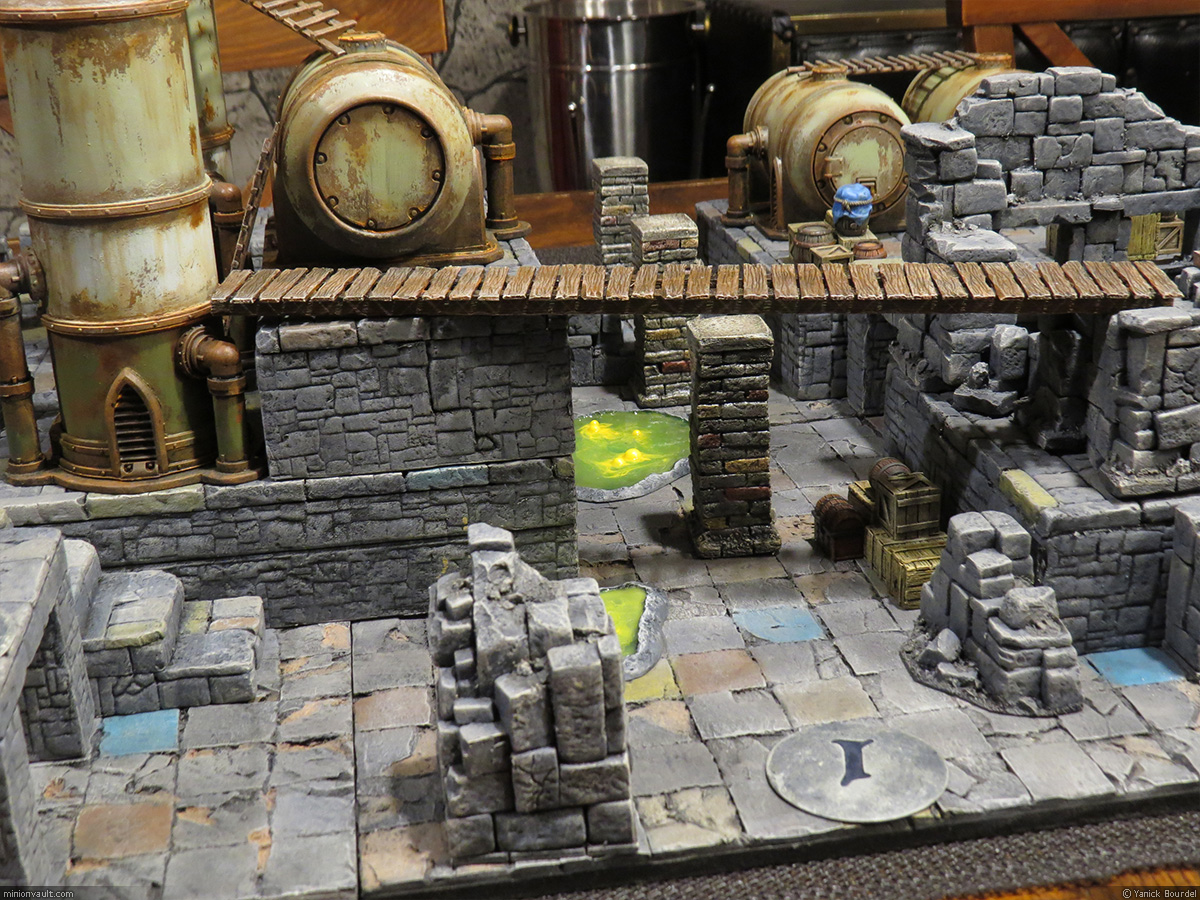


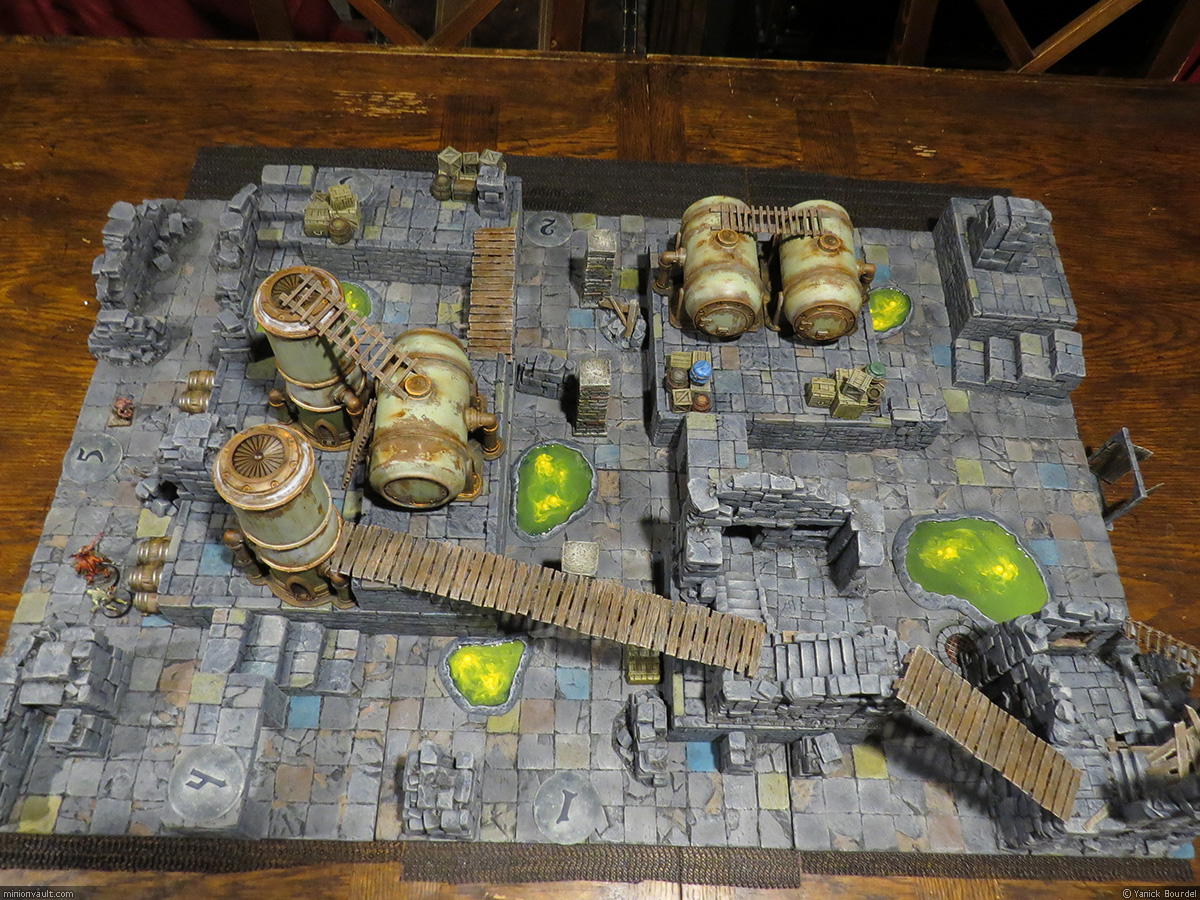
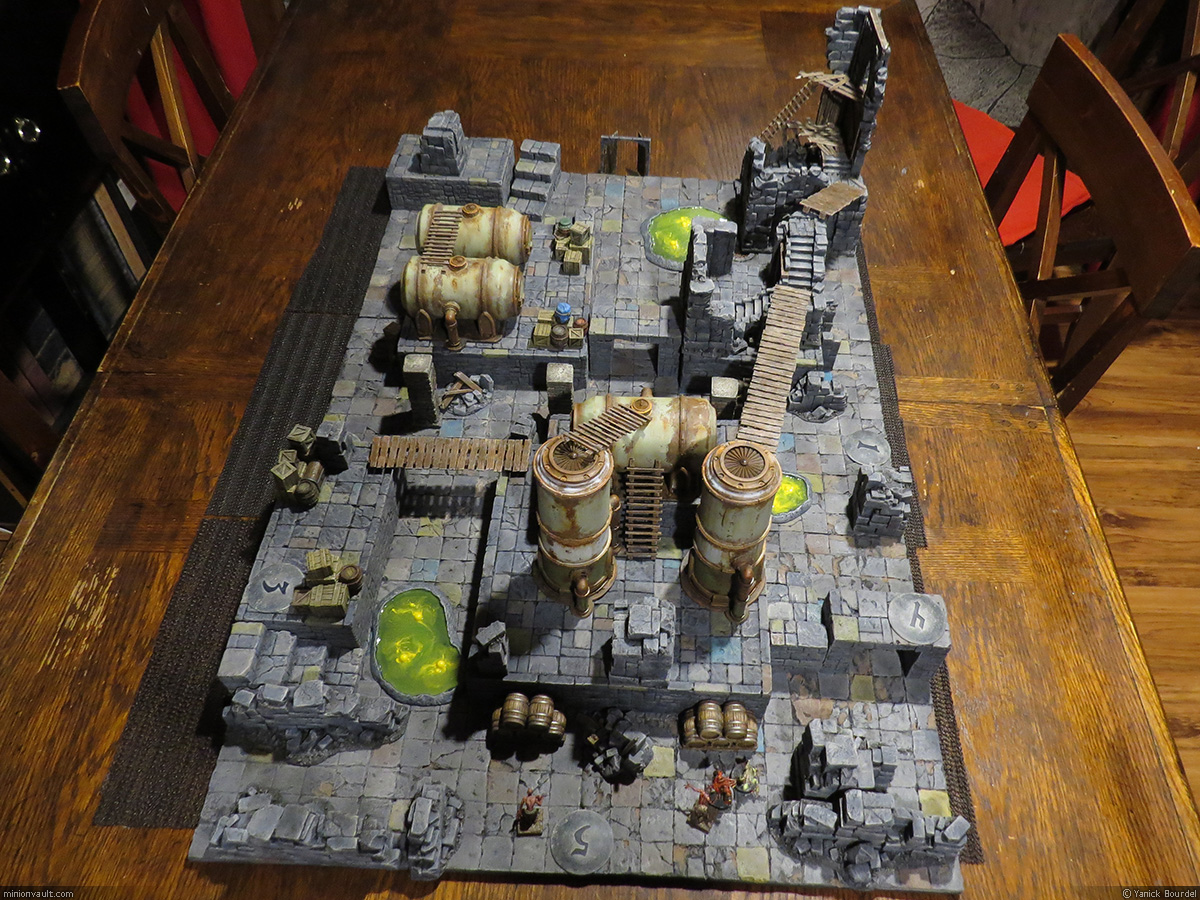


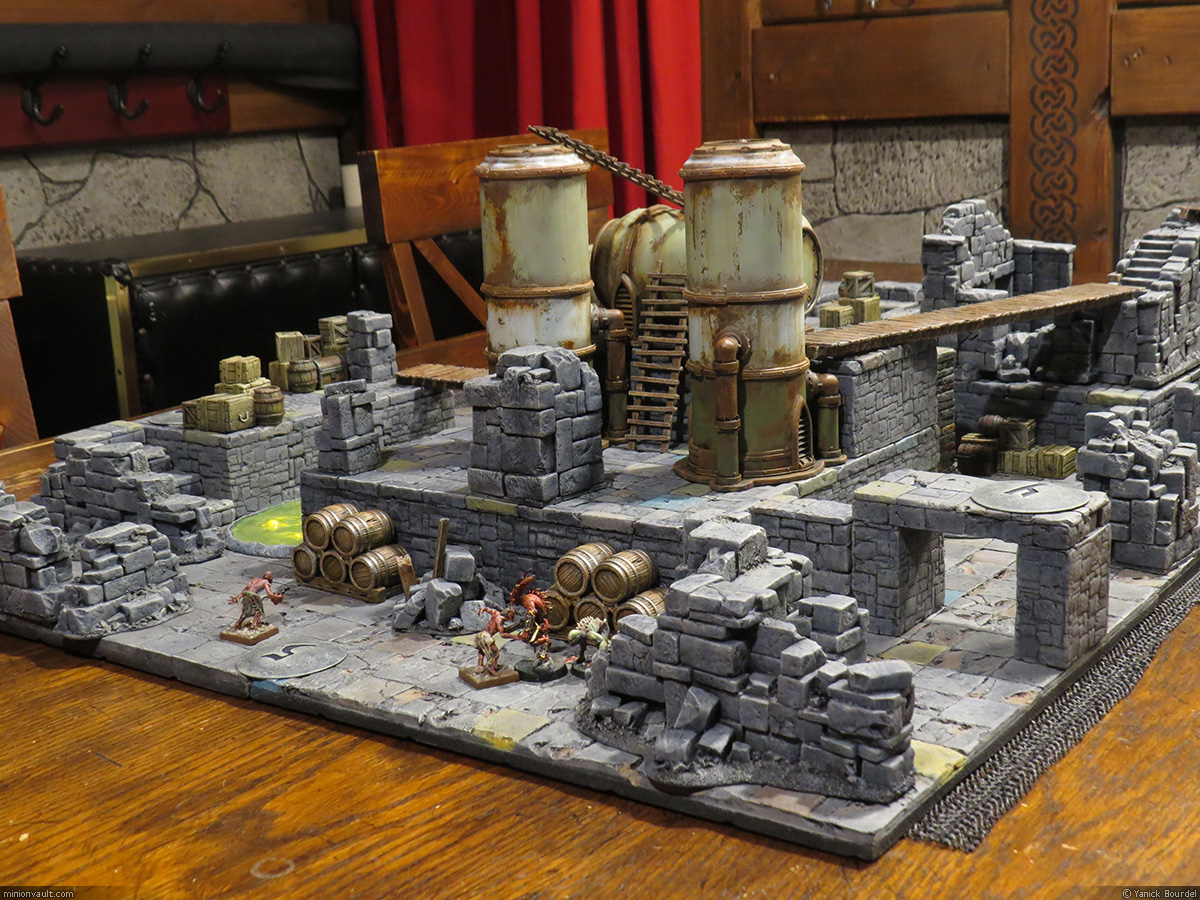
Here is the setup we had for our version of the scenario Skeletal Run from the Dark Alchemy campaign.
No new props in this one, just a different layout and more elevation.
It was a pretty fun game!
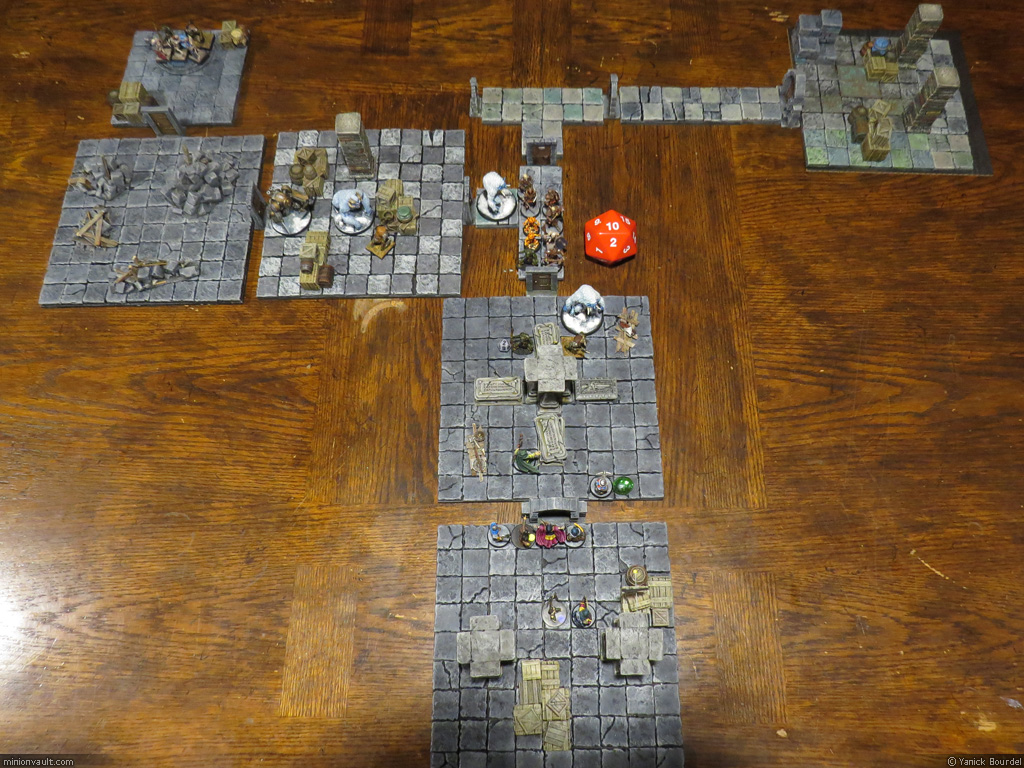
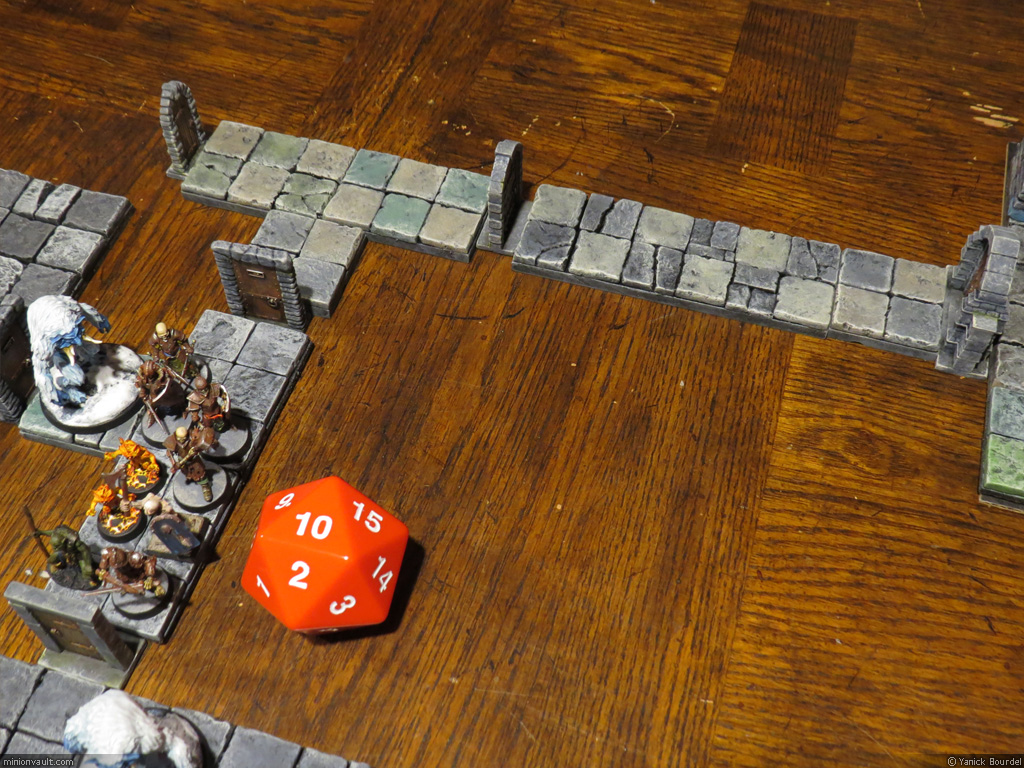
WE’RE ALL GONNA DIE!!!! We played this FrostGrave scenario in coop mode recently. It has an interesting mechanic for generating random rooms to create a dungeon crawl like adventure. But it took so long to play that we had to leave the mission on hold until our next meeting (the big red d20 indicates the current turn… but add 20 to that in fact! We will be beginning turn 31 next time!). And it sure doesn’t look good for our warband members: So many enemies spawned and are currently between us and the exit! This scenario is VERY difficult. I’m starting to think the 3 wizards should bail out (using Teleport spells) and call it a day, leaving the soldiers behind …with the treasures, unfortunately 😦
At least, you can enjoy the pics!





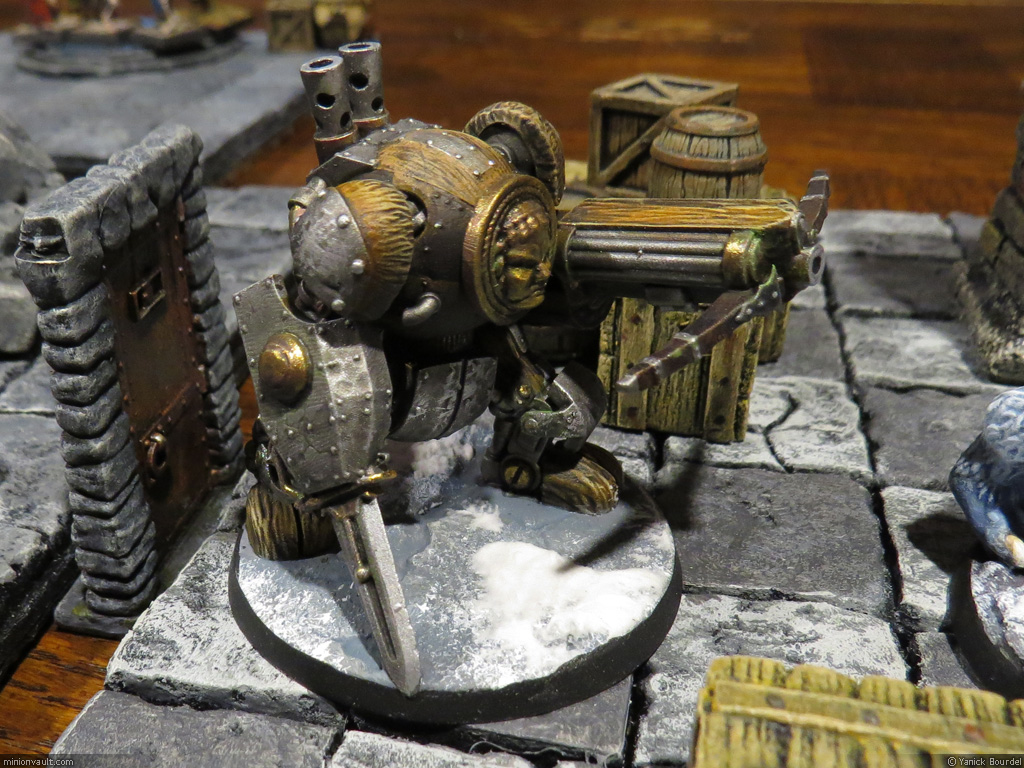


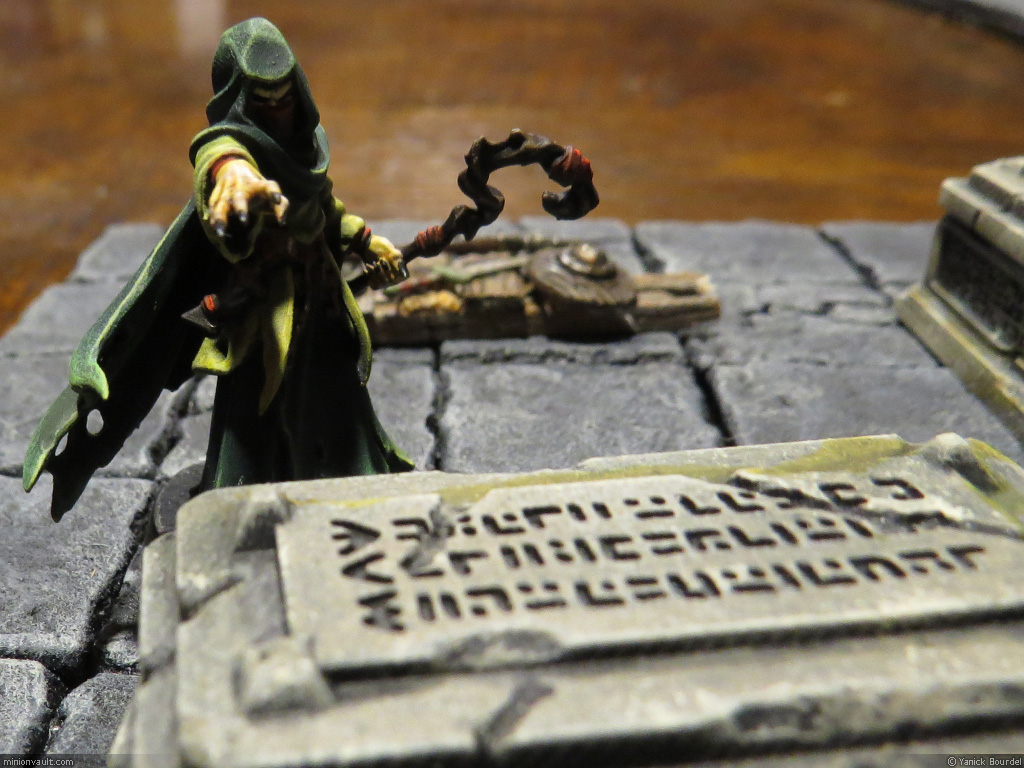


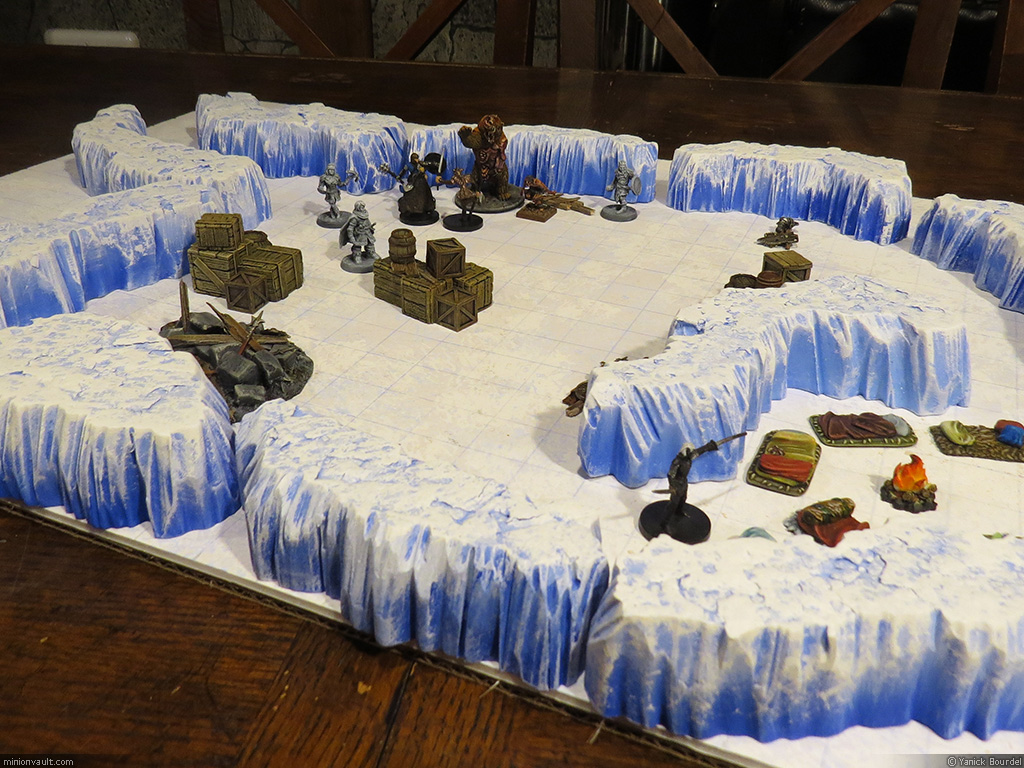
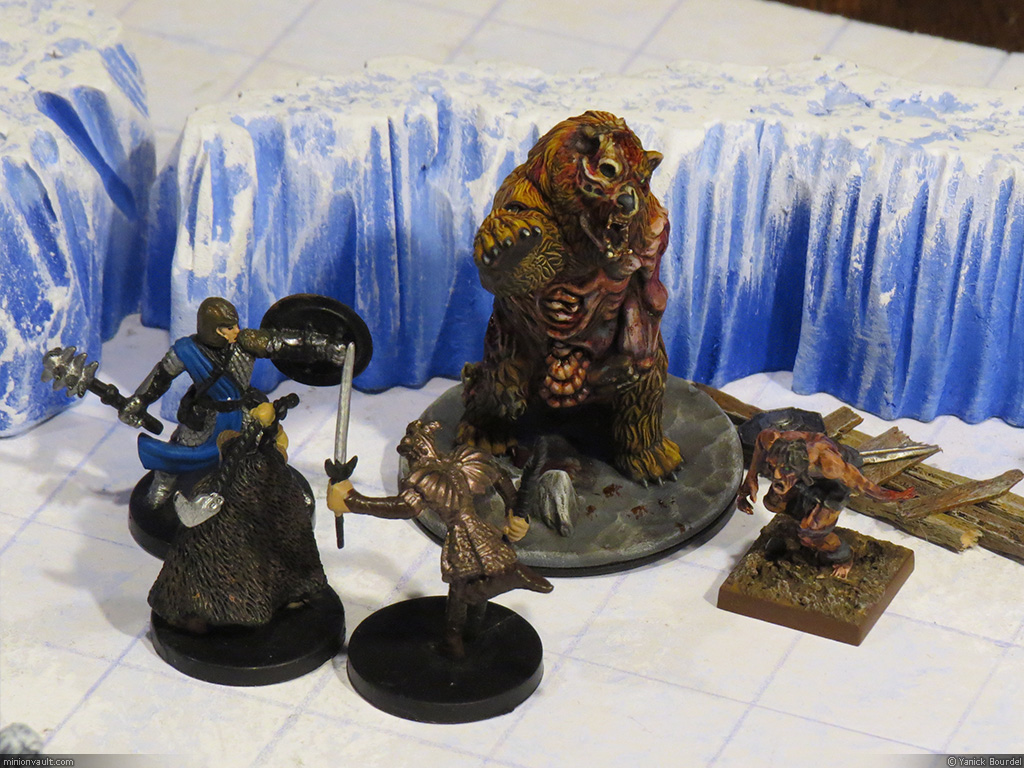
Here are some photos of the first fight of my Rime of the Frostmaiden campaign for D&D.
I have quickly constructed modular ice cave walls and a gridded winter gaming surface (a foamcore board sponge-painted with light blues and greys).
The main bad boy here was a zombie bear (and his zombie friend).
The layout was cool and the fight was fun! YEAH!


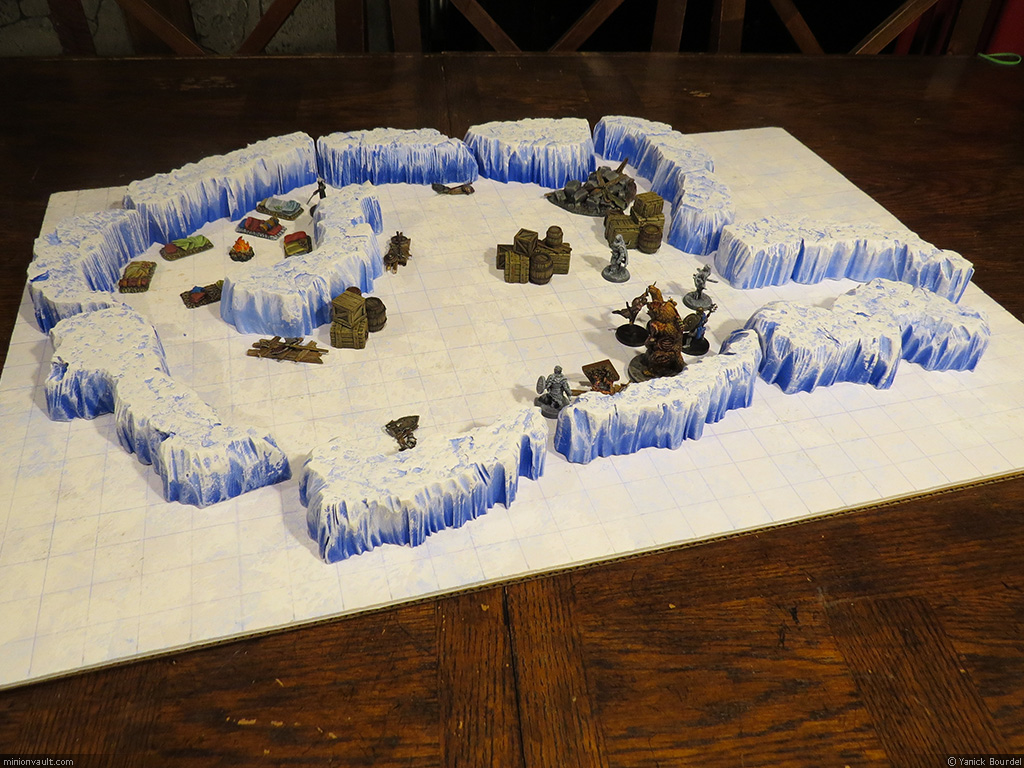

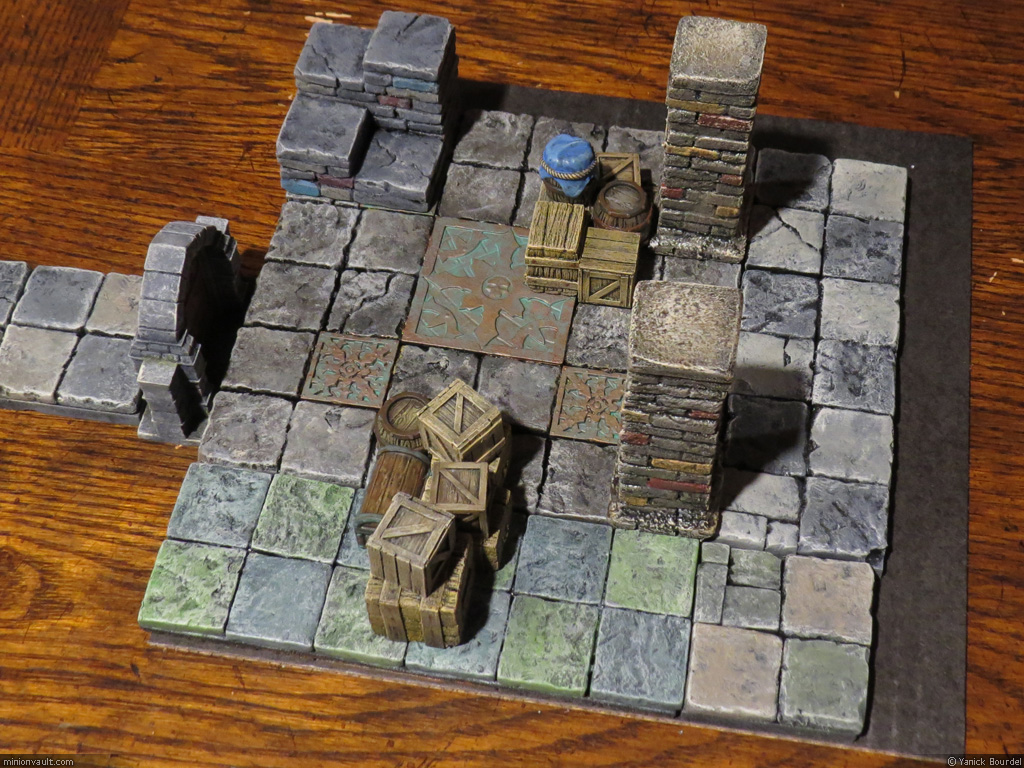
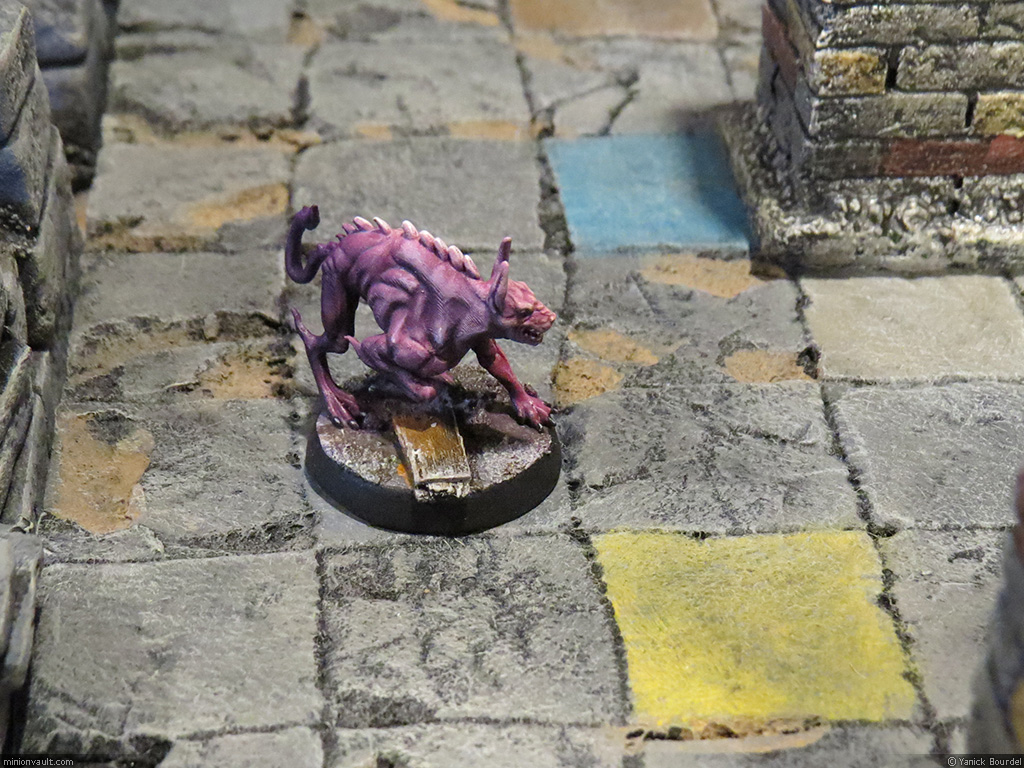
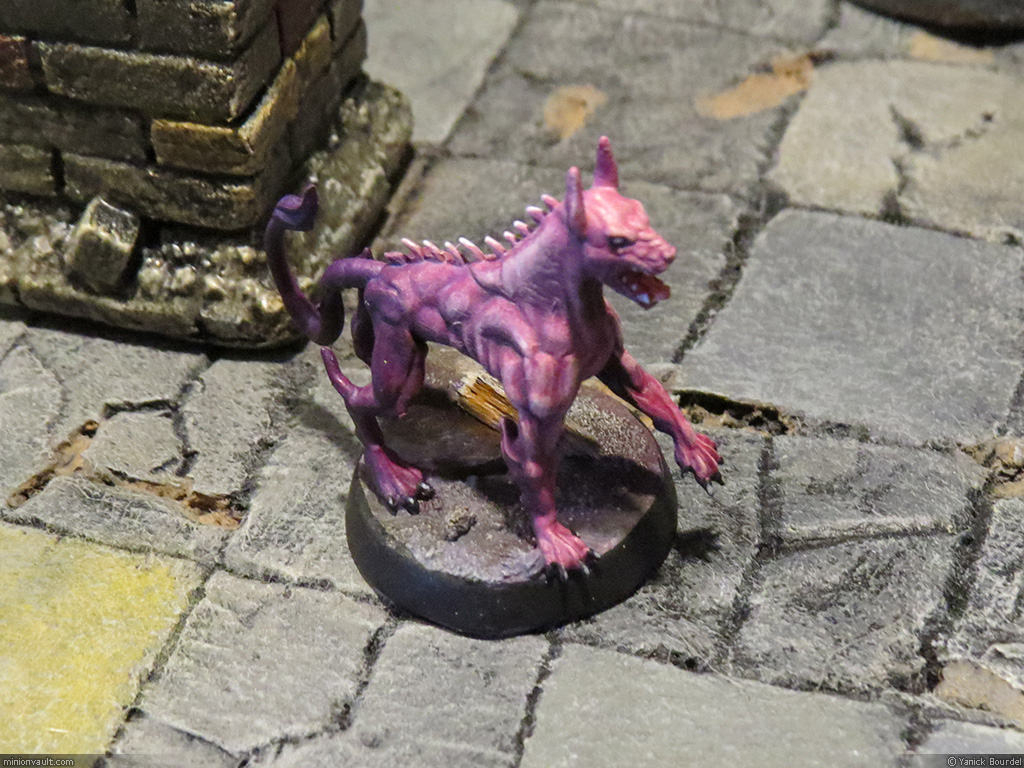
I played this FrostGrave scenario in coop mode with my friend recently. Those nasty Chronohounds totally WRECKED our respective warbands! This scenario is very difficult. We plan on trying again (and hope for fewer very bad dice rolls…)
Meanwhile, enjoy the pics!



A look at my recent coop battle map for FrostGrave! A good friend and I played a coop game on this modular board last weekend and we had a blast!
As you can see, even if I posted almost nothing on this blog for a while, I was still very active, crafting props, printing minis (I got a 3d printer almost a year ago) and painting, painting and painting again.
More to come (and soon this time).
Enjoy!




These terrain pieces were on my mind for years.
For a long time, I collected a variety of plastic plants, turfs, flocking, etc.
Then I recently started to make the bases, and after I received my plastic palm trees ordered on eBay, I started building.
The ruins were made in part with sections of an broken toy found in a garage sale: the Indiana Jones Temple of Akator playset (see picture):

The ruins were modified and completed with sculpted styrofoam. Everything was glued with hot glue and white pva glue. The dead leaves terrain cover was made with a mix of dried herbs (mostly oregano), saw dust and hemp rope fibers.
The large trees were made from scratch: Apoxy sculpt on a copper wire armature. Next, I glued coconut fibers on the large branches to simulate smaller branches and to provide more area for the clump foliage to adhere.
Every trees was then sealed with a homemade fixative: 1 part matt mod podge, 1 part distilled water, 1 part liquitex matt medium + a few drops of dishwasher jet dry.
Overall, I had a blast creating these cool terrain pieces. Hope you enjoy the pictures!


Just a quick post to show the results of my recent column building frenzy…
I followed this excellent tutorial from Black Magic Craft on youtube: A great Youtube channel by the way.
The main material is foam board. They were relatively quick to make and I like the fact that the bricks appear uneven: perfect for a dungeon or ancient ruin.
Good!


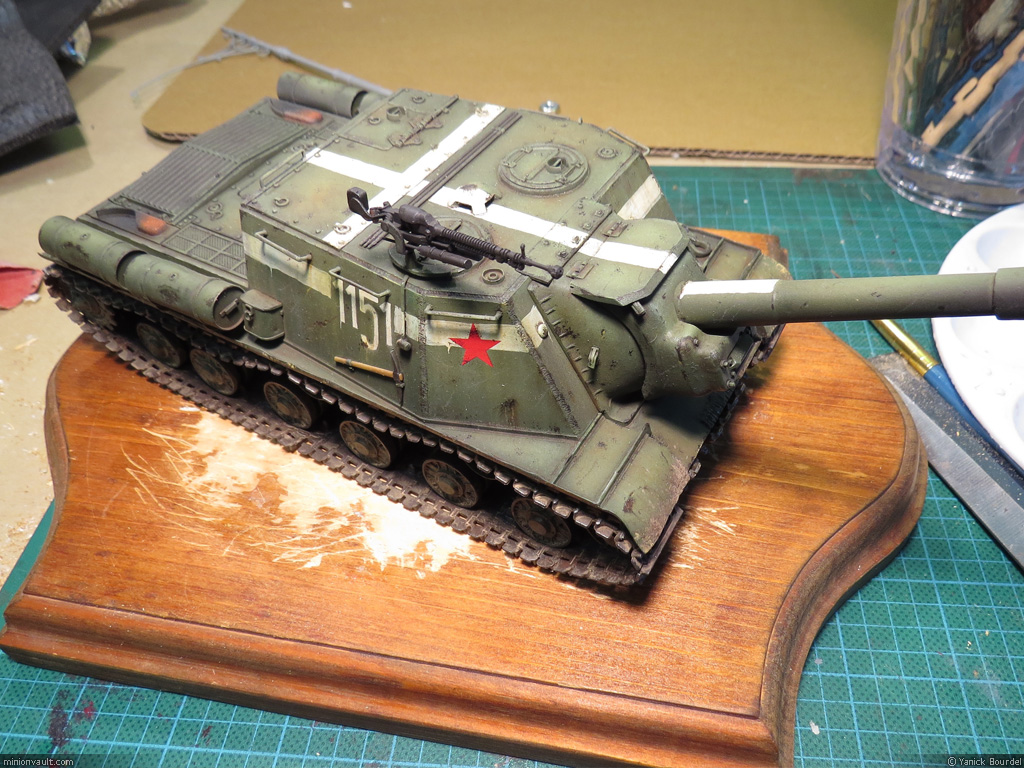
While waiting for my order of Krycell snow to arrive, I started to work on another diorama. This one, for my ISU-152. I decided to document pretty much every steps while doing it, so enjoy the step by step making of this diorama, part 1.
1- The base itself: A simple, and used, bevelled wooden base I had lying around would do the trick here. I had to scrape off some glue and old basing material from the surface with a chisel, then I used a hammer to fix a metal plate in the center, as a support for the bolt that will hold my tank in place.
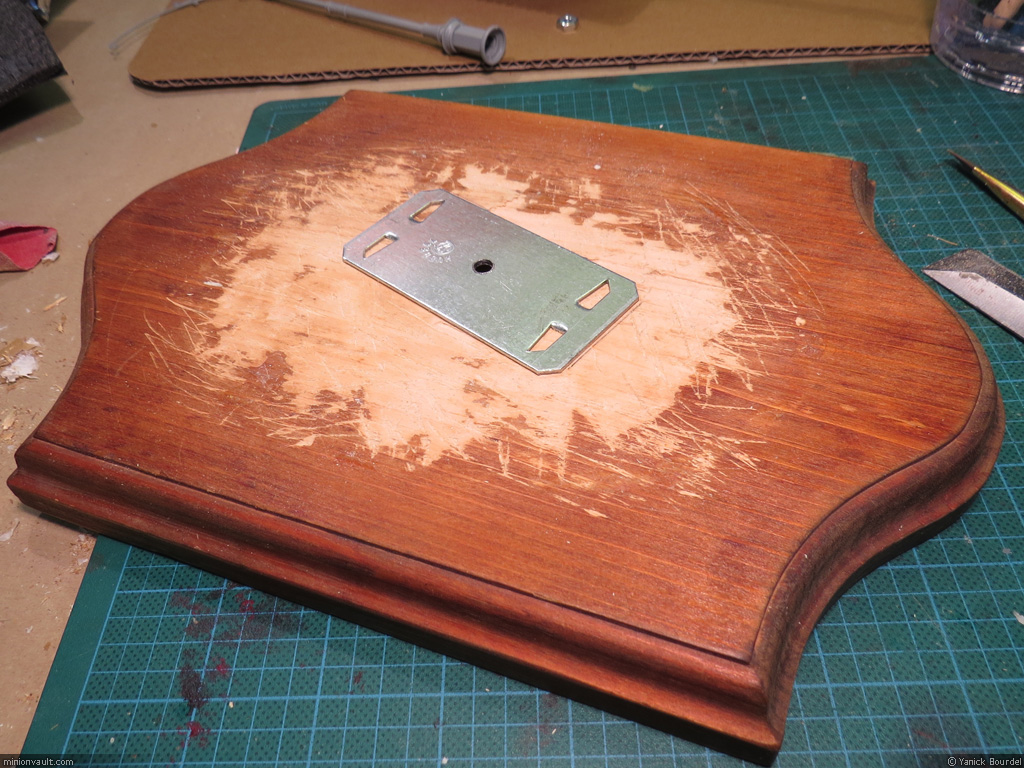
2- I made sure to drill a large hole in the base before, so it will be easy to turn the nut on the screw under the tank.


3- Foam core is a nice material to “carve” stone work. I used tracing paper to reproduce the exact shape of the wooden base, then used an X-Acto knife to cut it. I carefully peeled one side of the black cardboard from the foam core. Then I made another shape that I glued on top of the first one: this will become the sidewalk.


4- Using the X-Acto knife and a metal ruler, I carved 2 channels for the Tramway rails.
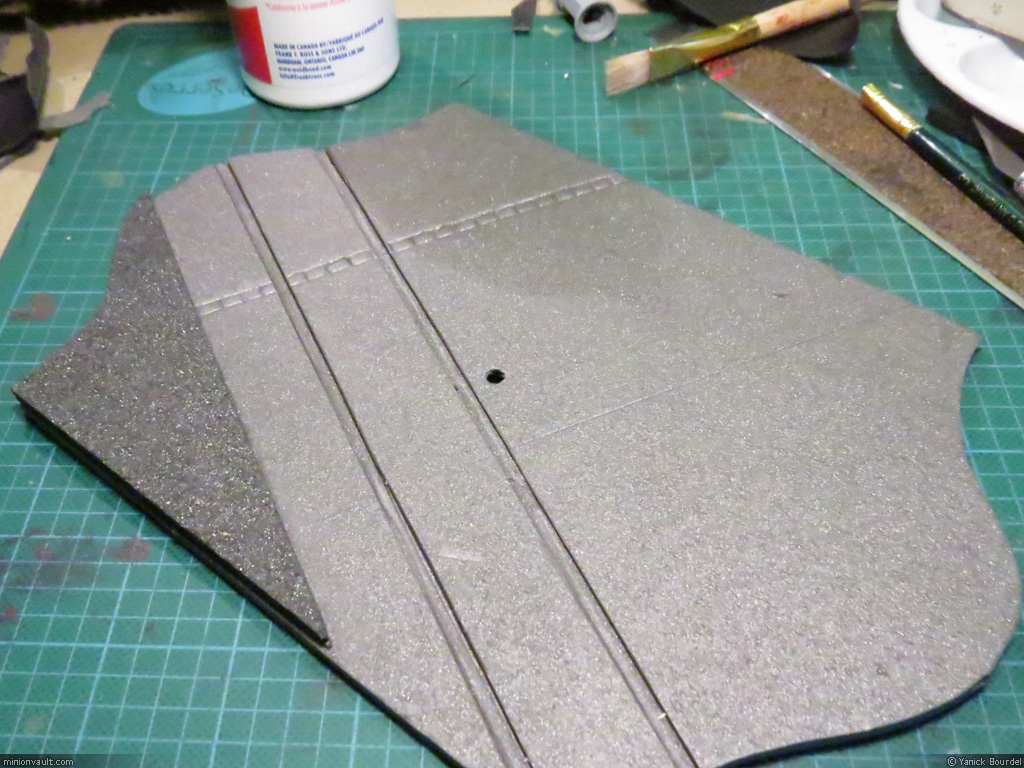
5- Then… the LONG work: using a custom-made tool (a modified old brush) I began stamping every stone of the pavement. Tedious. But the final effect was worth it, I think.

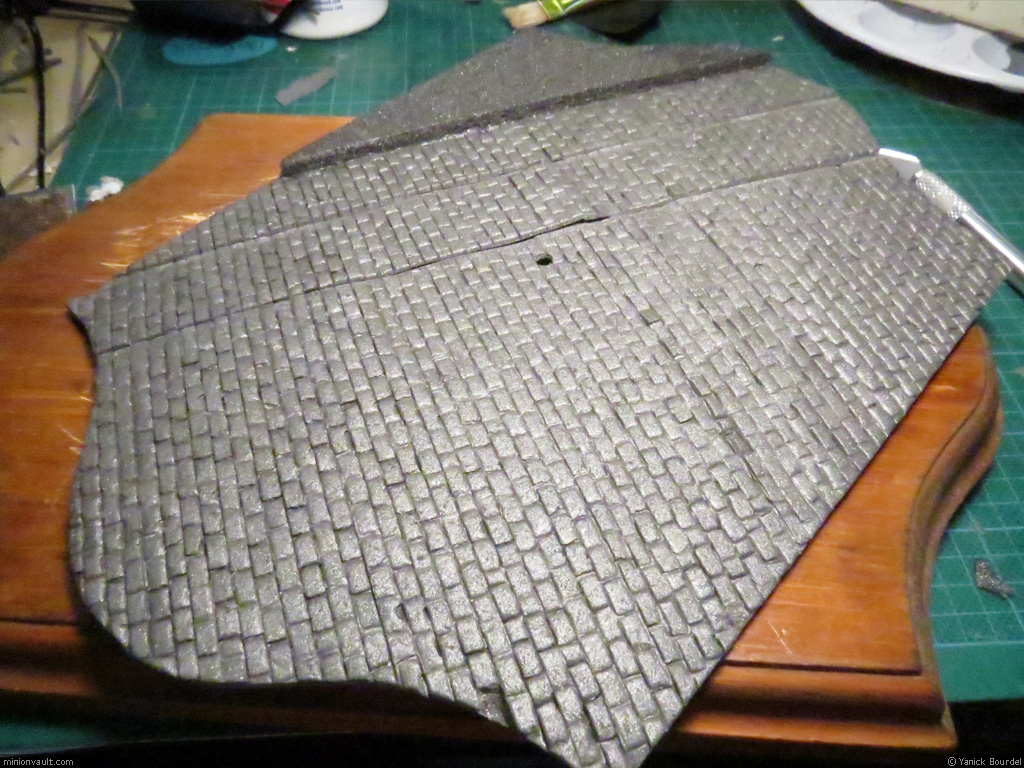
6- I did some carving on the sidewalk and used a small plastic bit to represent a drain cover plate.

7- I scratch builded a sewer manhole too, with left over bits and plasticard.

8- To make the Tramway rails, I glued strips of plasticard in a ” T ” shape. To glue them to the base was a challenge though: white glue won’t glue plastic very well, plastic glue would likely melt the foam core, and the hot glue gun was quite scary to bring close to my delicate foam carving… So I tried to use Tamiya putty, thinking it should bond quite well to both metal and foam. I did a test, but on a scrap piece of a DIFFERENT type of foam… B-I-G MISTAKE!!! It looked fine on the test piece, with very limited melting of the foam. But on my diorama, the Tamiya putty solvent (Acetone I presume now) melted huge patches of pavement… ARGH…..
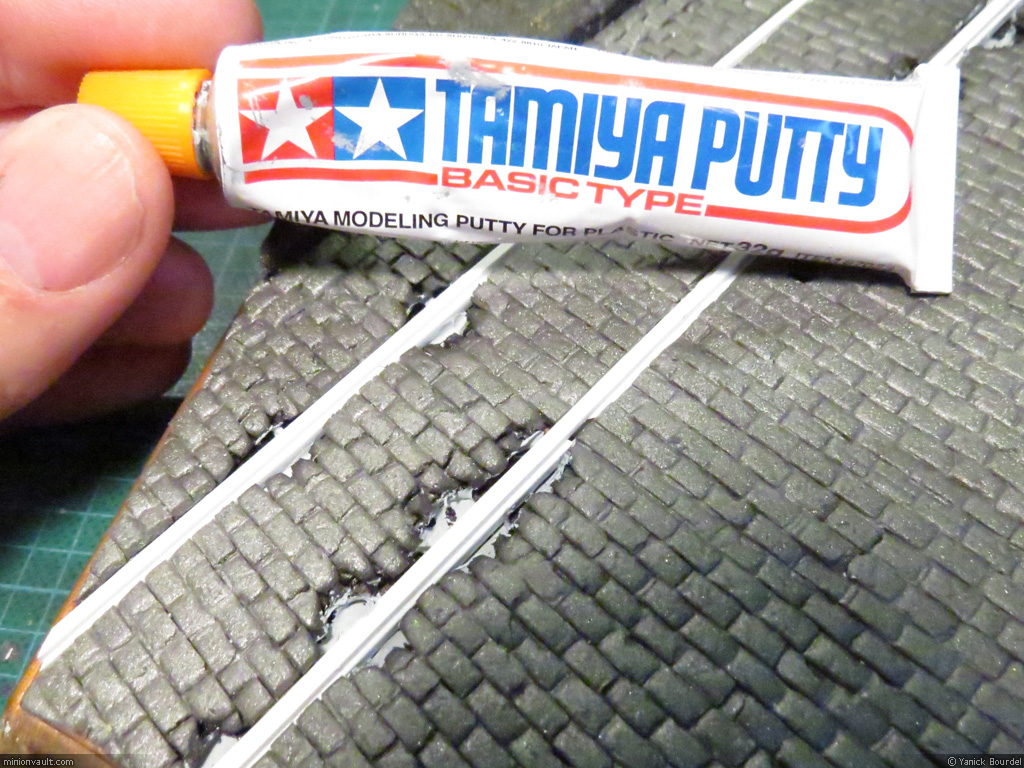
9- So I had to be meticulous and repair individual stones…

10- In the end, the final result is decent and once weathered It will look pretty much the way I wanted. Yeah!


Part 2 of this step by step guide coming soon…
I did some tests recently to create realistic snow for my KV-1 diorama. I’ve made a simple diorama with left over bits and pieces to try different solutions.
So far I have tried the following products to simulate snow:
To make it stick to the diorama, I have used:
As for now, I am stuck and here’s why:
Alas, no solution was satisfactory to simulate snow the way I want…


I then did some research on the net and found this company called Precision Ice and Snow (http://www.precisioniceandsnow.com/) that sells a product that seems promising to achieve the look I want. I just placed an order for their Krycell FINE snow powder. I’ll post my tests with that product as soon as I get it.
So I am now waiting for Santa to bring the white powder to me.
Yeah, I now: that last sentence sounds weird 🙂
A quick project for the gaming table: desert rocks with crystal formations.
I glued pieces of gardening cedar bark to small masonite bases with the glue gun. With the same hot glue, I placed plastic “gems” bought at the dollar store. For painting, it was easy: a basecoat of rusty brown, dry brush of ochre on the sand and dry brush of sand beige on the rocks and sand for the highlights. I also built an altar from a larger piece of bark, to which I added some of my homemade resin skulls.


Easy, and a cool addition to my terrain pieces.
Yeah!

