Now, I will paint my basic terrains from part 2 and 3, and add vegetation.

Some tips:
1- Use old / inexpensive brushes for this kind of work. Keep your good and expensive brushes for precision work.
2- Use inexpensive hobby store acrylic paints (I bought mine at the dollar store …1$ a bottle). Keep your expensive model paints for precision work and miniature painting.
3- After all the paint and vegetation work will be done, use a clear matt varnish to seal the whole terrain piece and help protect the paint job. Again, a cheap brand is ok here. But do test the varnish beforehand on a scrap piece of terrain to make sure it is matt enough (some varnishes are labelled as ‘matt’, ‘matte’,’mat or ‘flat’ but they still have leave an ugly sheen on your terrains. Yuk!!! )
4- Basecoat can be applied with a spray can, but be careful: bare styrofoam will melt if exposed to spraycan paint (in fact, it is the propelant in most cans that causes this reaction). Personally, I always paint the styrofoam parts with a paint brush and acrylic paint, so no problem there. I use a spray can after that if needed, or only on terrain pieces that don’t have styrofoam bits on them (like the boulder terrain from Step-by-step 2). An airbrush is also a very good option: since the propellant is simply compressed air, no styrofoam should melt.
Painting, step by step
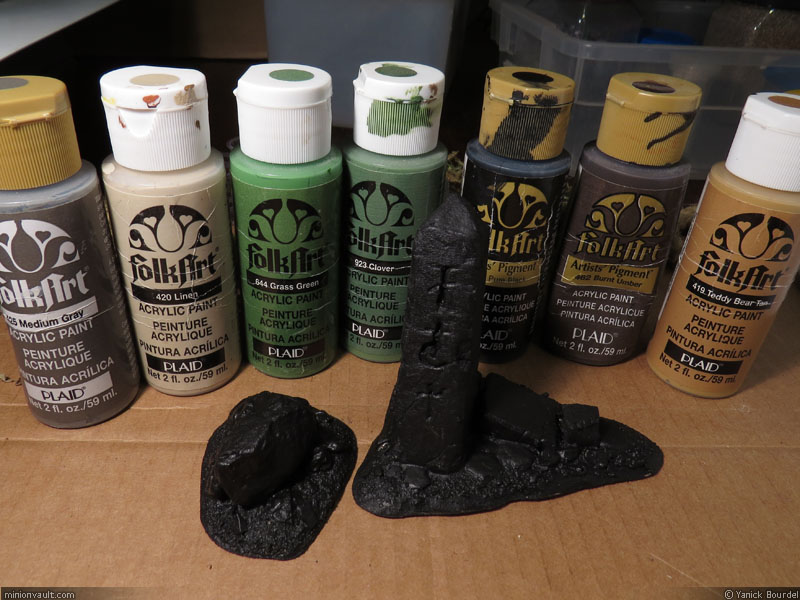
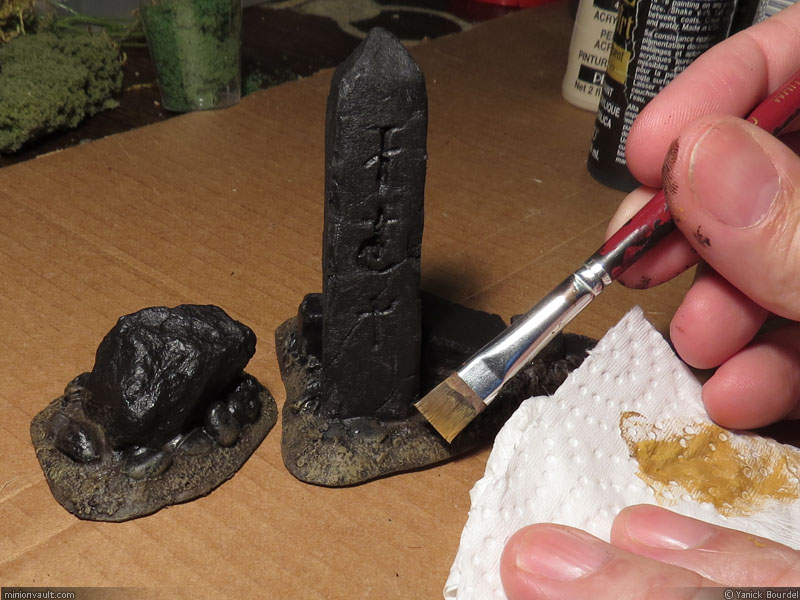
Step 1- I applied a basecoat of black acrylic paint to the both terrains and let them dry for about 20 minutes. For this paint job I will be using the following colors from FolkArt:
- Medium grey
- Linen (pale beige)
- Grass Green (a vibrant green, slightly yellowish)
- Clover (deeper green, a tiny bit bluish)
- Black
- Burnt Umber (a dark reddish-brown)
- Teddy Bear Tan (a yellowish medium beige)
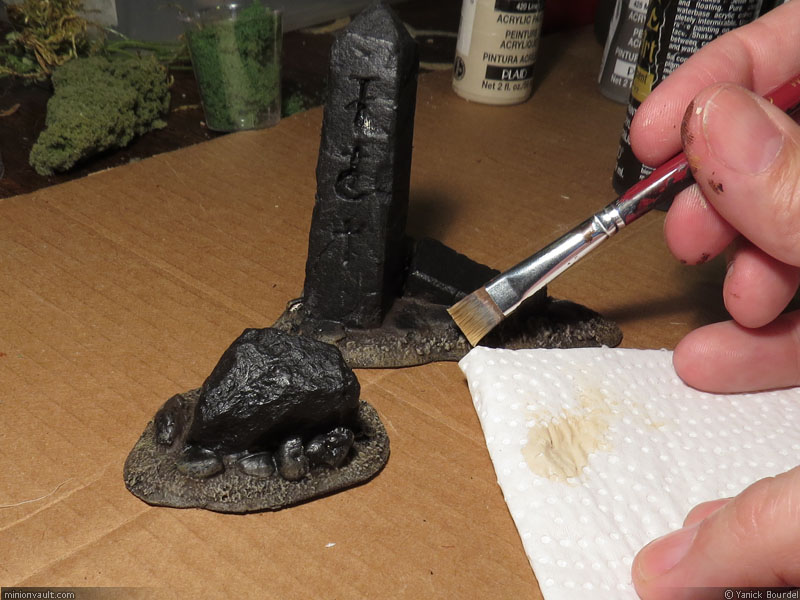
Step 2- I painted the whole ground in Burnt Umber, leaving a bit of black (the basecoat) showing in some recesses and deeper areas: the brown covers approximately 90% of the ground.
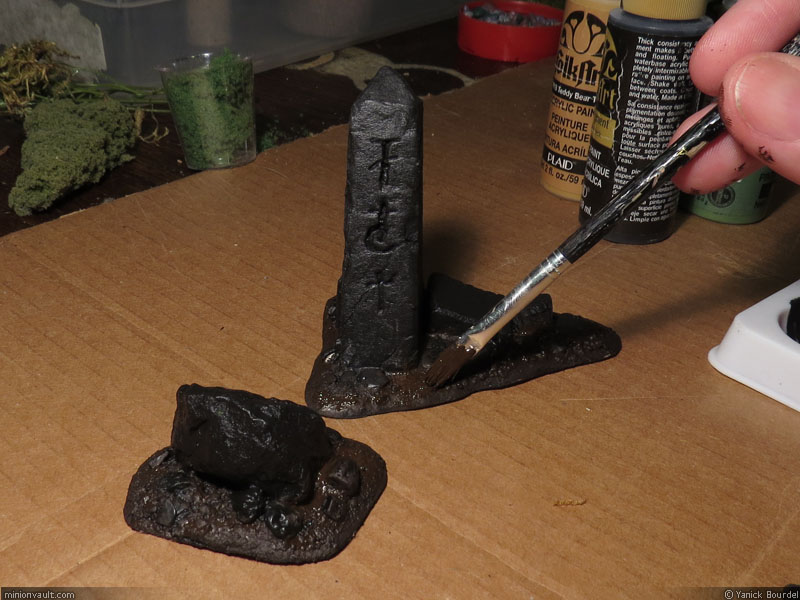
For the next painting steps, I went from this dark color up to a light Linen shade with successive dry-brushing passes. With each pass, I go lighter and lighter, until I concentrated my brush strokes only on the most raised edges of the rocks and ground.
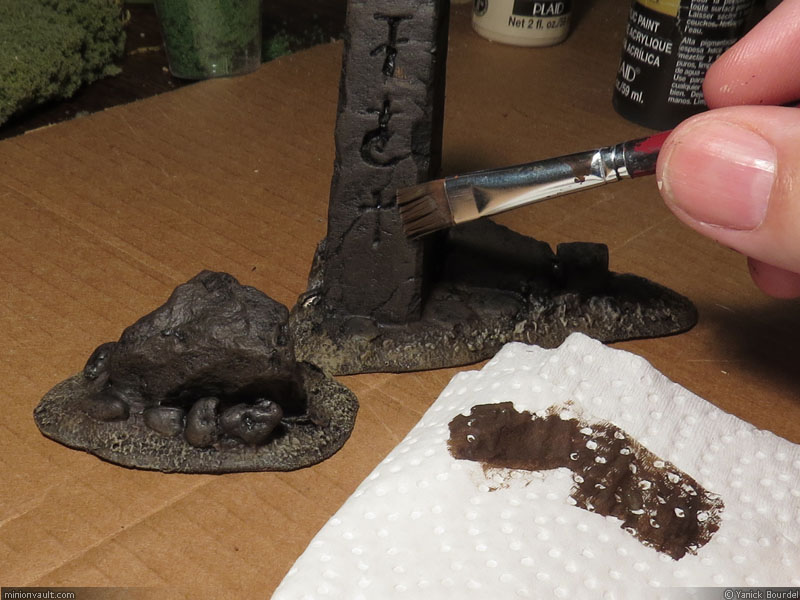
Step 3- I made a 50/50 mix of Burnt Umber and Teddy Bear Tan. Using this medium brown color, I dry-brushed the ground quite extensively.
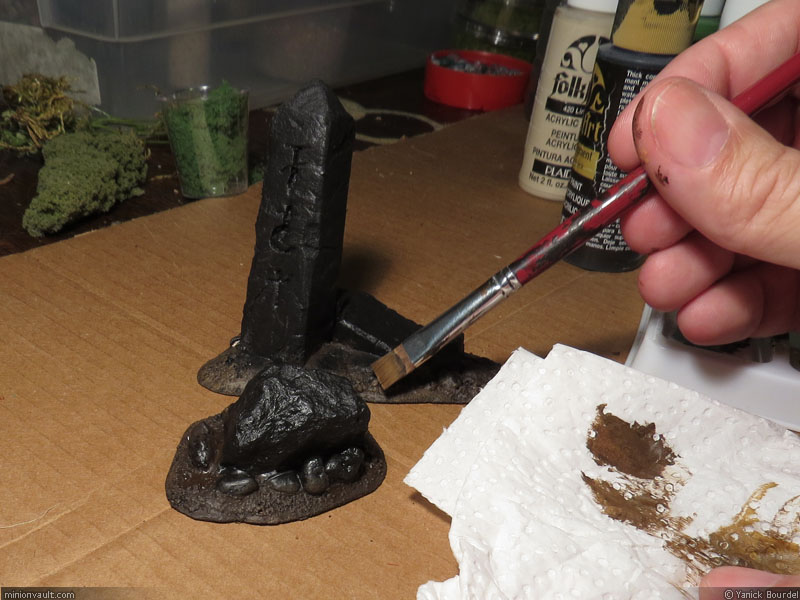
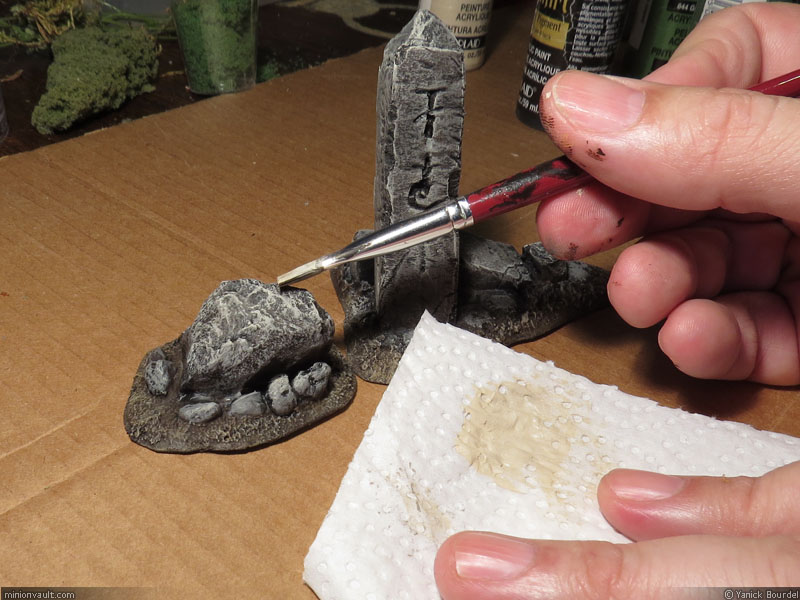
Step 4- Now I used pure Teddy Bear Tan, with lighter brushing…
Step 5- …followed by another dry-brushing of Linen, even lighter this time so only the most raised edges get some paint.
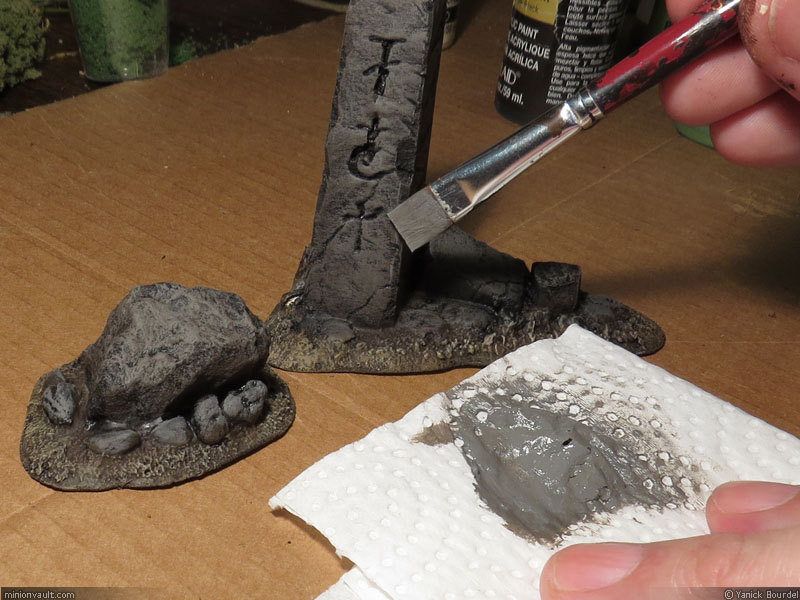
Step 6- For the stones, I made a 50/50 mix of Burnt Umber and Medium Grey and painted most of their surfaces with it, leaving just a bit of the black basecoat showing through (this greyish-brown covers approximately 90% of the stones).
Step 7- Then, a dry brush of Medium Grey…
Step 8- …followed by a dry-brush of a 50/50 mix of Medium Grey and Linen…

Step 9- …and on top of that, a very light dry-brush of pure Linen on the edges of the stones.
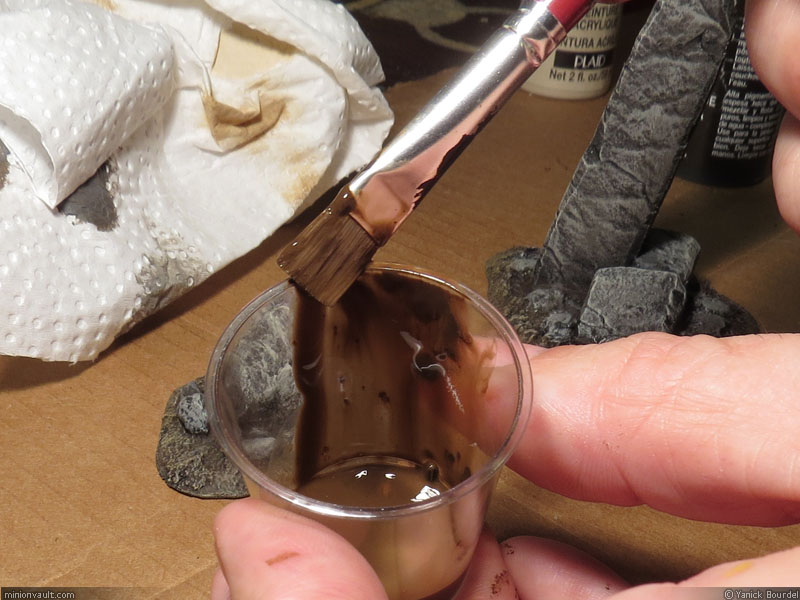
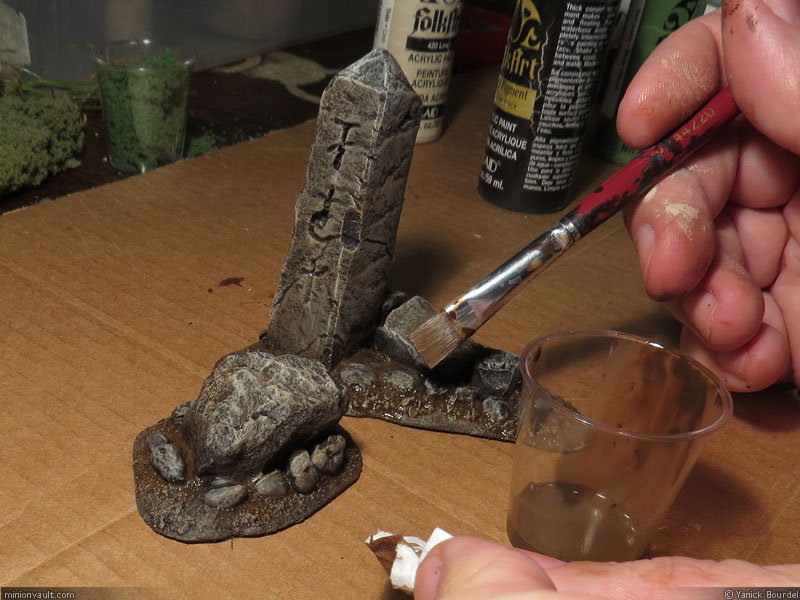
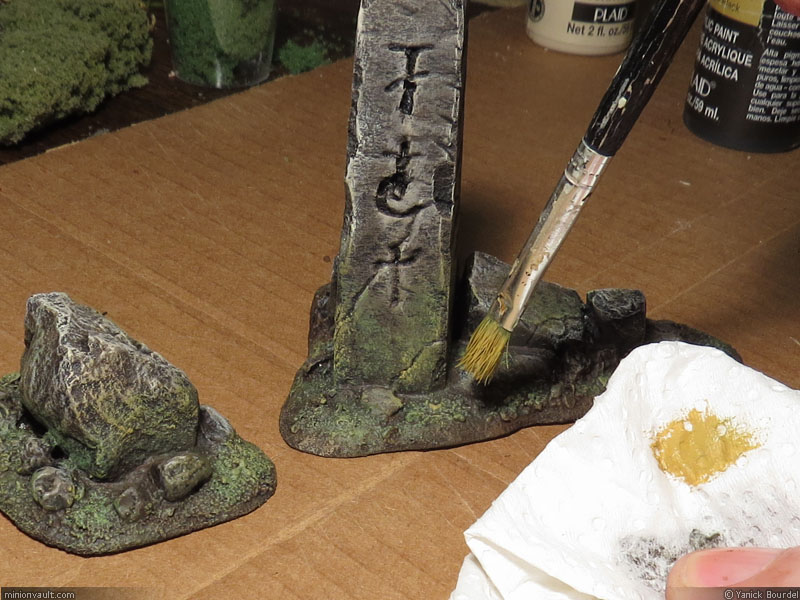
Step 9- To help blend everything together, I prepared a thin mix of 25% Burnt Umber and 75% water. I then brushed this runny “juice” over the whole terrain (ground and stones) and used a clean paper towel to wipe of the excess. This puts back a touch of earth tones to every colors, perfect for outdoors or nature based terrain.
Step 10- I let the whole terrain dry completely (1 hour approx.)
Step 11- Another light dry-brush with the Linen paint, to help bring back the highlights on the edges.

Step 12- Using a 50/50 mix of Clover green and Burnt Umber, I dry-brushed the base of the stones and some spots on the ground. This is to simulate moss and vegetation stains on the underside and bottom part of rocks, as well as underneath the places where I am planning to put some grass and plants.
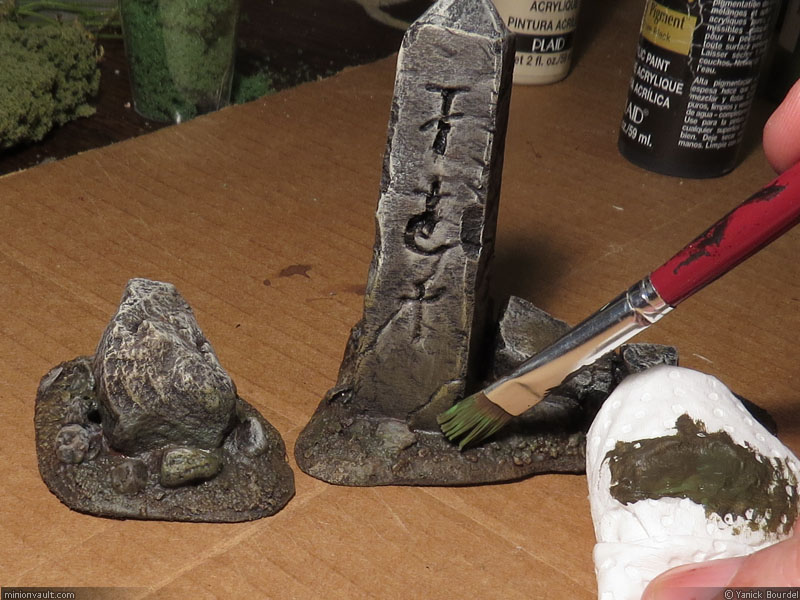
Step 13- Dry-brushing of a lighter green over the same areas (Grass Green this time).
Step 14- After that, I mixed Teddy Bear tan (wich is a bit yellowish) with a little bit of green, then using a gentle dabbing motion, I added some highlights to the green…

Step 14- …to finish with small touches of pure Teddy Bear Tan (dabbing motion again).
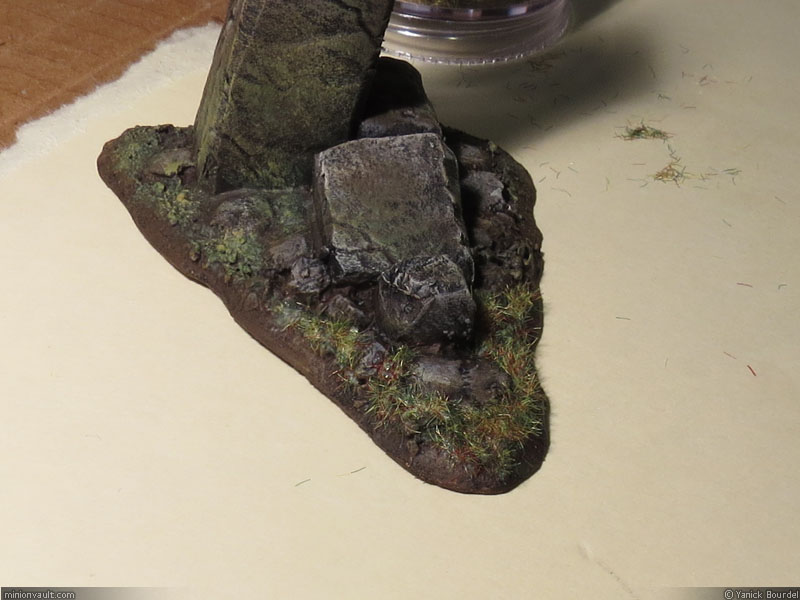
Step 15- Paint job is done. I let the terrains dry for 30 minutes approx.
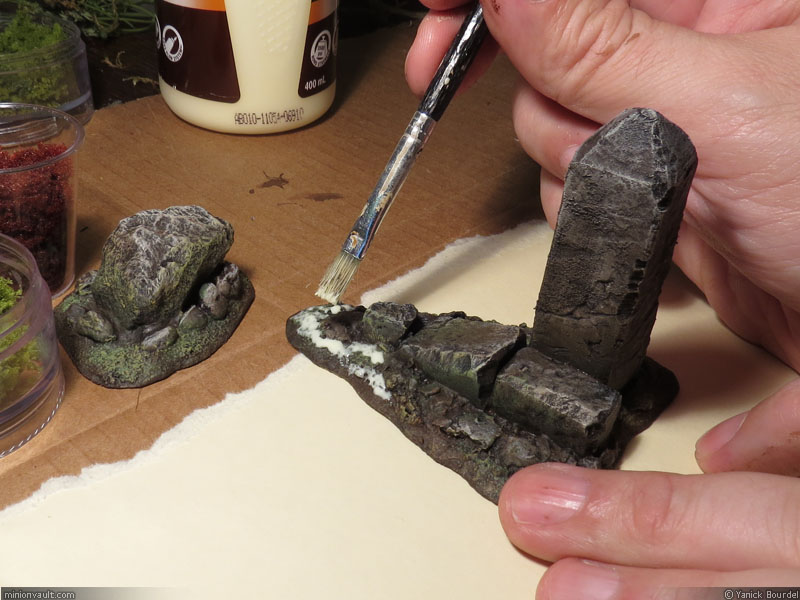
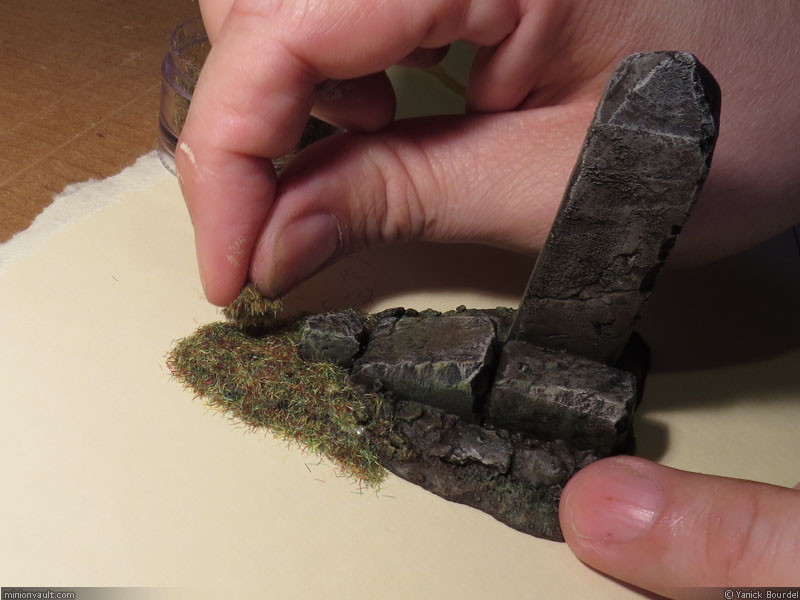
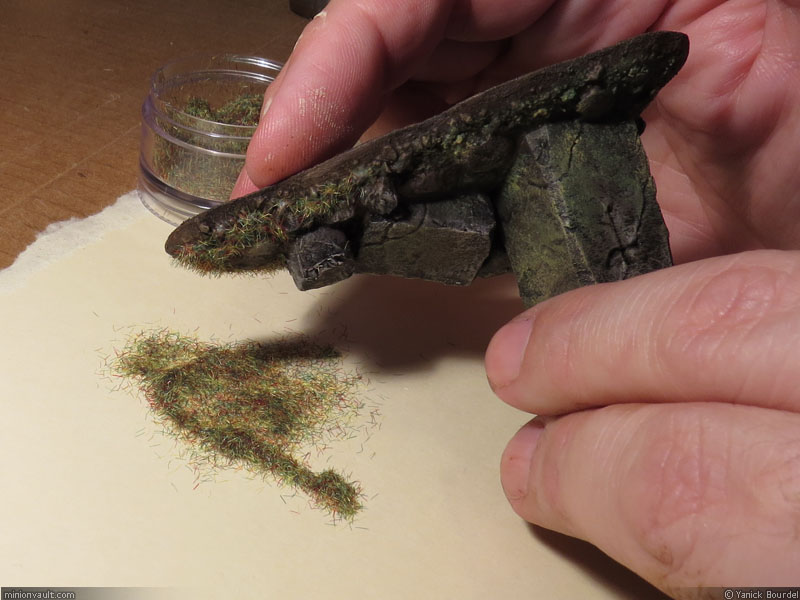
Step 16- I applied white carpenter’s glue to the areas where I wanted to have static grass. Carpenter’s glue dries transparent, so don’t be scared. Then I added some static grass. On larger terrain pieces, you should use different static grass shades to create a more varied and natural effect, but for such a small terrain it is not required.

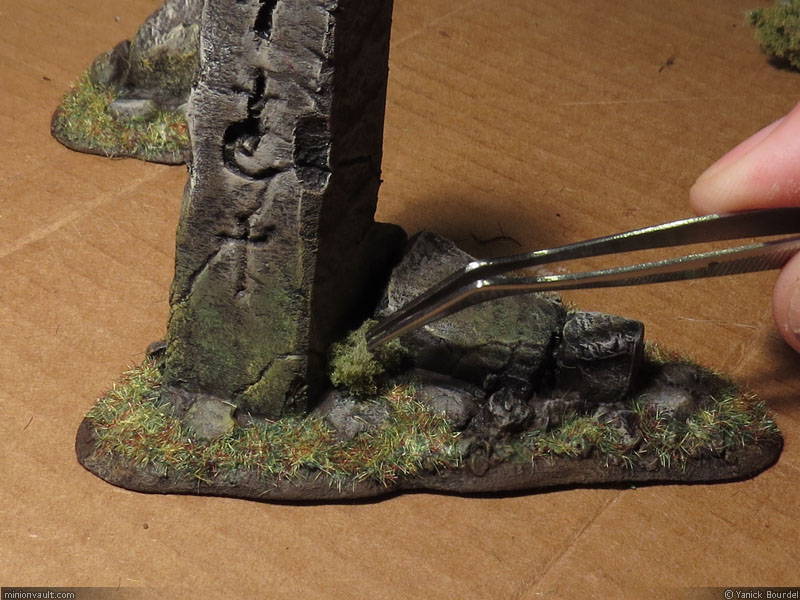
Step 17- Using white glue again, I glued some green foam vegetation (bought at the hobby store) to simulate small bushes. Take advantage of this step to conceal imperfections in your ground work, or to smooth-out the transition between rocks and the ground.
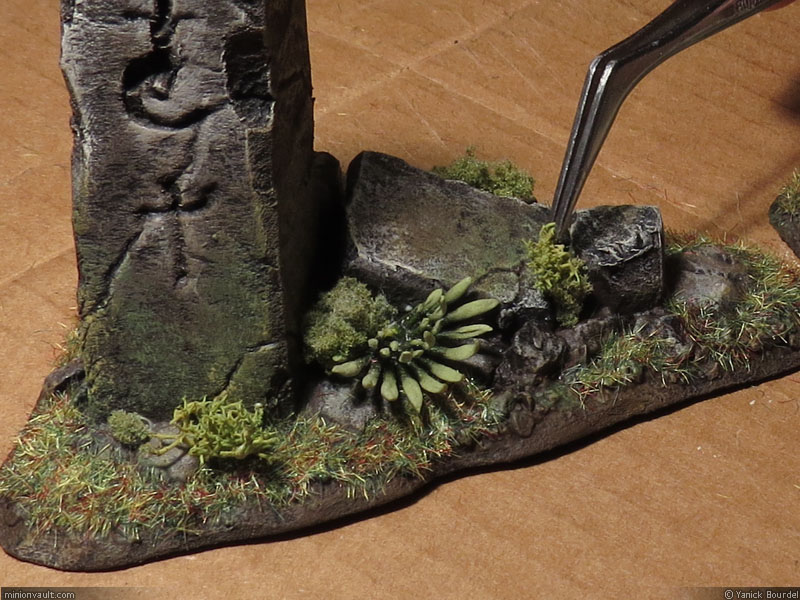
Step 18- I added some tiny bits of ‘rubberized’ lichen (hobby store again) to create some small plants. The large plant in the middle of the picture came from a decorative plastic flower I got at the dollar store.
Step 19- Some tiny bits of colored foam (to add variety).
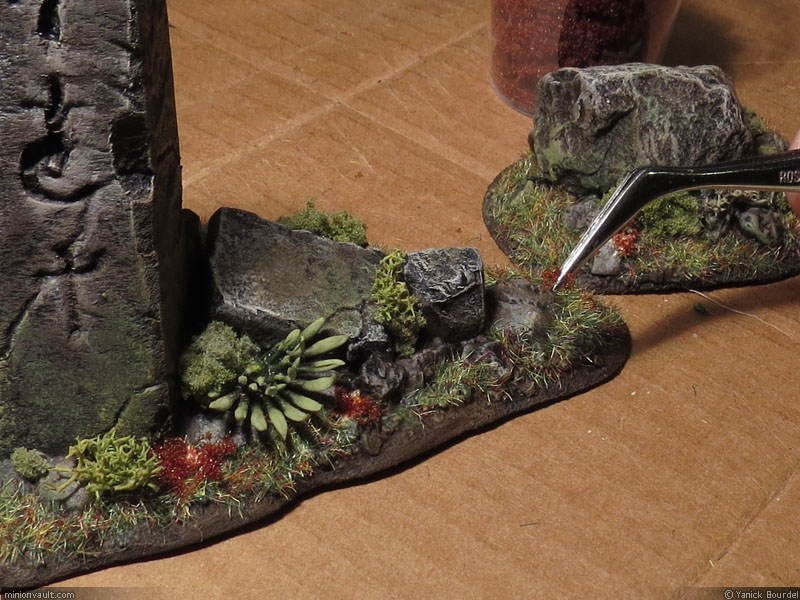
Step 20- To create high grass, I used strands of hemp rope and glued them in place with white glue. Hemp fibers can be dipped in thinned down green paint if you prefer green grass.

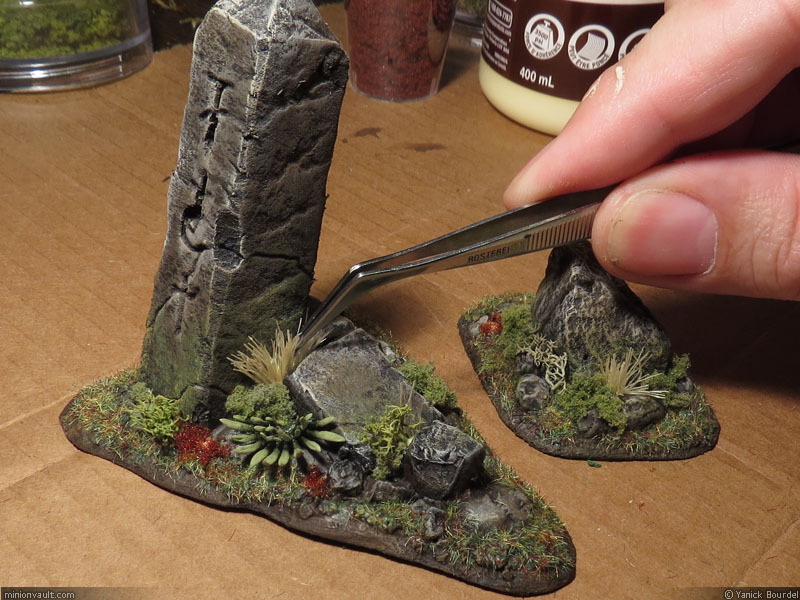
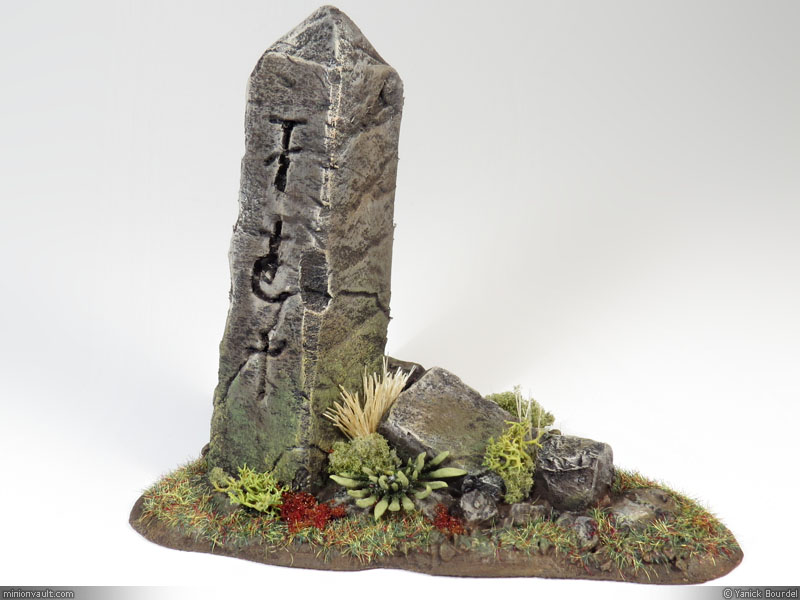
Step 21- Done! Contemplate and enjoy your new terrain pieces on the gaming table!