
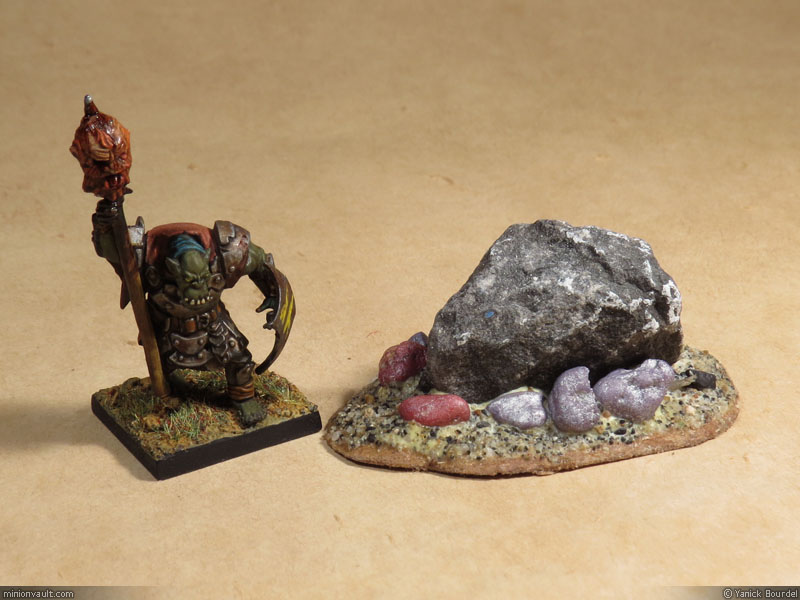
For this first terrain piece, I’ll make a boulder.

Unpainted boulder terrain. Looks good already! Wait to see it painted!
Not really exciting, I know, but effective and useful on the gaming table.
Plus, it is extremely inexpensive and easy to build.
The boulder terrain

Step 1- For this terrain piece, I’m using a simple rock found by the roadside. I have prepared a smaller masonite base, with rounded edges using the technique described above.
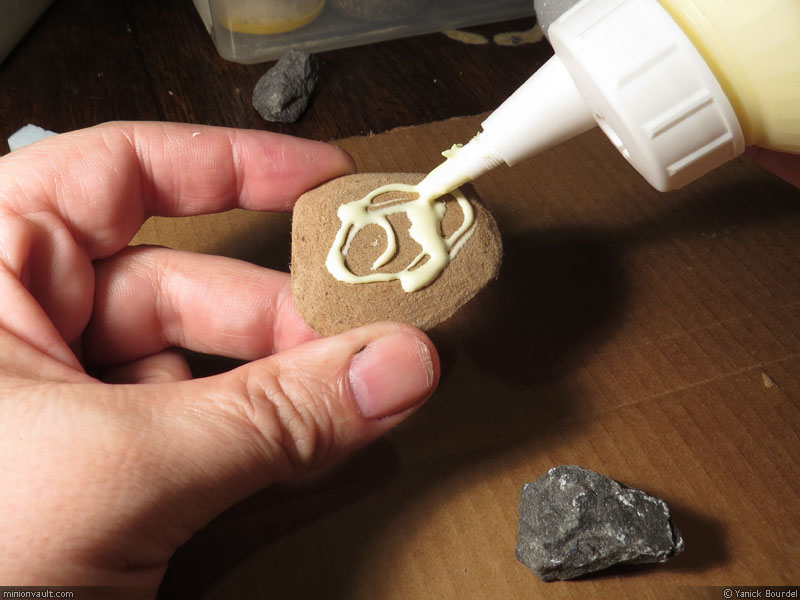
Step 2- Using carpenter’s glue, I glue the rock to the base.
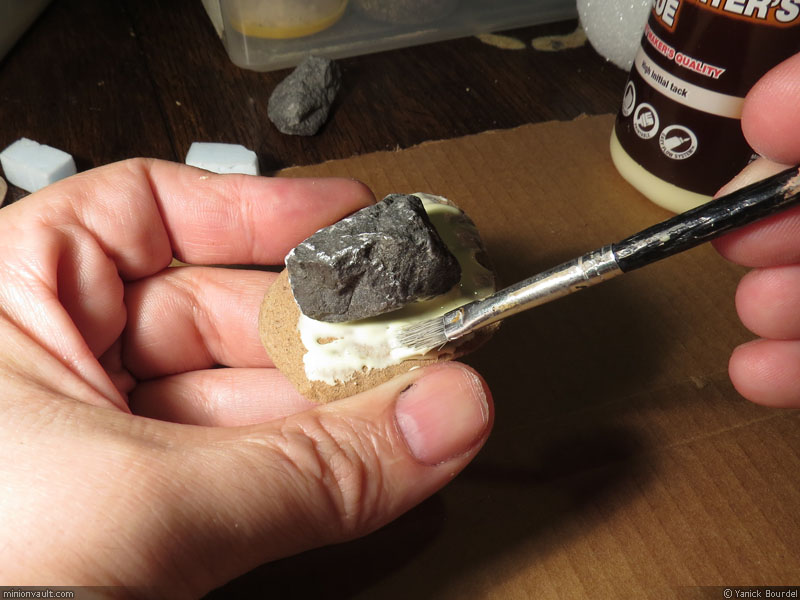
Step 3- With an old brush, I apply more glue, up to the edges of the base. I need quite a bit of glue for this step: it has to be thick enough to get a good bond with the rocks and sand I will add.
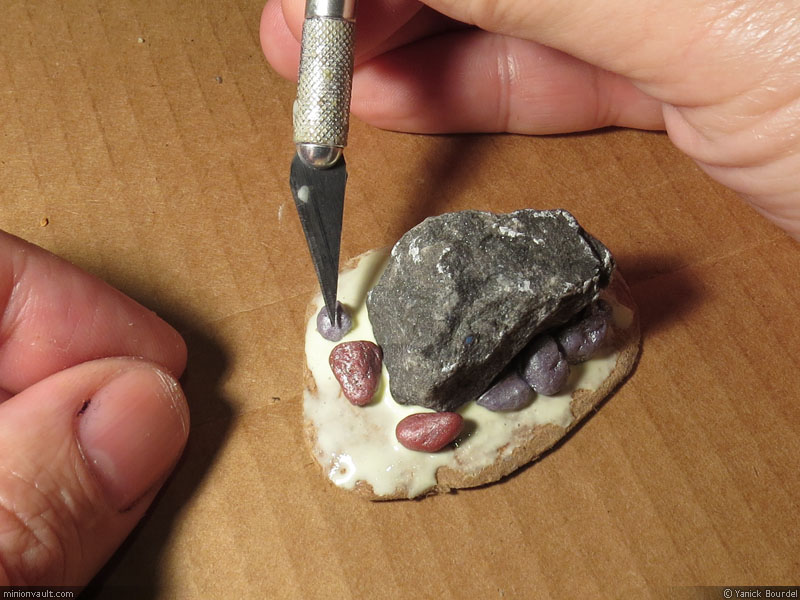
Step 4- I place a few larger rocks (aquarium rocks in this case) around the large boulder. I try to arrange them in a natural way. Think about gravity and time during that step: How rock should settle in dirt and mud over time, and how they should rest flat on the ground, or on each others. I use my X-acto knife to gently push them in the exact spots I want.
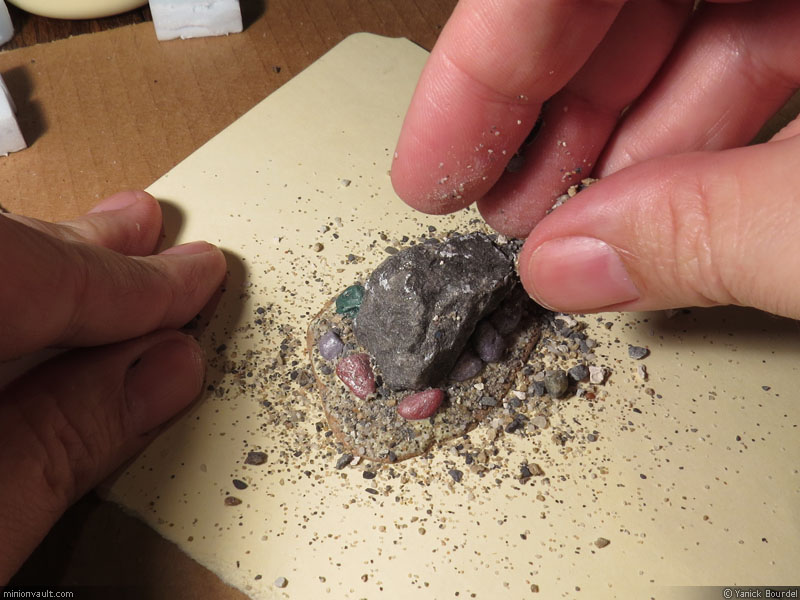
Step 5- I then apply my ready-made ground mix all over the glue-covered areas. I always do this step with a thin cardboard sheet under the terrain…
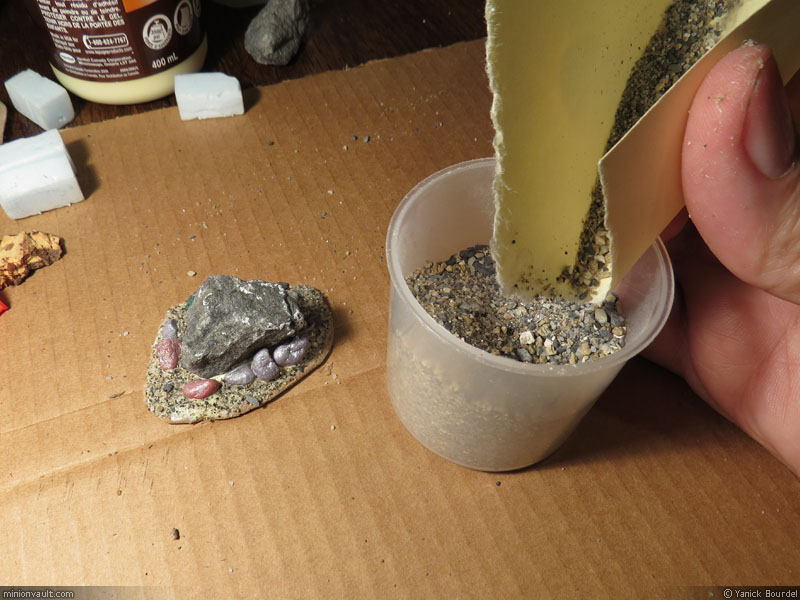
Step 6-… so I can easily recuperate what’s left over.
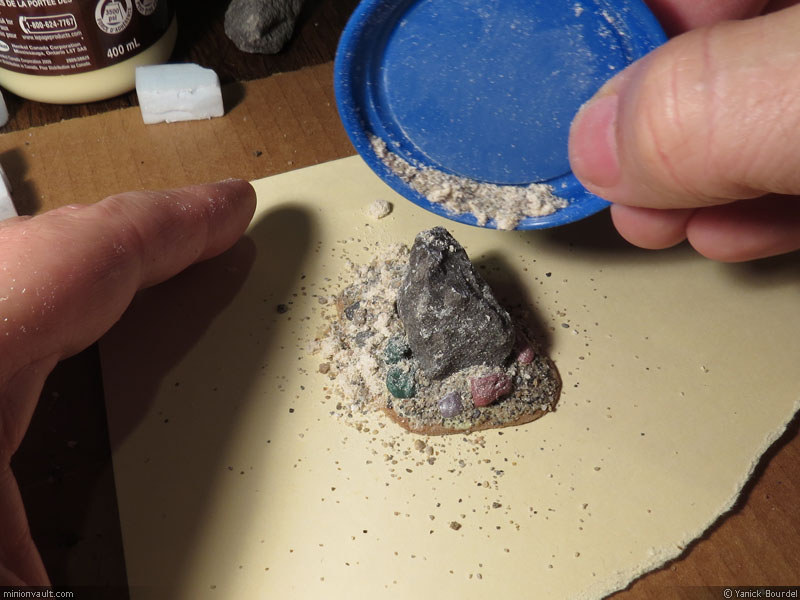
Step 7- Next, I apply a mix of very fine sand and very fine saw dust. This will fill the spaces between the grain of sands and rocks, simulating mud/earth/dirt.
Step 8- I let it dry enough so the glue is almost all set (this step takes about 1 hour, maybe more depending on the type and thickness of the glue).
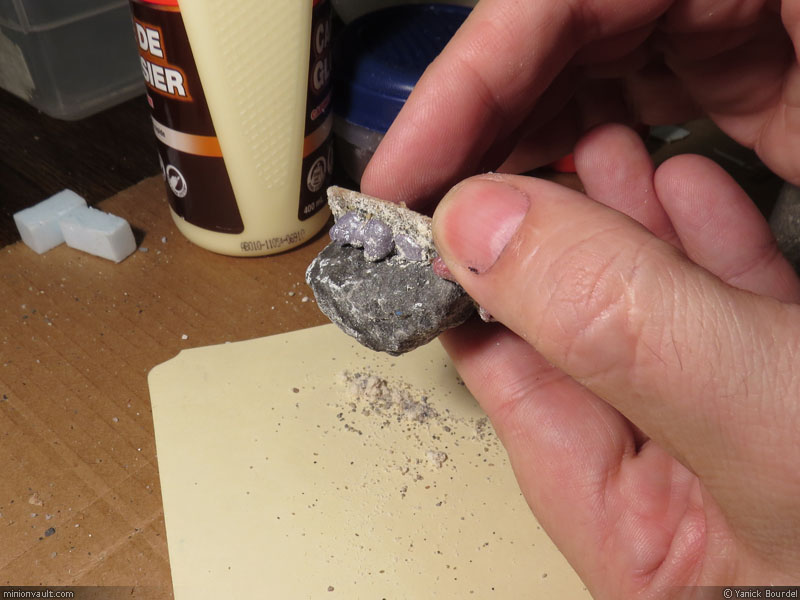
Step 9- I turn it upside down and gently tap to remove the excess material.
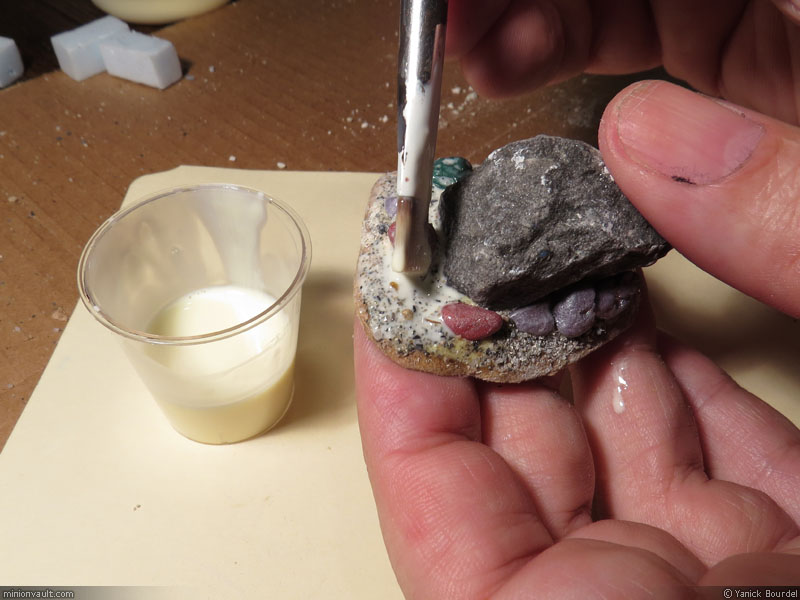
Step 10- I then prepare a 50/50 mix of white glue and water and I cover the whole ground with a generous coat of it. This mix will flow in every nook and cranny and will bind everything together.
Step 11- Let dry totally before painting (I let it dry for the night).
Step 12- Voilà! The base, dried and ready to be painted.
I told you: very easy stuff. But a nice result anyway.
In part 3 of this Step-by-step serie, I will build a bit more complex terrain piece. And in part 4, I will paint and add vegetation to both terrain.
Stay tuned!
