I recently purchased a new camera: a Canon SX-50 HS.
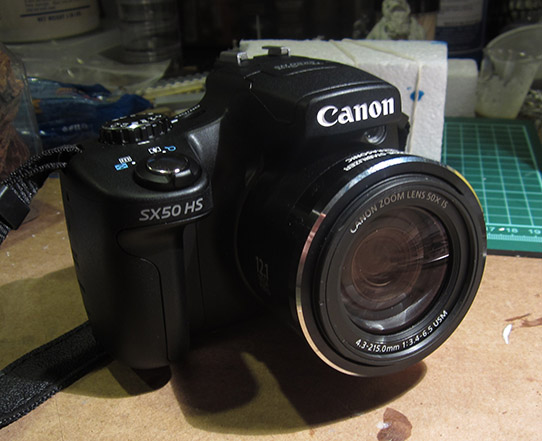
Canon SX-50 hs
I wanted to have an alternative to the Canon ELPH-100 HS (my daughter’s camera) wich I was constantly borrowing and using, mostly, for macro photography. The ELPH-100 is a very good little camera, 12 megapixels, compact and easy to use and it takes good pictures. It is small enough to fit in your pocket and shines when you want to take outdoors photos of people and landscape. But inside, under tungsten lights and in extreme close-ups, it has limited capacities and I was constantly shooting multiple time each subject, struggling to get the focus ok and no matter what setting I used, the colors were always washed out, so I had to post-process the photos in Photoshop to color-correct them. Don’t get me wrong: the ELPH is a very good camera. The point is I needed more, but I am not a very good photographer so the camera needs to do a bit of work for me and be somewhat easy to use. So, I needed a “bridge”: a camera that is in that category between professional cameras and casual cameras.
Enters the SX 50 HS (12 megapixels too).
Continue Reading