Vasquez: “Look, man. I only need to know one thing: where they are.”
Well, they are here!!! This is my attempt at sculpting a decent Alien egg and a scary facehugger for the gaming table.


Needless to say, these will get replicated >> evil grin <<

Vasquez: “Look, man. I only need to know one thing: where they are.”
Well, they are here!!! This is my attempt at sculpting a decent Alien egg and a scary facehugger for the gaming table.
Needless to say, these will get replicated >> evil grin <<
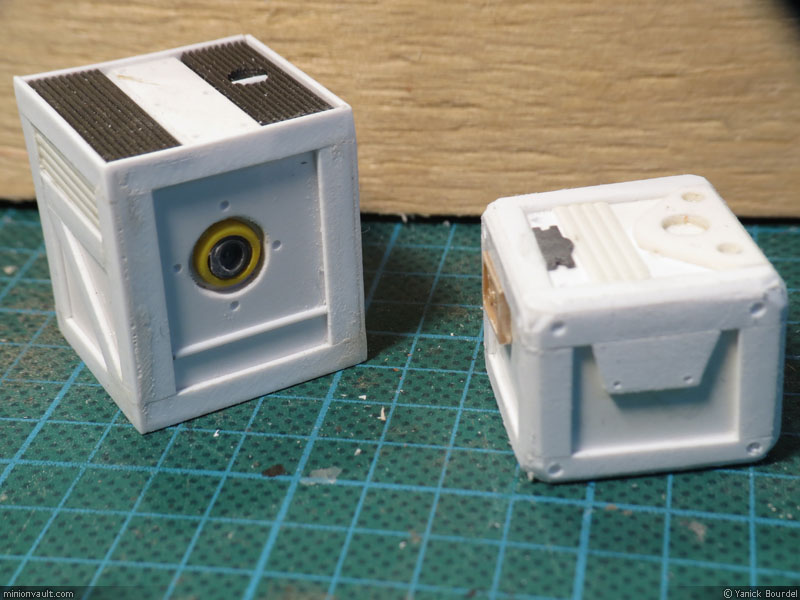
Quick update: I made moulds for my scratch build crates. I casted many copies both in resin and in plaster (a special plaster named ‘Dry-Stone’, which is a lot stronger than standard plaster). So far, I am pleased with the resulting pieces, although I have difficulties casting anything without air bubbles imperfections. That’s not a huge problem: I will try to retouch the crates a bit using epoxy putty (for the resin ones) or wall filler (for the plaster ones).

Happy new year world!
I have been very quiet lately on my blog. Work, work work. But I have made some things in the past few weeks. And I will share all of it on this blog (lucky you!) 🙂
So the new year starts with… sci-fi crates. We are planing to test drive Savage Worlds RPG with an Aliens themed gaming session and I needed some props. To be honest, I didn’t but I always wanted to do some custom Aliens Colonial Marines stuff in 28mm.
Nothing fancy: plasticard + pieces from different scale models from my bitz box(es).
I am planning to cast these in resin, so stay tuned!
I am also working on Aliens eggs and face hugger…
Happy 2014!!!!

Some photos of my completed Tomb Kings skeletons from Games Workshop.
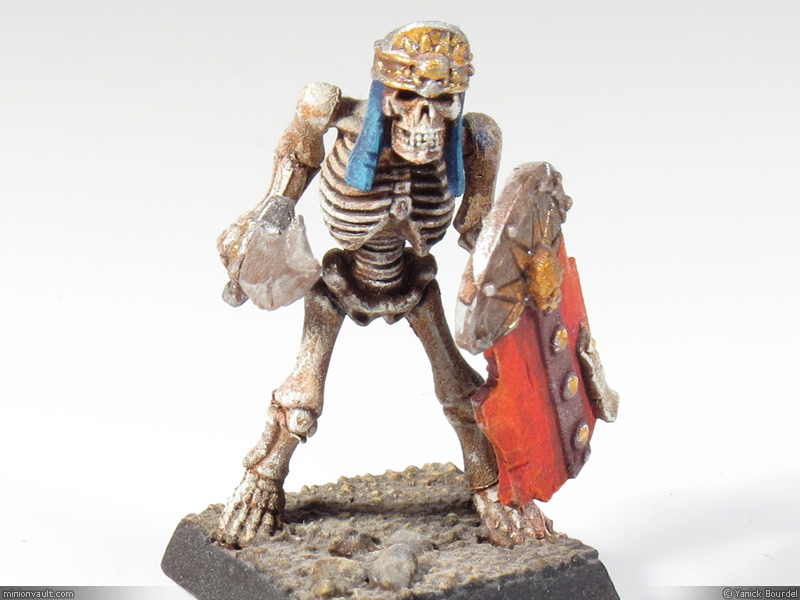
I don’t like the cartoonish look of these minis, but I needed a lot of skeletons for the gaming table and I wanted something cheap: I paid 35 $CAN for 16 minis, which is good. I bought these a while ago, before Mantic Games made their line of skeletons available (damn!). I find Mantic Games skeletons more realistic and I definitely would have preferred them over GWs, but it’s ok: my current minis are just fine for gaming.
Zombies!
I LOVE zombies! They are scary as hell, disgusting, relentless, remorseless, fearless, and they come by the dozens! Perfect monsters for a Dungeon Master 🙂
Zombie minis on the market are of uneven quality, and available in various degrees of ‘realism’. So, if you want a swarm of nice looking zombies for your gaming table, it can get quite expensive.

It is hard to vary the poses enough to get very different looking zombies (lots of extended arms). But still, the overall effect of the horde is quite cool.
That’s why I got interested in Mantic Games line of minis. They are much cheaper than most minis out there, quite detailed and less cartoonish than Games Workshop plastic minis. My first order with this company was for a pack of zombies (later, I also purchased 2 packs of orcs, which you can find in some other posts on this blog).
Quick post: my paint job on Reaper Miniature’s EyeBeast.
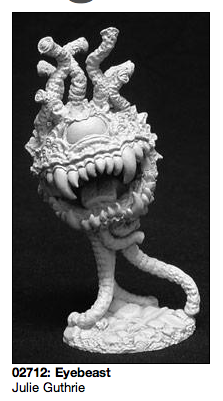
Unpainted original miniature (from Reaper Miniature’s web site)

The finished miniature (the base still needs a few touch ups though).
I coated the miniature with gloss varnish for an extra layer of -yurk!-
The blending on the teeth was made mainly with successive washes.
Just a quick post this time: a terrain made from foamcore board, based on an article found in an old edition of White Dwarf Magazine.


The ‘bricks’ are etched on the surface with a X-Acto knife and a pen. The base is made of massonite. The top floor is removable. Individual blocks on the floor (rubbles) are made of styrofoam and real rocks.
Overall, I am pleased with the resulting piece. But I found that brick walls made of styrofoam are easier to create than these one and they look more natural in the end. So I don’t think I will be using foamcore board again for brick walls. Nevertheless, this terrain is quite decent and pretty cool on the gaming table.
Again, old stuff in this post. But not THAT old. Here are houses terrain I made a few years ago. We use these on the game table quite frequently.
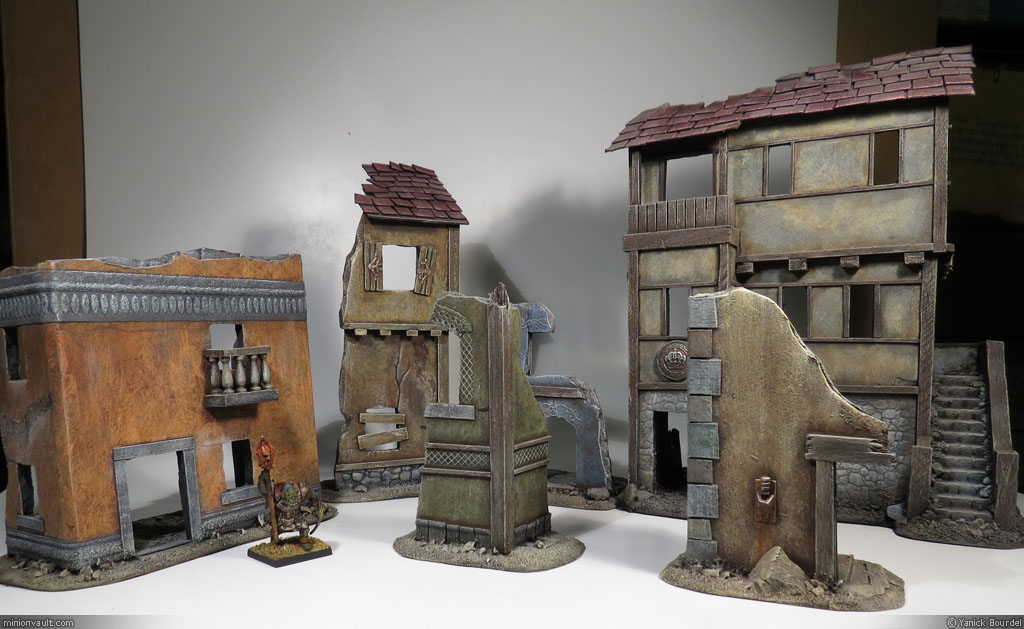
Ruined houses like these are quite easy to make (I should create a step by step post about house building). They are made mostly from foamcore boards, cardboard and wood (both pine and balsa wood).
Styrofoam is a very cool material for hobbyists: inexpensive, light, easy to cut and sculpt, glue or paint.
Messy. Non-biodegradable. Toxic fumes when melted. Hard to recycle. Squeaky.
Oh, well: I guess nothing’s prefect!
Anyway: here is a home for Gurk the brave, made from 1/2 styrofoam sphere, covered in MagicScupt patches, all glued to a small massonite base.

Gurk, trying to find a spot to plant his Dwarf Pogo in front of his new home.
I like styrofoam 🙂
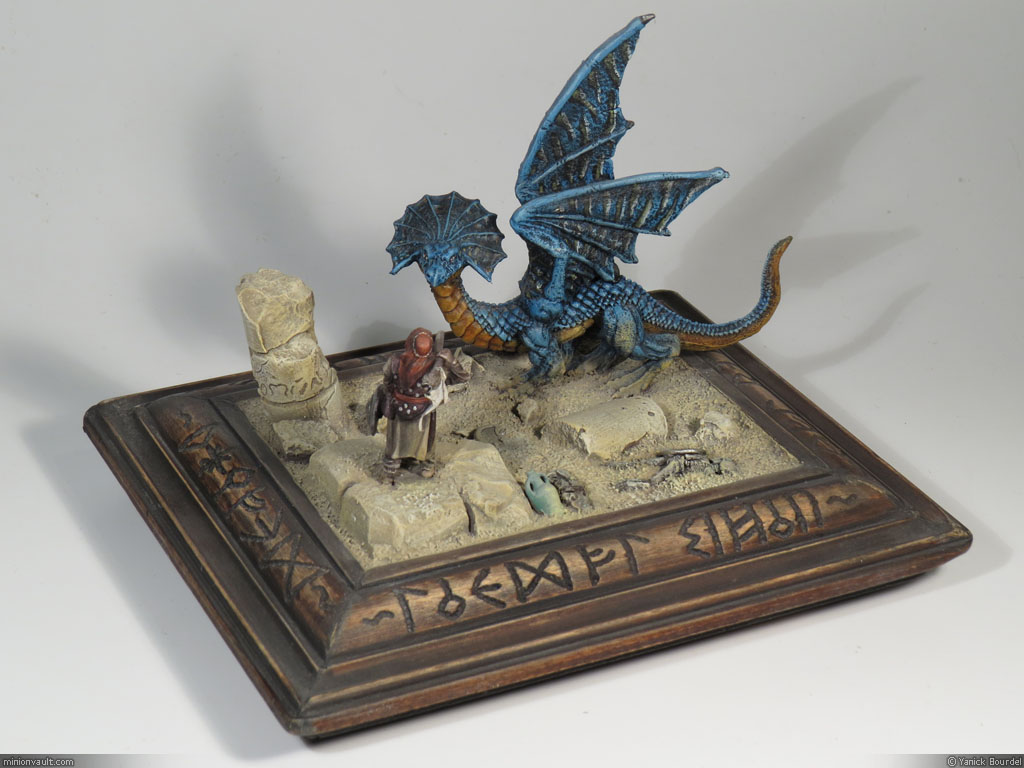
An old work this time: a blue dragon diorama I made eons ago. It was before the time when I learned to use washes. The main techniques I knew back then were dry-brushing and layering. But still, I like this little scene.